October 31, 2015

Fall Colors

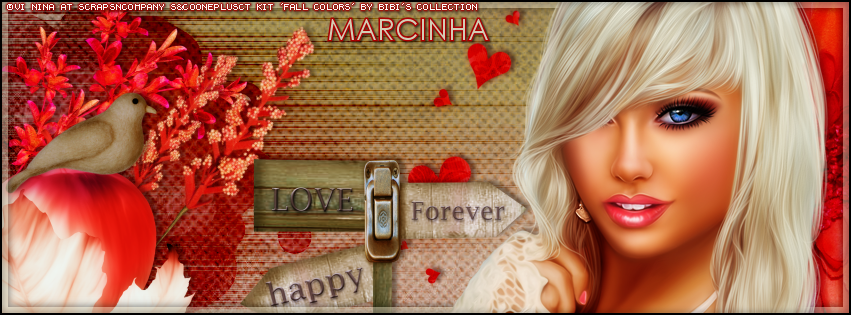
FOREVER IN LOVE TUTORIAL

**Click to see original size**

Tutorial written by Marcia Salgado on October 31th, 2015
for those who have a working knowledge of PSP.
Any resemblance to any other tutorial is coincidental.
Do not copy and paste this tutorial anywhere on the net.
If you want to translate please ask first. 

****************************************
Material:

Tube: "Fall Colors" by Vi Nina, you can purchase it here
do not use without the proper #license.
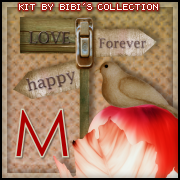
PTU Kit "Fall Colors" by Bibi's Collection, you can purchase it here
Plugin: DSB Flux > Blast
Font: Century Cothic

****************************************

--> Remember to save often and use my tag as reference if necessary. Use a Drop Shadow of your preference on layers. 

1. Create a new image 851x315.

2. Open BIBI-FALL COLORS PAPERS (9). Copy and paste as new layer. Move it up until the end of the paper. Open BIBI-FALL COLORS PAPERS (8). Copy and paste as new layer. Blend Mode: Saturation.

3. OPen BIBI-FALL COLORS ELEMS (119). Copy and paste as new layer. Move it way left. Show only half ot it. Apply filter DSB Flux > Blast. Settings below. Blend Mode: Burn.


4. Open BIBI-FALL COLORS ELEMS (61). Resize 50%. Mirror. Copy and paste as new layer. Move it a little up and way left.

5. Open BIBI-FALL COLORS ELEMS (66). Resize 50%. Free Rotate: Right-40. Copy and paste as new layer. Move it to left.

6. Open BIBI-FALL COLORS ELEMS (22). Resize 25%. Copy and paste as new layer. Move it down and way to the left. er PSP versions) and on tool options mark Position X: -77,00 and Position Y: 129,00. This step place your apple on the same place of mine.

7. Open BIBI-FALL COLORS ELEMS (117). Resize 35%. Mirror. Click on Deform Tool (or Pick on newer PSP versions) and on tool options mark Position X: 5,00 and Position Y: 92,00. This step is to make sure your dove will be on top of your profile picture.

8. Open BIBI-FALL COLORS ELEMS (106). Copy and paste as new layer. Move it way right. Show only half of it.

9. Open BIBI-FALL COLORS ELEMS (113). Resize 50%. Copy and paste as new layer. Move it a little to right.

10. Open BIBI-FALL COLORS ELEMS (88). Copy and paste as new layer. Move it down.

11. Add a new layer. Select all. Fill with #d3ccb4. Contract > 8. Delete. Low the layer opacity to 50.

12. Open your tube. Resize if needed. I used Mirror on mine. Copy and paste as new layer. Move it down and to right. You may want to re-arrange all elements to better fit your tube.

13. Add a new layer. Fill it with black. Contract > 2. Delete.

--> Add your copyright info (no URL by Facebook TOU) and license#. Add your name. Save as PNG.

--> Sometimes I had to change my Timeline size to 846x313 because when I add it to Facebook the image has extra pixels and do not fit perfectly. So try this size if the same is happening to you.

----------------------------------------------------------------------

Here is how I made my Picture Profile:


October 30, 2015

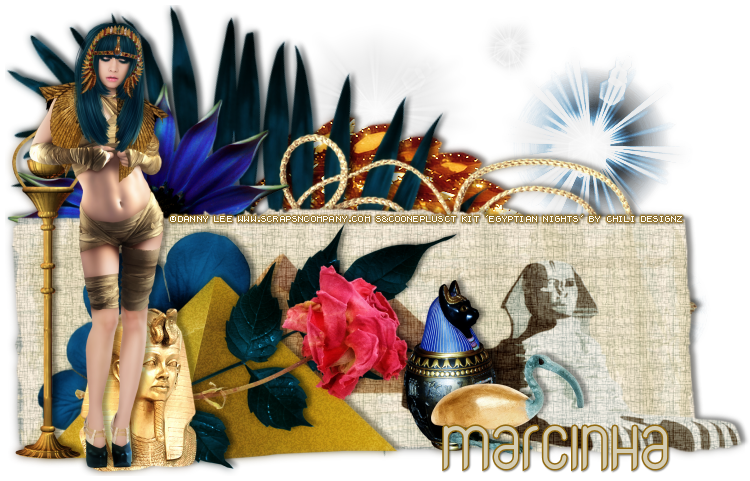
Egyptian Mummy with Egyptian Nights

MAJESTIC TUTORIAL


Tutorial written by Marcia Salgado on October 30th, 2015
for those who have a working knowledge of PSP.
Any resemblance to any other tutorial is coincidental.
Do not copy and paste this tutorial anywhere on the net.
If you want to translate please ask first. 

****************************************
Material:

Tube: "Egyptian Mummy" by Danny Lee, you can purchase it here
do not use without the proper #license.
PTU Kit "Egyptian Nights" by Chili Designz, you can purchase it here
Font: CorpusCare
****************************************

--> Remember to save often and use my tag as reference if necessary. Use a Drop Shadow of your preference on layers. 

1. Create a new image 750x500.

2. Open CHILI_DESIGNZ_Egyptian_Nights_deco. Resize 85%. Copy and paste as new layer. Move it down and to right.

3. Open CHILI_DESIGNZ_Egyptian_Nights_broche2. Flip. Copy and paste as new layer. Move it a little up. Move this layer to bottom.

4. Open CHILI_DESIGNZ_Egyptian_Nights_leaf4. Resize 80%. Free Rotate: Right-25. Copy and paste as new layer. Move it up and to left. 

5. Open CHILI_DESIGNZ_Egyptian_Nights_string. Resize 85%. Free Rotate: Right-90. Copy and paste as new layer. 

6. Open CHILI_DESIGNZ_Egyptian_Nights_flower7. Resize 70%. Copy and paste as new layer, Move it up and to left.

7. Click on first layer. Open CHILI_DESIGNZ_Egyptian_Nights_pyramids2. Resize 45%. Copy and paste as new layer. Move it down and to left.

8. Open CHILI_DESIGNZ_Egyptian_Nights_flower10, Resize 45%. Place it over the pyramid's left side. Move this layer below the pyramid layer. Duplicate. Resize 70%. Free Rotate: Left-45. Move it a little down and to left.

9. Click on first layer. Open CHILI_DESIGNZ_Egyptian_Nights_lamp. Resize 50%. Copy and paste as new layer. Move it down and way to the left.

10. Open CHILI_DESIGNZ_Egyptian_Nights_leaf3. Resize 50%. Free Rotate: Right-90. Copy and paste as new layer. Move it down and to left.

11. Open CHILI_DESIGNZ_Egyptian_Nights_flower2. Resize 45%. Mirror. Copy and paste as new layer. Move it down and to left.

12. Open CHILI_DESIGNZ_Egyptian_Nights_statue11. Resize 35%. Copy and paste as new layer. Move it down and to left. Place it on pyramids ledt side.

13. Open CHILI_DESIGNZ_Egyptian_Nights_vase2. Resize 35%. Mirror. Copy and paste as new layer. Move it down and a little to right.

14. Open CHILI_DESIGNZ_Egyptian_Nights_bird2. Resize 30%. Copy and paste as new layer. Move it down and to right.

15. Open your tube. Resize if needed. Copy and paste as new layer. Move it to left. You may want to re-arrange the elements to better fit to your tube. Add shadow to the layers and crop the extra space.

16. Open CHILI_DESIGNZ_Egyptian_Nights_sparkles. Resize 85%. Copy and paste as new layer. Move it upo and to right. Send this layer to the bottom.

--> Add your copyright info and license#. Add your name and save as PNG.


October 29, 2015

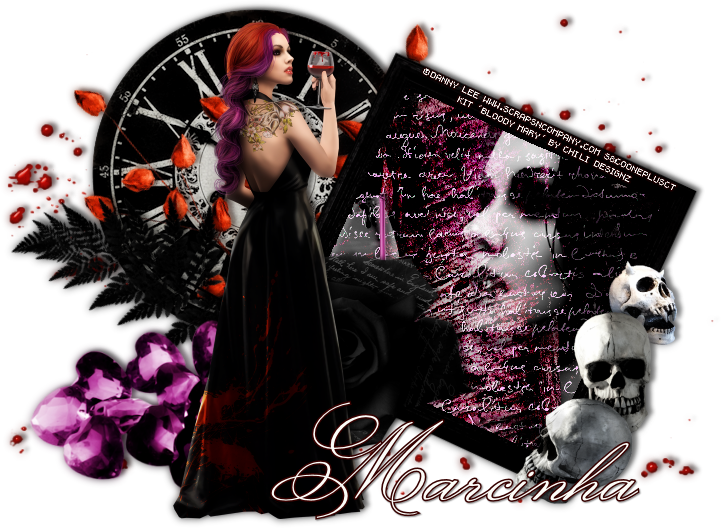
Bloody Mary

BLOODLUST TUTORIAL


Tutorial written by Marcia Salgado on October 29th, 2015
for those who have a working knowledge of PSP.
Any resemblance to any other tutorial is coincidental.
Do not copy and paste this tutorial anywhere on the net.
If you want to translate please ask first. 

****************************************
Material:

Tube: "Bloody Mary" by Danny Lee, you can purchase it here
do not use without the proper #license.
PTU Kit "Bloody Mary" by Chili Designz, you can purchase it here
Font: Monsieur La Doulaise

****************************************

--> Remember to save often and use my tag as reference if necessary. Use a Drop Shadow of your preference on layers. 

1. Create a new image 750x550.

2. Open CHILI_DESIGNZ_BloodyMary_frame8. Resize 40%. Free Rotate: Right-25. Copy and paste as new layer. Move it to right.

3. Open CHILI_DESIGNZ_BloodyMary_blood4. Resize 90%. Copy and past as new layer. Send this layer to bottom.

4. Open CHILI_DESIGNZ_BloodyMary_clock. Copy and paste as new layer. Move it up and left.

5. Open CHILI_DESIGNZ_BloodyMary_deco3. Resize 50%. Free Rotate: Left-25. Copy and paste as new layer. Move it up and left.Select and delete the bottom part of the stem showing below the frame.

6. Open CHILI_DESIGNZ_BloodyMary_greenery4. Resize 40%. Free Rotate: Left-30. Copy and paste as new layer. Move it up and left.

7. Click on frame layer. Select inside the frame. Expand > 5. Add a new layer. Arrange it below frame layer. Open CHILI_DESIGNZ_BloodyMary_paper13. Copy and paste into selection. Keep selected. Add anew layer. Open CHILI_DESIGNZ_BloodyMary_paper. Copy and paste as new layer. Blend Mode: Overlay. Keep Selected. Add a new layer. Open CHILI_DESIGNZ_BloodyMary_overlay. Using Manual Color Correction (Tut HERE) change the color #240013 to #d4cdcf. Copy and paste into selection. Blend Mode: Hard Light. Keep selected. Open your tube close up. Resize if needed. Copy and paste as new layer. Place it inside the frame. Invert selection. Delete. Deselect. Select all. Clip to canvas. Crop to selection. Colorize: 0-0. Blend Mode: Hard Light.

8. If you used the same tube and position inside the frame, open CHILI_DESIGNZ_BloodyMary_drop. Resize 30%. Copy and paste as new layer. Place it on glass right border.

9. Open CHILI_DESIGNZ_BloodyMary_gems. Resize 85%. Copy and paste as new layer. Move it down and left.

10. Open CHILI_DESIGNZ_BloodyMary_rose2. Resize 50%. Copy and paste as new layer. Move it to bottom. Place in on frame's left bottom corner.

11. Open CHILI_DESIGNZ_BloodyMary_skull, CHILI_DESIGNZ_BloodyMary_skull2 and CHILI_DESIGNZ_BloodyMary_skull3. Resize all 40%. Copy and paste each one as new layer. Pile all skuls on frame's right border.

12. Open your tube. Resize if needed. Copy and paste as new layer. Move it to the left. Now you can re-arrange all elements to better fit your tube. After add a shadow on all layers crop the extra space.

--> Add your copyright info and license#. Add your name and save as PNG.


October 28, 2015

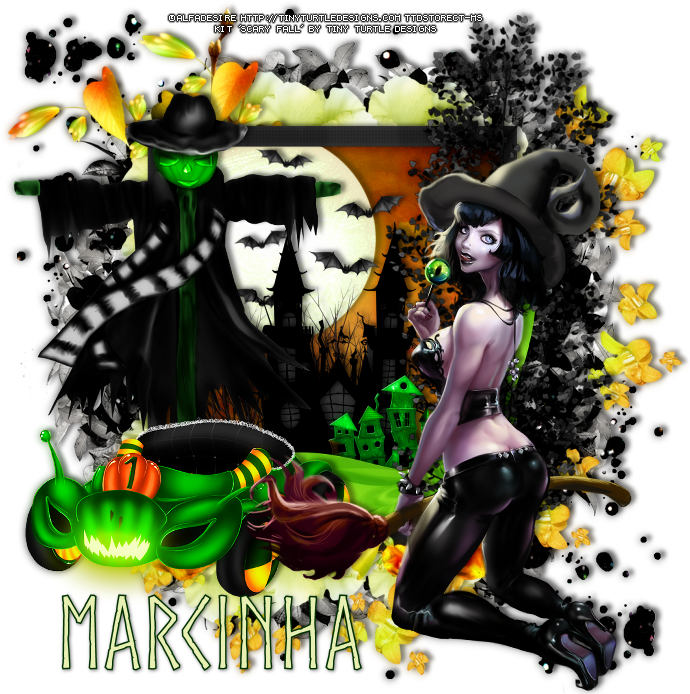
Scary Fall with Black 2 - CT Show Off


== NEW PTU TAG TINY TURTLE DESIGNS CT ==
AND THE ART OF ALFADESIRE

Featuring "Black 2", a Alfadesire tube and
"Scary Fall", Tiny Turtle Design kit at TinyTurtleDesign Store.

Tiny Turtle Design kit has 25 papers and 98 elements so you can play with it. 

Alfadesire's tube can be found  at:
-> TinyTurtleDesign Store, here 

Tiny Turtle Design kit can be found  at:
-> TinyTurtleDesign Store, here 


October 27, 2015

Bewitched ~ by Joanne Salgado


Tutorial written by Joanne Salgado on October 27th, 2015
for those who have a working knowledge of PSP.
Any resemblance to any other tutorial is coincidental.
Do not copy and paste this tutorial anywhere on the net.
If you want to translate please ask first.

Tube: Bewitched 3 by LadyMishka Dolls - you can purchase here
Kit Black Witch by Bibi's Collection - you can purchase here
Font: A.D. Mono

Don't forget to save often.
At any point if you have doubts check my tag.

1. Open a new image 851x315.

2. Open paper 'BIBI-BLACK WITCH PAPERS (2)' copy and paste as new layer. Arrange it as you prefer in the canvas. I used the bottom part of the paper.

3. Open element 'BIBI-BLACK WITCH ELEMS (34)' copy and paste as new layer. Mirror. Arrange it to the right.

4. Open element 'BIBI-BLACK WITCH ELEMS (133)' copy and paste as new layer. Resize 50%. Arrange it to the top right.

5. Open element 'BIBI-BLACK WITCH ELEMS (13)' copy and paste as new layer. Change blend mode to Luminance (L). Duplicate. Mirror/Flip. If you don't want to, its not needed. I just like sparkles LOL.

6. Open element 'BIBI-BLACK WITCH ELEMS (135)' copy and paste as new layer. Resize 50%. Mirror. Arrange it to the top right above the spider web.

7. Open your tube. Copy and paste as new layer. Resize as you prefer. Arrange it to the left.

8. Open element 'BIBI-BLACK WITCH ELEMS (27)' copy and paste as new layer. Move this layer right above the paper layer. Arrange it to the left behind the tube. Duplicate. Mirror. Arrange it to the right side of the tube.

9. Open element 'BIBI-BLACK WITCH ELEMS (17)' copy and paste as new layer. Arrange it to the right side of the tube. Duplicate. Mirror. Arrange it to the left side of the tube.

10. Add shadow as prefered. I used: -2/5/40/6 black.

11. Add new layer. Move above all layers. Fill with black. Select all, contract 2. Hit delete on your keyboard. Fill with white. Add noise uniform/50/monochrome checked. Contract 2. Hit delete on your keyboard. Fill with black. Contract 1. Hit delete on your keyboard. Select none.

12. Add copyright.

13. Add name and save it as PNG.

Tag SHOW OFF - Joanne Salgado


 == NEW PTU TAG TINY TURTLE DESIGNS CT ==
AND THE ART OF NATALIA NZ


Featuring "Monstera", tube by Natalia NZ and 
"Leila", Tiny Turtle Design kit at TinyTurtleDesign Store.

Natalia NZ's tube can be found  at:
-> TinyTurtleDesign Store, here

Tiny Turtle Design kit can be found  at:
-> TinyTurtleDesign Store, here

TinyTurtleDesign Store--> http://tinyturtledesigns.com/store/

October 26, 2015

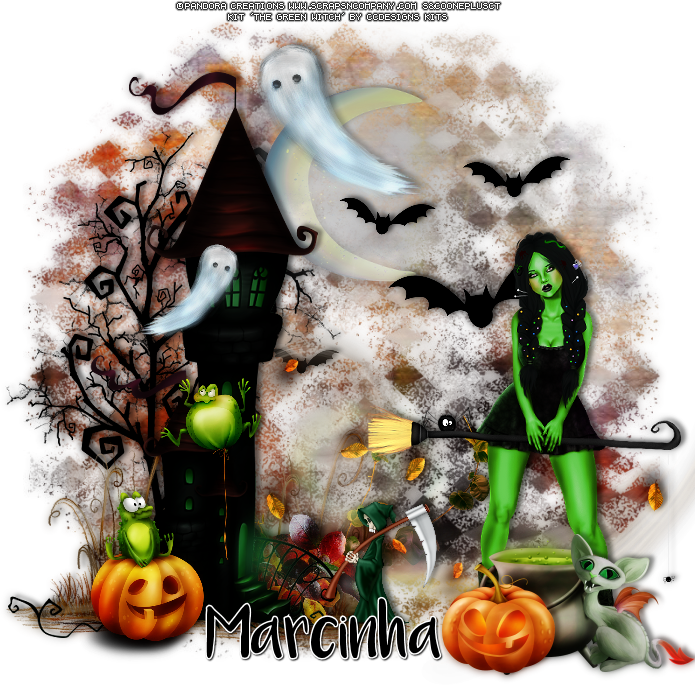
Trick or Treat Witch with The Green Witch

GREENISH TUTORIAL


Tutorial written by Marcia Salgado on October 26th, 2015
for those who have a working knowledge of PSP.
Any resemblance to any other tutorial is coincidental.
Do not copy and paste this tutorial anywhere on the net.
If you want to translate please ask first. 

****************************************
Material:

Tube: "Trick or Treat Witch" by Pandora Creations, you can purchase it here
do not use without the proper #license.
PTU Kit "The Green Witch" by CCDesigns Kits, you can purchase it here 
Mask: Dee's Mask, DD_NFM_2015_5, here 
Font: Luna

****************************************

--> Remember to save often and use my tag as reference if necessary. Use a Drop Shadow of your preference on layers. 

1. Create a new image 700x700.

2. Open ccd_tower1. Resize 80%. Mirror. Copy and paste as new layer. Move it to left. 

3. Open ccd_tree2. Resize 75%. Copy and paste as new layer. Move this layer to bottom. Move it to left and place it behind the tower.

4. Open ccd_moon1. Resize 70%. Copy and paste as new layer. Move it up and a little to left. Place it behind the tower roof.

5. Open . Resize 40%. Copy and paste as new layer. Move it up and to right.

6. Open ccd_ground1. Resize 45%. Copy and paste as new layer. Move it down and to left. Place it behind the tower at left bottom. Duplicate. Move it to right. 

7. Open ccd_leaves3. Resize 45%. Mirror. Copy and paste as new layer. Place it behind the tower on its right side.

8. Open ccd_leaves2. Resize 30%. Copy and paste as new layer. Place it behind the tower's stairs.

9. Open ccd_leaves1. Resize 70%. Copy and paste as new layer. Move it down and a little to right.

10. Open ccd_frog2. Resize 40%. Copy and paste as new layer. Move it down and to left.

11. Open ccd_frog3. Resize 30%. Copy and paste as new layer. Move it down and to left. Place it in front of the tower.

12. Open ccd_grimreaper1. Resize 20%. Copy and paste as new layer. Move it down. Place it on right bottom side of the tower.

13. Open ccd_ghost2. Resize 30%. Copy and paste as new layer. Move it up and a little to left. Duplicate. Resize 70%. Mirror. Move it down and more to left.

14. Open your tube, resize if needed. Copy and paste as new layer. Move it down and to right.

15. Open ccd_spider1. Resize 20%. Copy and paste as new layer. I placed mine over the witch broom.

16. Open ccd_caldroms2. Resize 30%. Copy and paste as new layer. Place it in front of the tube.

17. Open ccd_cat1. Resize 30%. Copy and paste as new layer. Move it down and to right.

18. Open ccd_pumpkin1. Resize 25%. Copy and paste as new layer. Move it down and to right. Place on cauldron's left side.

19. Add a new layer. Select all. Open ccd_paper13. Cpoy and paste into selection. Apply Dee's mask. Deselect. Merge group. Send this layer to bottom.

--> Add your copyright info and license#. Add your name and save as PNG.


October 25, 2015

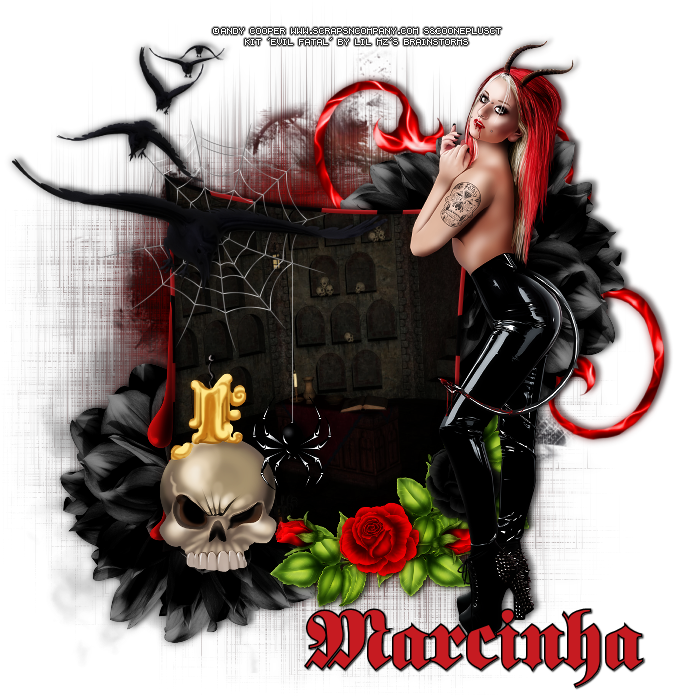
Evil Fatal

EVILDEAD TUTORIAL


Tutorial written by Marcia Salgado on October 25th, 2015
for those who have a working knowledge of PSP.
Any resemblance to any other tutorial is coincidental.
Do not copy and paste this tutorial anywhere on the net.
If you want to translate please ask first. 

****************************************
Material:

Tube: "Evil Fatal" by Andy Cooper, you can purchase it here 
do not use without the proper #license.
PTU Kit "Evil Fatal" by Lil Mz's Brainstorms Kits, you can purchase it here
Mask:  Staci's Mask, MB and SW Mask 79, here
Plugin: DSB Flux - Blast
Optional: Flame animation
Font: Fette classic UNZ Fraktur

****************************************

--> Remember to save often and use my tag as reference if necessary. Use a Drop Shadow of your preference on layers. 

1. Create a new image 700x700.

2. Open LMB_EvilFatal_Element (76). Copy and paste as new layer. Using the lasso tool select inside the frame. Expand > 2. Add a new layer and move it below frame layer. Open LMB_EvilFatal_Paper (7). Copy and paste into selection.

3. Click on frame layer. Open LMB_EvilFatal_Element. Resize 40%. Copy and paste as new layer. Place it over the frame's border on left.

4. Open LMB_EvilFatal_Element (23). Resize 80%. Copy and paste as new layer. Move it up and to left.

5. Open LMB_EvilFatal_Element (95). Resize 40%. Mirror. Copy and paste as new layer. Place it on bottom left frame's border.

6. Open LMB_EvilFatal_Element (69). Resize 75%. Copy and paste as new layer. Low the layer opacity to 75. Apply the plugin DSB Flux > Blast - Settings > Left-Percentage%: 23. Repeat using all Directions > Downwards, Right and Upwards. Send this layer to bottom.

7. Open LMB_EvilFatal_Element (55). Copy and paste as new layer. Move it down and to left.

8. Open LMB_EvilFatal_Element (91). Resize 60%. Copy and paste as new layer. Move it up and to right. 

9. Open LMB_EvilFatal_Element (45). Resize 50%. Copy and paste as new layer. Move it up and to right. Duplicate and move it down and to left.

10. Click on first layer. Open LMB_EvilFatal_Element (61). Resize 50%. Copy and paste as new layer. Move it down and to left. Place it over the frame's bottom left corner.

11. Open your tube, resize if needed. Copy and paste as new layer. Move it to right.

12. Open LMB_EvilFatal_Element (64). Resize 40%. Using the rectangle selection tool, select the web thread and change the color to white (using the tut Manual Color Correction). Deselect. Copy and paste as new layer. Place it falling from the frame's web.

13. Apply a shadow on layers and crop de extra space. Add a new layer. Select all. Open LMB_EvilFatal_Paper (12). Copy and paste into selection. Apply Staci's mask and deselect. Send this layer to bottom.

--> Add your copyright info and license#. Add your name and save as PNG.

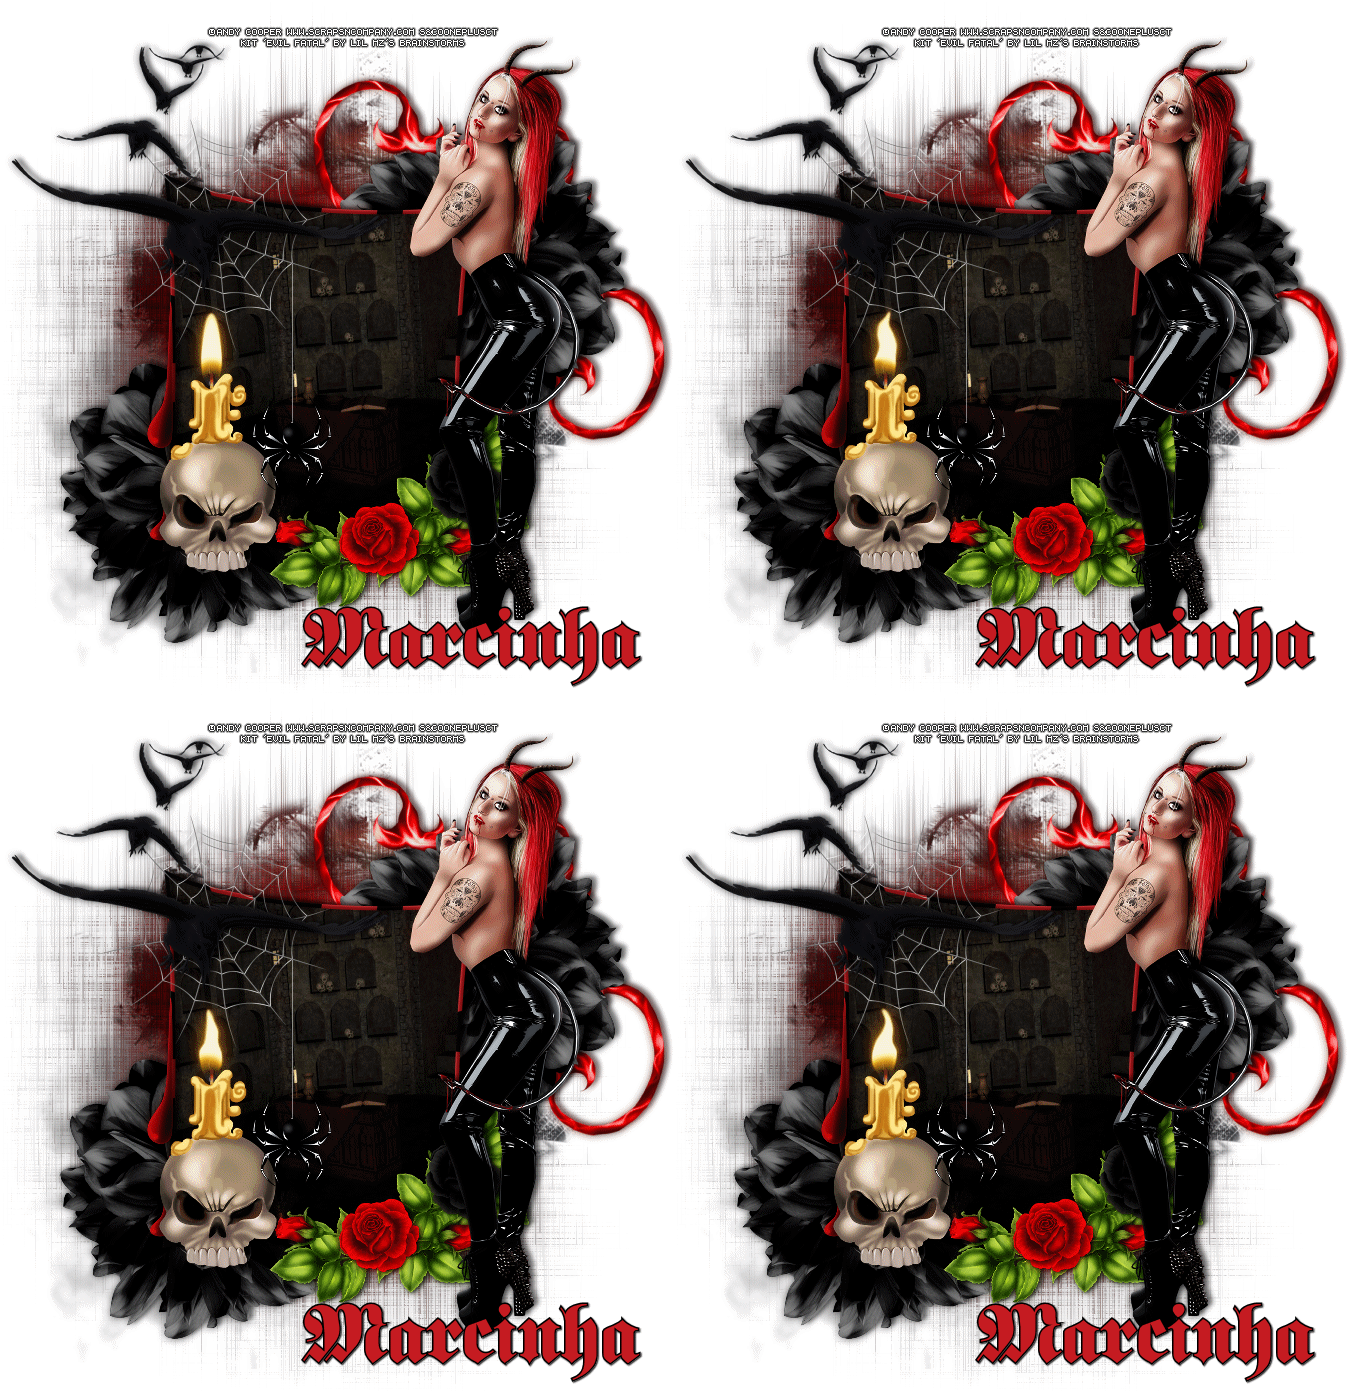
--> OPTIONAL -> After finished all, copy merged and open it on Animation Shop. Open your flame animation. See the number of frames and duplicate the tag frame to same number. Select all. Click on flame animation. Select all. Copy. Back to your tag. Activate Propagate Paste. Paste into selected frames. Add a white background or another color from your preference. Save as GIF.


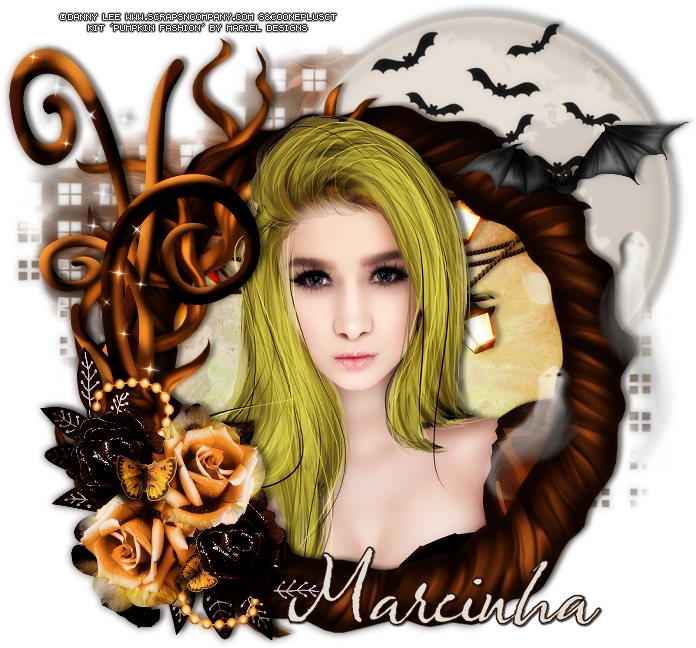
Pumpkin Fashion

PUMPKIN TUTORIAL


Tutorial written by Marcia Salgado on October 25th, 2015
for those who have a working knowledge of PSP.
Any resemblance to any other tutorial is coincidental.
Do not copy and paste this tutorial anywhere on the net.
If you want to translate please ask first. 

****************************************
Material:

Tube: "Pumpkin Fashion" by Danny Lee, you can purchase it here
do not use without the proper #license.
PTU Kit "Pumpkin Fashion" by Mariel Designs, you can purchase it here
Mask: Dee's Mask, DD_AssortedMask_3, here
Font: Olicana Rought

****************************************

--> Remember to save often and use my tag as reference if necessary. Use a Drop Shadow of your preference on layers. 

1. Create a new image 700x700. Open 'element' 94. Copy and paste as new layer. Move it up and to right. After copy and paste the frame fix the position, if needed, show only the moon behind the frame on right top.

2. Open FRAME 5. Copy and paste as new layer. Select inside the frame.Expand > 5.  Add a new layer. Move it below the frame. Open PAPER 3. Copy and paste into selection.

3. Click on frame layer. Open your tube close up. Resize if needed. Copy and paste as new layer. Select and delete all parts outside the frame. Do not need to be careful and leave some parts over the frame border. Select all. Clip to canvas. Crop to selection. Duplicate the tube layer and move the copy below the frame layer. Click on first layer and erase anything over the frame border. No need to be careful because the copy will cover any mistake.

4. Open 'element' 57. Resize 65%. Copy and paste as new layer. Place it over the back on top.

5. Open 'element' 88. Resize 60%. Copy and paste as new layer. Move it up and to left.

6. Open 'element' 27. Resize 50%. Copy and paste as new layer. Move it down and to left.

7. Open 'element' 54. Resize 50%. Copy and paste as new layer. Move it up and to right.

8. Open 'element' 4. Resize 40%. Copy and paste as new layer. Move it up and to right. Place it over the moon.

9. Apply the chosen shadow on layers and remove the extra space. Add a new layer. Select all. Move it to bottom. Open PAPER 7. Copy and paste into selection. Apply Dee's mask. Merge group.

--> Add your copyright info and license#. Add your name and save as PNG.


October 4, 2015

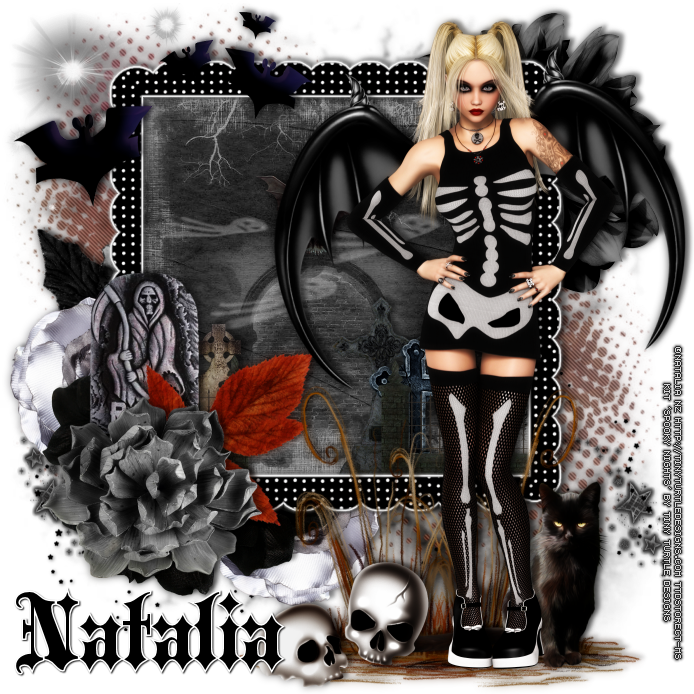
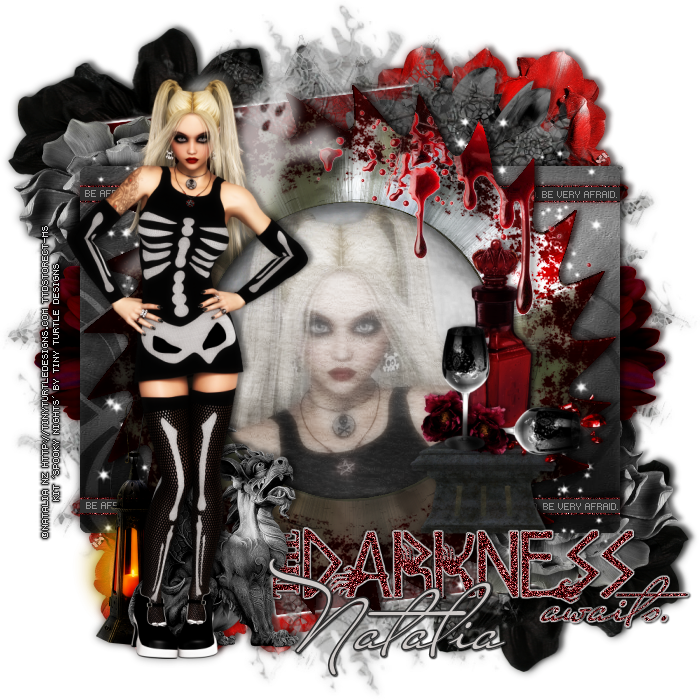
Spooky Nights with Skelotta - Show Off CT


== NEW PTU TAG TINY TURTLE DESIGNS CT ==
AND THE ART OF NATALIA NZ

Featuring "Skelotta", a Natalia NZ tube and
 "Spooky Nights", Tiny Turtle Design kit at TinyTurtleDesign Store.

Tiny Turtle Design kit has 64 papers and 163 elements so you can play with it. 

Natalia NZ's tube can be found  at:
-> TinyTurtleDesign Store, here

Tiny Turtle Design kit can be found  at:
-> TinyTurtleDesign Store, here


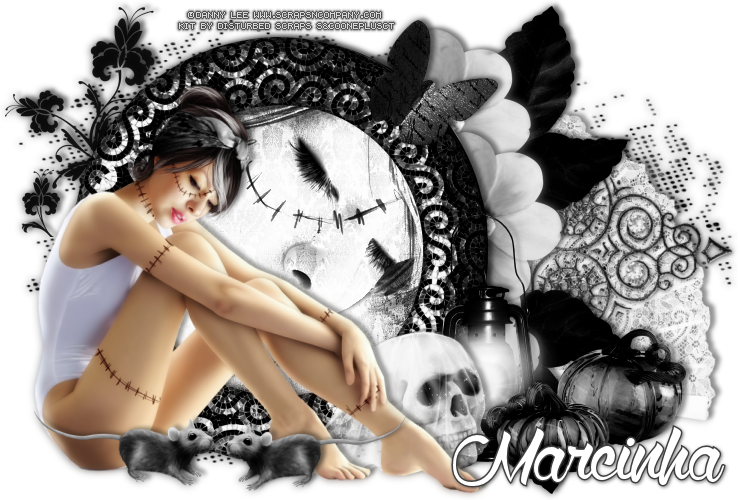
Miss Frankie - CT Tut

SADNESS TUTORIAL


Tutorial written by Marcia Salgado on October 4th, 2015
for those who have a working knowledge of PSP.
Any resemblance to any other tutorial is coincidental.
Do not copy and paste this tutorial anywhere on the net.
If you want to translate please ask first. 

****************************************
Material:

Tube: "Miss Frankie" by Danny Lee, you can purchase it here
do not use without the proper #license.
PTU Kit "Miss Frankie" by Disturbed Scraps, you can purchase it here
Mask: Dee's mask, halftone-mask-5, HERE
Font: Wolf in the City

****************************************

--> Remember to save often and use my tag as reference if necessary. Use a Drop Shadow of your preference on layers. 

1. Create a new image 750x500. Select all. Add a new layer.

2. Open DS - MF - Paper 14. Copy and paste into selection. Deselect. Use Dee's mask. Merge group.

3. Open DS - MF - Element (57). Resize 70%. Mirror. Copy and paste as new layer. Move it to right.

4. Open DS - MF - Element (67). Resize 70%. Copy and paste as new layer. Move it to right.

5. Open DS - MF - Element (84). Resize 50%. Copy and paste as new layer. Move it to left.

6. Open DS - MF - Element (39). Resize 50%. Copy and paste as new layer. Move it up and to right. Duplicate. Flip. Merge down. I'll add flowers and the leaf can be adjusted after doing that moving it far to right or left.

7. Open DS - MF - Element (24). Resize 40%. Free Rotate - Right-90. Copy and paste as new layer. Place it below frame layer. Move it up and a little to right, below frame border, show only half flower.
 Duplicate it twice and place them around the frame's right border.


8. Open DS - MF - Element (65). Resize 40%. Mirror. Flip. Copy and paste as new layer. Move it up and far left.

9. Click on layer frame and select inside it. Expand > 5. Add a new layer. Move it below frame layer. Open DS - MF - Paper 2. Copy and paste into selection. Keep selected.

10. Open your close up tube. Copy and paste as new layer. Place it inside the frame. Invert selection. Delete, Select all. Clip to canvas. Crop to selection. Colorize it to black and white (Colorize > 0,0). Blend Mode: Hard Light.

11. Open DS - MF - Element (48). Resize 50%. Copy and paste as new layer. Move it down and to right. Place it on frame's bottom right side.

12. Click on frame layer again. Open DS - MF - Element (58). Resize 40%. Copy and paste as new layer. Move it down and to right. Place it next the light.

13. Open DS - MF - Element (9). Resize 40%. Copy and paste as new layer. Move it down and to right. Place it in front of the light.

14. Open DS - MF - Element (31). Resize 30%. Copy and paste as new layer. Move it up and to right. Place it over the frame border.

15. Open your tube. Resize if needed. Copy and paste as new layer. Move it to left.

16. Open DS - MF - Element (47). Resize 40%. Mirror. Copy and paste as new layer. Move it to bottom and place it near the tube's feet. Mirror and face each other.

--> Add your copyright info and license#. Add your name and save as PNG.

-------------------------------------------------------------

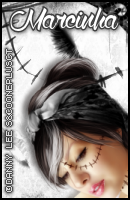
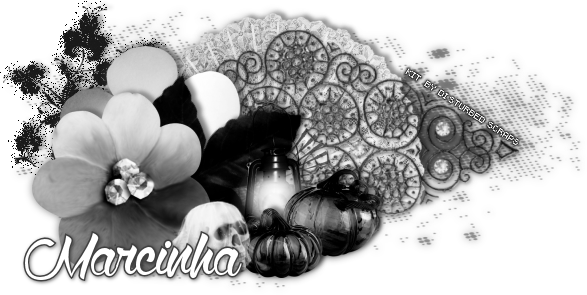
I created a 3 set tag.
Here is what it came out.


October 3, 2015

Romancing August - Timeline CT


**Click to see original size**


== NEW CT HUNGRY HILL PTU TIMELINE ==

Featuring "Romancing August" Kit by HUNGRY HILL at Creative Design Outlet - CDO

It has 12 papers, 66 elements and 5 frames so you can play with it.

Kit can be found exclusively at:

-> Creative Design Outlet - CDO, here

Don't forget to visit her blog:


IB-KenMorton-31-2 - Show Off CT


**Click to see original size**


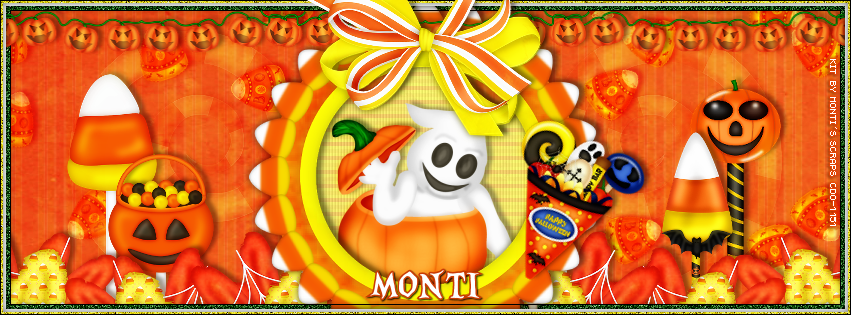
== NEW CT MONTI'S SCRAPS PTU TIMELINE ==

Featuring "IB-KenMorton-31-2" Kit by MONTI'S SCRAPS at Creative Design Outlet - CDO

Monti's kit has 5 papers, 20 elements, 2 frames and 1 wordart so you can play with it.

Kit can be found at:

-> Creative Design Outlet - CDO, here


IB-CuddlyRigorMortis-October2015 - CT Timeline


**Click to see original size**


== NEW CT MONTI'S SCRAPS PTU TIMELINE ==

Featuring "IB-CuddlyRigorMortis-October2015" Kit by MONTI'S SCRAPS at Creative Design Outlet - CDO

Monti's kit has 5 papers, 20 elements, 2 frames and 1 wordart so you can play with it.

Kit can be found at:

-> Creative Design Outlet - CDO, here


IB-SheenaPike-3-1 - Show Off CT


== NEW CT MELLIE BEANS PTU TAG ==

Featuring "IB-SheenaPike-3-1" by Mellie Beans at CDO - Creative Design Outlet.

To see the my Show Off Tag, visit my blog, including a tag with animation, here:


Mellie Bean's kit has 20 elements, 3 frames, 1 wordart and 6 papers so you can play with it. 
The tube that inspired this scrap kit can be purchased HERE
*This scrap kit may be used with any artists work. Please follow CDO's TOU's for your tubes.*

Kit can be found at:

-> CDO - Creative Design Outlet, here

Visit her blog:


October 2, 2015

Summer Ends - Show Off CT


== NEW CT HUNGRY HILL PTU TAG ==

Featuring "Summer Ends" Kit by HUNGRY HILL at Creative Design Outlet - CDO

It has 12 papers, 54 elements, 4 frames and 2 wordart.

Kit can be found exclusively at:

-> Creative Design Outlet - CDO, here

Don't forget to visit her blog:

IB-PinUpToons-223-2 - CT Show Off


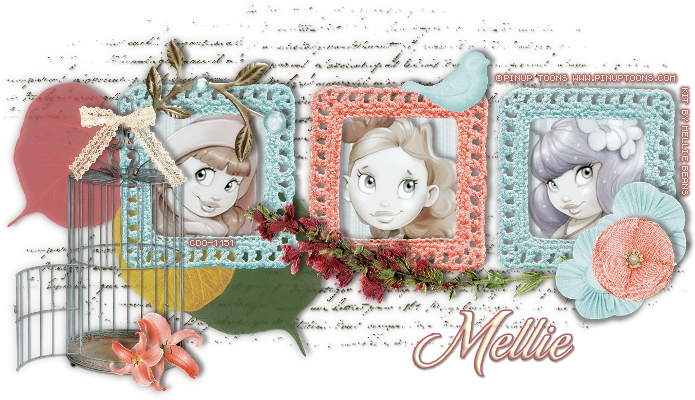
== NEW CT MELLIE BEANS PTU TAG ==

Featuring "IB-PinUpToons-223-2" by Mellie Beans at CDO - Creative Design Outlet.

Mellie Bean's kit has 20 elements, 3 frames, 1 wordart and 6 papers. The colors are romantic and soft. The style is a little vintage so you can create awesome tags with it.
It is inspired by the PinUp Toons tube 223-2, and you can find it here
*This scrap kit may be used with any artists work. Please follow CDO's TOU's for your tubes.*

Kit can be found at:

-> CDO - Creative Design Outlet, here

Visit her blog:


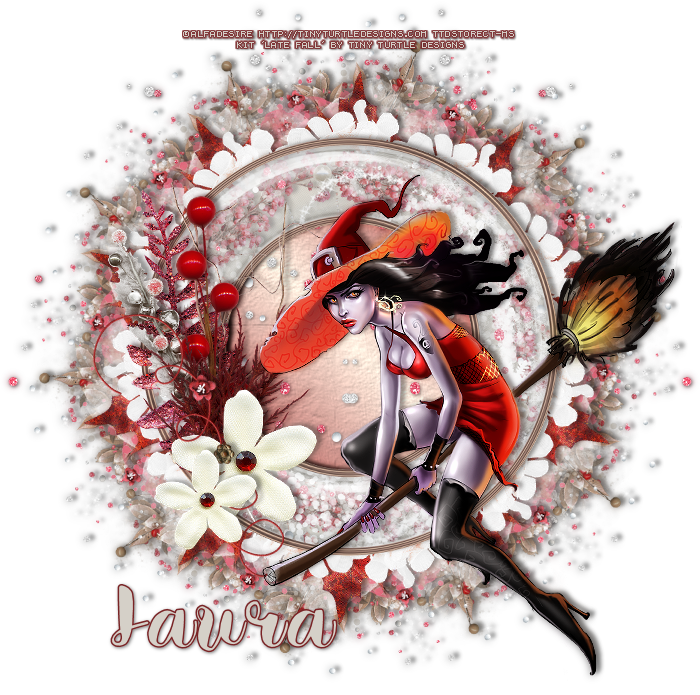
Late Fall with Witch 2 - Show Off


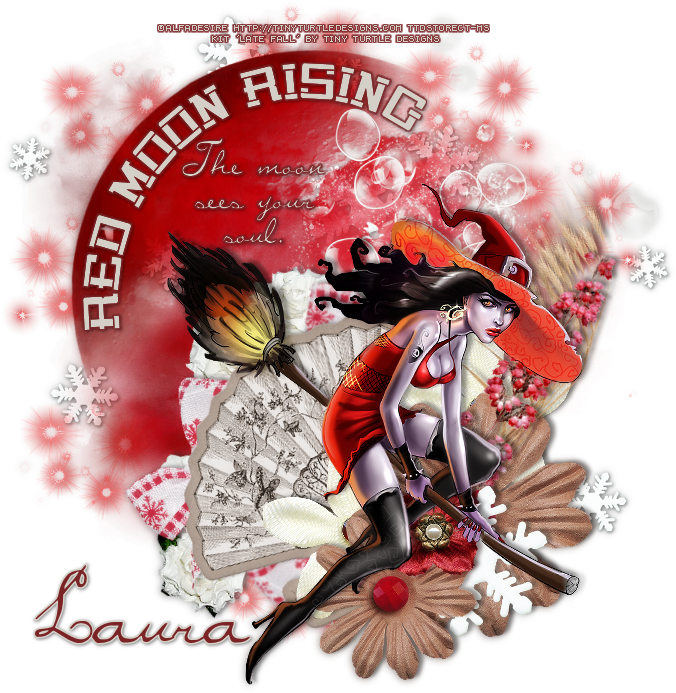
== NEW PTU TAG TINY TURTLE DESIGNS CT ==
AND THE ART OF ALFADESIRE

Featuring "Witch 2", a  Alfadesire tube and
 "Late Fall ", Tiny Turtle Design kit at TinyTurtleDesign Store.

Tiny Turtle Design kit has 30 papers and 138 elements so you can play with it. 

Alfadesire's tube can be found  at:
-> TinyTurtleDesign Store, here

Tiny Turtle Design kit can be found  at:
-> TinyTurtleDesign Store, here