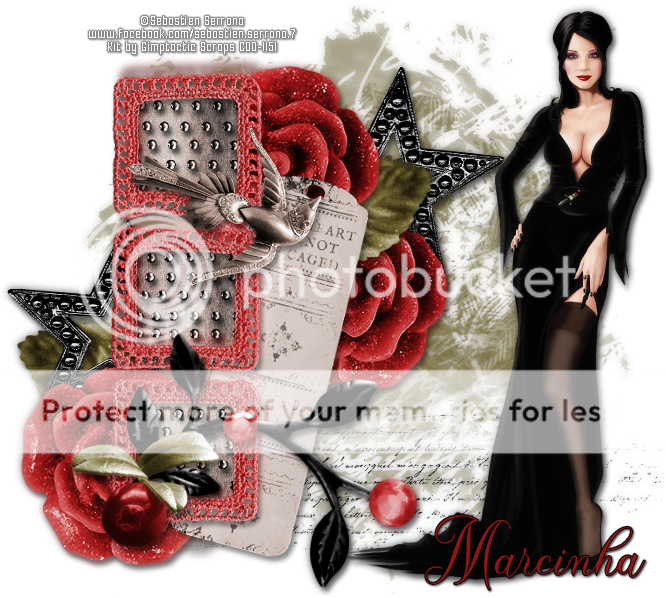
SEDUCTION TUTORIAL
Tutorial written by Marcia Salgado on June 30th, 2016
for those who have a working knowledge of PSP.
I'm using PSP9 to create my tuts.
Any resemblance to any other tutorial is coincidental.
Do not copy and paste this tutorial anywhere on the net.
If you want to translate please ask first.
****************************************
Material:
Tube: "Individual Tube 7-2" by Sebastien Serrano, you can purchase it here,
do not use without the proper #license.
PTU Kit "Breathless" by Gimptastic Scraps,
you can purchase it here
Font: The Paragraph Script
****************************************
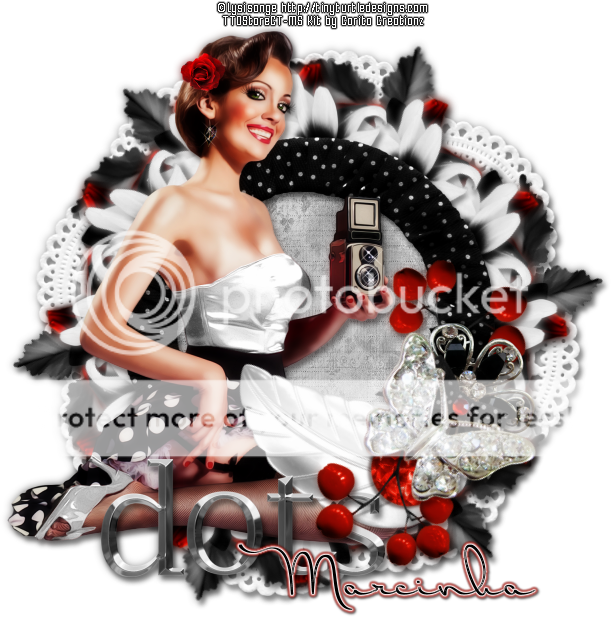
--> Remember to save often and use my tag as reference if necessary. Use a drop shadow of your preference on layers.
1. Create a new image 700x600.
2. Open GS-Breathless_Ele30. Copy and paste as new layer.
3. Open GS-Breathless_Ele43. Copy and paste as new layer. Move it down.
4. Open GS-Breathless_Ele15. Copy and paste as new layer. Move it up.
5. Open GS-Breathless_Ele26. Copy and paste as new layer. Move it very little up.
6. Open GS-Breathless_Ele47. Resize 65%. Copy and paste as new layer. Place it over the star. Duplicate. Mirror. Move it down and to left.
7. Open GS-Breathless_Ele15. Copy and paste as new layer. Place it over the leaf on the left.
8. Open GS-Breathless_Ele26. Copy and paste as new layer. Move it up and a little to left.
9. Open GS-Breathless_Ele44. Resize 75%. Free Rotate: Right-15. Copy and paste as new layer. Move it down and a little to left.
10. Open GS-Breathless_Frame2. Resize 75%. Copy and paste as new layer. Move it to left. Now you can re-arrange the previous elements around your frame.
11. Click on frame layer, if it isn't selected. Select inside the frames. Add a new layer and move it below the frame layer. Expand > 5. Open GS-Breathless_Paper9. Copy and paste into selection. Invert selection.
12. Open GS-Breathless_Ele11. Resize 75%. Free Rotate: Right-90. Copy and paste as new layer. Place it inside the frames. Delete. Deselect. Blend Mode: Hard Light.
13. Click on frame layer. Open GS-Breathless_Ele52. Resize 65%. Mirror. Copy and paste as new layer. Move it down and to left.
14. Open GS-Breathless_Ele41. Resize 65%. Mirror. Copy and paste as new layer. Move it up and to left.
15. Open your tube. Resize if needed. Copy and paste as new layer. Move it to right.
16. Open GS-Breathless_Ele19. Resize 65%. Copy and paste as new layer. Move it down and to left.
17. Use Crop > Merged Opaque to get rid of all extra space.
--> Resize it if wanted. Add your copyright info and license#. Add your name and save as PNG.