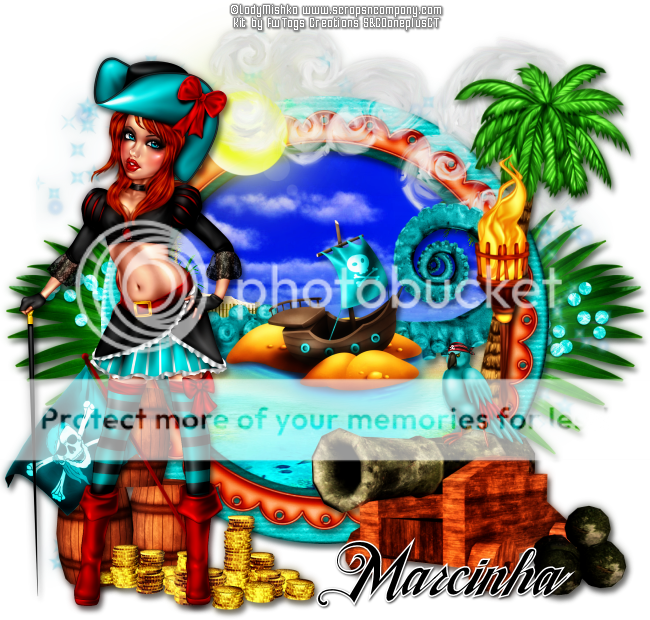
SEA LIGHTS TUTORIAL
Tutorial written by Marcia Salgado on June 18th, 2016
for those who have a working knowledge of PSP.
I'm using PSP9 to create my tuts.
Any resemblance to any other tutorial is coincidental.
Do not copy and paste this tutorial anywhere on the net.
If you want to translate please ask first.
****************************************
Material:
Tube: "
Sea Queen" by
Lady Mishka, you can purchase it
here
do not use without the proper #license.
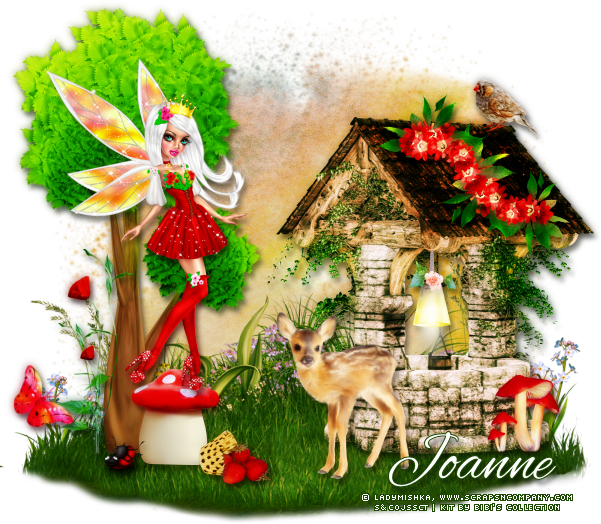
PTU Kit "
Under The Sea" by
Bibi's Collection, you can purchase it
here
Animation: "Aurora" by Sphisticat Simone,
HERE
and any little bubbles animation (OPCIONAL)
Font: Boller Typeface
****************************************
--> Remember to save often and use my tag as reference if necessary. Use a Drop Shadow of your preference on layers.
1. Create a new image 600x300.
2. Open BIBI-UNDER THE SEA PAPERS (3), Resize 51%. Copy and paste as new layer. Move it down.
3. Open BIBI-UNDER THE SEA ELEMS (11). Resize 45%. Copy and paste as new layer. Move it a very little to right and a very little up. Blend Mode: Soft Light. You see some parts overlapping the paper on back. Clean it.
4. Open BIBI-UNDER THE SEA ELEMS (78). Resize 45%. Copy and paste as new layer. Move it a little down.
5. Merge visible layers. Rename it BACK.
6. Open BIBI-UNDER THE SEA ELEMS (33). Resize 66%. Copy and paste as new layer. Move it down showing only the top border. not too close to the edge.
7. Open BIBI-UNDER THE SEA ELEMS (80). Resize 50%. Flip. Copy and paste as new layer. Move it down, a little more than previous element and to left. Duplicate amd move it to right.
8. Open BIBI-UNDER THE SEA ELEMS (57). Resize 50%. Copy and paste as new layer. Duplicate it twice. Spread the elements at the bottom creating a line.
9. Open BIBI-UNDER THE SEA ELEMS (48). Resize 30%. Copy and paste as new layer. Move it to right and a little up.
10. Open BIBI-UNDER THE SEA ELEMS (67). Resize 25%. Copy and paste as new layer. Place it in front of the previous rock wall.
11. Open BIBI-UNDER THE SEA ELEMS (69). Resize 15%. Copy and paste as new layer. Move it way to left.
12. Open BIBI-UNDER THE SEA ELEMS (8). Resize 20%. Copy and paste as new layer. Place it on right side of the previous element.
13. Open BIBI-UNDER THE SEA ELEMS (22). Resize 40%. Copy and paste as new layer. Place it between the foliage and the white coral.
14. Open BIBI-UNDER THE SEA ELEMS (19). Resize 35%. Copy and paste as new layer. Place it in front of the wood plaque at bottom.
15. Open BIBI-UNDER THE SEA ELEMS (12). Resize 20%. Copy and paste as new layer. Place it over the cave opening at bottom.
16. Open BIBI-UNDER THE SEA ELEMS (65). Resize 10%. Copy and paste as new layer. Place it on right side above the first fishes.
17. Open BIBI-UNDER THE SEA ELEMS (73). Resize 30%. Copy and paste as new layer. lace it over the cave opening at top.
18. Open BIBI-UNDER THE SEA ELEMS (66). Resize 20%. Copy and paste as new layer. Move it down and a little to right.
19. Open BIBI-UNDER THE SEA ELEMS (68). Resize 30%. Copy and paste as new layer. Move it down and way to right.
20. Open BIBI-UNDER THE SEA ELEMS (3). Resize 30%. Mirror. Copy and paste as new layer. Place it over the wood plaque at bottom.
21. Open BIBI-UNDER THE SEA ELEMS (85). Resize 10%. Copy and paste as new layer.
22. Open your tube. Resize. Copy and paste as new layer. Move it to left.
23. Add a new layer and select all. Fill with black. Contract > 2. Delete.
24. Add your copyright info and license#. Add your name, if you do not want add the animation just save it as PNG.
25. Turn BACK layer invisible. Merge visible layer and rename it TOP. Copy merged.
ANIMATING:
1. AS -> Paste as new animation. Activate Propagate Paste.
2. PSP -> Turn TOP layer invisible and BACK layer visible. Copy merged.
3. AS -> Paste as new animation and duplicate it until you get 13 frames. Select all. Open Simone's animation. Select all. Resize 75%. Flip. Copy.
4. Activate your BACK and Paste into selected frames. Place it on top at center.
5. Activate your TOP. Copy. Click on BACK. Paste into selected frames.
6. (OPCIONAL) - Open your bubbles gif and select all frames. Copy and paste as many times you want and wherever you wish.
7. Change the Frame Properties to 18. Save as GIF.