Tutorial written by Joanne Salgado on December 30th, 2015
for those who have a working knowledge of PSP.
Any resemblance to any other tutorial is coincidental.
Do not copy and paste this tutorial anywhere on the net.
If you want to translate please ask first.
Tube: Jess by Alehandra Vanhek - you can purchase here
Kit Cold Fall by Bibi's Collection - you can purchase here
Font: Segoe Script
Don't forget to save often.
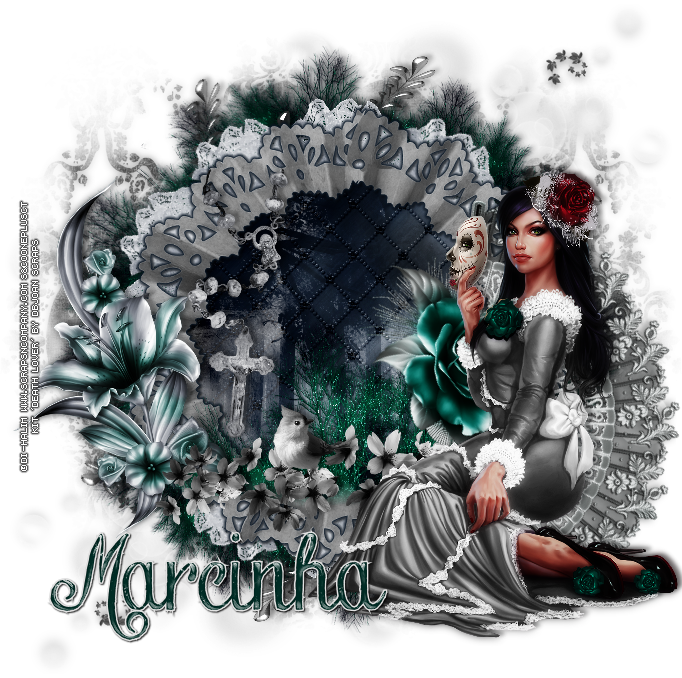
At any point if you have doubts check my tag.
1. Open a new image 700x600
2. Open element 'BIBI-COLD FALL ELEMS (54)' copy and paste as new layer. Resize 60%.
3. Open element 'BIBI-COLD FALL ELEMS (31)' copy and paste as new layer. Resize 70%.
4. Open element 'BIBI-COLD FALL ELEMS (8)' copy and paste as new layer. Move this
layer below the frame layer. Arrange it to the top left of the frame.
5. Open element 'BIBI-COLD FALL ELEMS (64)' copy and paste as new layer. Arrange it
to the top left above the red flower.
6. Open paper 'BIBI-COLD FALL PAPERS (6)' copy and paste as new layer. Resize 60%.
Arrange it inside the frame and clean the parts that appears outside it.
7. Open your tube. Copy and paste as new layer. Resize as you like and arrange it to
the right of the frame. Duplicate. Hide the duplicate for now. Select the original
tube layer and clean the parts that appears outside the frame.
8. Open element 'BIBI-COLD FALL ELEMS (96)' copy and paste as new layer. Resize 60%.
Arrange it to the bottom right. Clean the parts that appears outside.
9. Open element 'BIBI-COLD FALL ELEMS (104)' copy and paste as new layer. Clean the
parts that appears outside the frame.
10. Open element 'BIBI-COLD FALL ELEMS (60)' copy and paste as new layer. Resize 25%.
Move this layer above the frame layer. Arrange it to the top right.
11. Open element 'BIBI-COLD FALL ELEMS (37)' copy and paste as new layer. Resize 70%.
Arrange it to the bottom.
12. Select the duplicated tube layer. Unhide it. Move the layer above the snow balls
we just added. Clean everything but the part you need. I needed the top of the tube,
so its the only part I still have so it looks like the tube its coming from inside
the frame.
13. Open element 'BIBI-COLD FALL ELEMS (18)' copy and paste as new layer. Resize 50%.
Arrange it to the bottom.
14. Open element 'BIBI-COLD FALL ELEMS (50)' copy and paste as new layer. Resize 50%.
Arrange it to the bottom left.
15. Open element 'BIBI-COLD FALL ELEMS (74)' copy and paste as new layer. Arrange it
to the left.
16. Open element 'BIBI-COLD FALL ELEMS (4)' copy and paste as new layer. Arrange it
to bottom.
17. Open element 'BIBI-COLD FALL ELEMS (105)' copy and paste as new layer. Resize
95%.
18. Add shadow as you like. I used 2 2 60 2 black.
19. Add copyright.
20. Add name and save as png