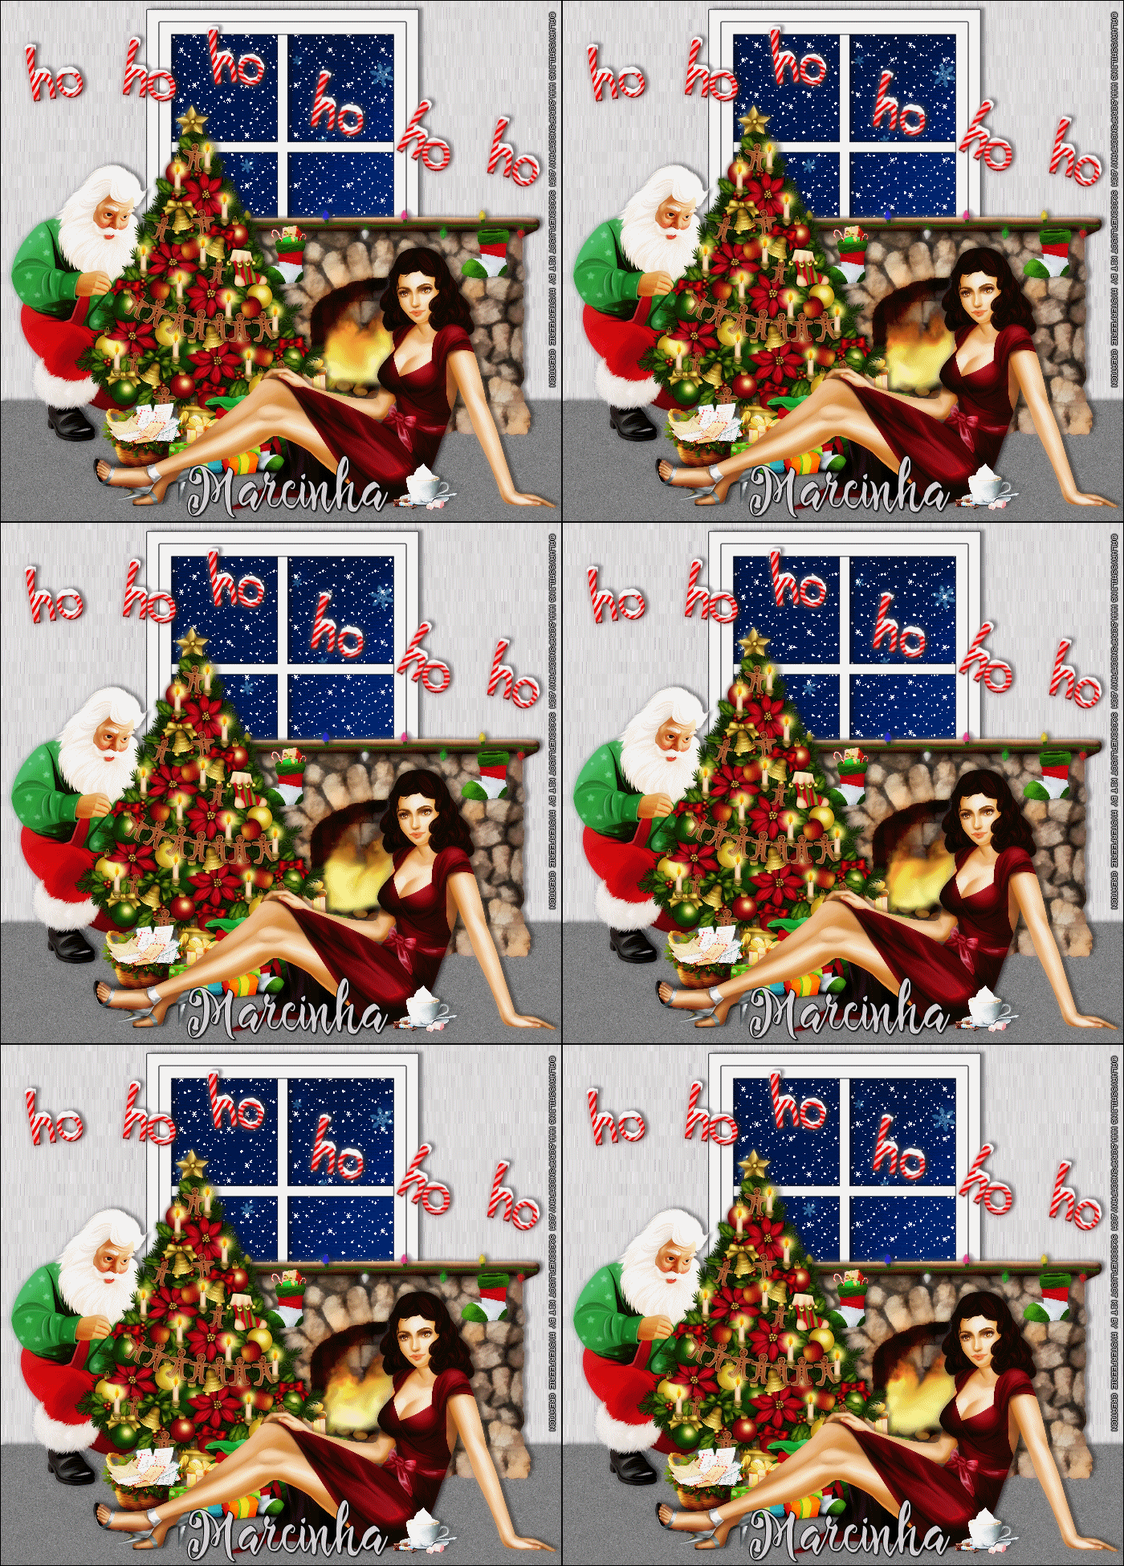
XMAS WARMTH TUTORIAL
Tutorial written by Marcia Salgado on December 16th, 2015
for those who have a working knowledge of PSP.
Any resemblance to any other tutorial is coincidental.
Do not copy and paste this tutorial anywhere on the net.
If you want to translate please ask first.
****************************************
Material:
Tube: "Adel" by Alwayssmiling, you can purchase it here
do not use without the proper #license.
PTU Kit "Audrey and Santa Claus" by Mysterfeerie Creation, you can purchase it here
Material: All created by me, here
Font: Painting Script
****************************************
--> Remember to save often and use my tag as reference if necessary. Use a Drop Shadow of your preference on layers.
1. Create a new image 700x650.
2. Open 'element' 80. Resize 70%. Copy and paste as new layer. Move it down and to right. Rename this layer to FIREPLACE.
3. Open 'element' 87. Resize 63%. Copy and paste as new layer. Place it on fireplace top border.
4. Open 'elements' 13 and 63. Resize 15%. Copy and paste as new layer. Hang them on the fireplace, one on each side.
5. Open 'elemet" 70. Resize 50%. Copy and paste as new layer. Move it up and to left. Duplicate. Free Rotate: Right-20. Move it to right and place it above the fireplace.
6. Open 'element' 31. Resize 35%. Copy and paste as new layer. Move it down. Place it over the fireplica bottom left.
7. Open 'element" 43. Resize 65%. Copy and paste as new layer. Move it way to left. Later he will suppose to like he is fixing the Christmas tree.
8. Open 'element' 55. Resize 70%. Copy and paste as new layer. Move it to left. In front of the presents and near Santa.
9. Open 'element' 23. Resize 45%. Copy and paste as new layer. Move it down and left. Place it over the tree's bottom.
10. Open your tube. Resize if needed. Copy and paste as new layer. I mirrored mine and move it to bottom and to right. You may want to rearrange the elements to better fit your tube.
11. Open 'element' 76. Resize 15%. Copy and paste as new layer. Move it to bottom and place in front of your tube.
12. Click on bottom layer. Open 'paper' 04. Copy and paste as new layer. Select all. Clip to canvas. Crop to selection. Rename this layer to BACK.
13. Open my window. Copy and paste as new layer and move it up. Select the space outside the window. Expand > 5.
14. Add a new layer and fill it with the color: #d1cfcf. Apply Noise: Gaussian - 45 - Monochrome. Use Distortion Effect > Pixelate: 1-15.
14. Add a new layer. Use the Custom Selection: Left-0 Top-500 Right-700 Bottom-650. Fill with the color: #808080. Apply Noise: Gaussian - 15 - Monochrome. Deselect.
15. Click on first layer. Add a new layer. Fill with black. Select all. Contract > 1. Delete. Deselect.
--> Add your copyright info and license#. Add your name and if you do not want to add the animations just save as PNG and it's done.
ANIMATION
1. PSP -> Click on back layer. Copy.
2. AS -> Open my mar2015_neve. Select all. Activate Propagate Paste. Paste the back as new animation. Duplicate it to have 10 frames, the same number of the neve animation. Select all. Activate mar2015_neve and copy. Activate the back and paste into selected frames. Position it on center top.
3. PSP -> Turn all layers from top until FIREPLACE layer invisible. Leave FIREPLACE to bottom except BACK layer visible. Copy merged.
4. AS -> Paste as new animation. Copy. Activate your back and paste it into selected frames. Open my mar2015_fireplace. Select all. Copy. Activate the tag. Paste into selected frames.
5. PS -> Turn layers from FIREPLACE to bottom invisible and all layer from FIREPLACE to top visible (FIREPLACE layer must be invisible too). Copy merged.
6. AS -> Paste as new animation. Copy. Activate the tag. Paste into selected frames. Save as GIF.

