Showing posts with label Andreea Cernestean. Show all posts

October 24, 2016

Blaze kit with Andreea Cernestean Tube 2-1

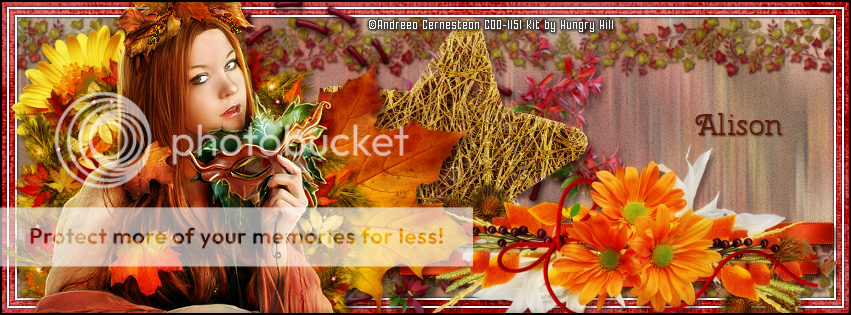
HARVEST TIME TUTORIAL

**Click to see original size**

Tutorial written by Marcia Salgado on October 20th, 2016
for those who have a working knowledge of PSP.
I'm using PSP9 to create my tuts.
Any resemblance to any other tutorial is coincidental.
Do not copy and paste this tutorial anywhere on the net.
If you want to translate please ask first. 

****************************************
Material:

Tube: "Individual Tube 2-1" by Andreea Cernestean, you can purchase it here,
do not use without the proper #license.
PTU Kit "Blaze" by Hungry Hill,
you can purchase it here 
Plugin: MuRa's Meister
Font: Cherry Swash 

****************************************

--> Remember to save often and use my tag as reference if necessary. Use a drop shadow of your preference on layers.


1. Open paper-7. Stretch on both sides to fit the background. 

2. Add a new layer. Select all. Contract > 7. Fill it with White. Contract > 2. Delete.

3. Open your tube. Copy and paste as new layer. Apply MuRa's Meister > Copies > WallPaper (Rotate) > Default. Enhance More. Motion Blur with settings below:


4. Select all. Clip to Canvas. Crop to selection. 

5. Select all. Contract > 15. Invert selection. Delete. Invert selection. Add a new layer. Fill with White. Keep selected. Low the layer opacity to 32. Add Noise: Uniform - Monochrome - 45. Add a new layer. Fill with White. Contract > 2. Delete. Deselect.

6. Click on White/noise background. Open vine_border. Resize 70%. Copy and paste as new layer. Move it way to left and place it inside the white background on top. Duplicate. Mirror. Move it to right to create a border. Create a joint as perfect as you can. Merge down. Select all. Clip to canvas. Contract > 15. Invert selection. Delete. Deselect. Duplicate. Flip. Merge down.

7. Open heart-stitches. Resize 65%. Copy and paste as new layer. Move it midway to left.

8. Open chrysanthemum. Resize 30%. Copy and paste as new layer. Move it up and to left.

9. Open twine-star. Resize 50%. Copy and paste as new layer. Move it very little to right.

10. Open turning-leaves. Resize 65%. Fre Rotate: Right-45. Copy and paste as new layer. Move it a little up and a little to right.

11. OPen cluster_1. Resize 40%. Copy and pasteas new layer. Move it way down and to right.

12. Open leaf-4. Resize 50%. Copy and paste as new layer. Move it down and a little to left.

13. Open wreath. Resize 50%. Copy and paste as new layer. Move it down and to left.

14. Open your tube. Resize. Copy and paste as new layer. I mirrored mine. Move it to left. After your tube placement you may want to re-arrange some previous elements to better fit your tube.

15. Add a new layer. Select all. Fill with Black. Contract > 2. Delete. Deselect.


-> Add your copyright info (no URL by Facebook TOU) and license#. 
Add your name or initials. Save as PNG.

--> Sometimes I had to change my Timeline size to 846x313 because when I add it to Facebook the image has extra pixels and do not fit perfectly. So try this size if the same is happening to you.

-------------------------------------

My idea for the Picture Profile


April 29, 2016

Love Lingers

MEMORIES TUTORIAL

WITH WORDART
**Click to see original size**

WITHOUT WORDART
**Click to see original size**

Tutorial written by Marcia Salgado on April 29th, 2016
for those who have a working knowledge of PSP.
I'm using PSP9 to create my tuts.
Any resemblance to any other tutorial is coincidental.
Do not copy and paste this tutorial anywhere on the net.
If you want to translate please ask first. 

****************************************
Material:

Tube: "Individual Tube 2-3" by Andreea Cernestean, you can purchase it here,
do not use without the proper #license.
PTU Kit "Love Lingers" by Hungry Hill,
you can purchase it here 
Plugin: Eye Candy 6 (OPTIONAL)
Font: Wytherness 

****************************************

--> Remember to save often and use my tag as reference if necessary. Use a drop shadow of your preference on layers.

1. Create a new image 851x315.

2. Open paper-3. Copy and paste as new layer. Move it around the background to place it as you like.

3. Add a new layer. Select all. Contract > 10. Fill it with white. Contract > 25. Delete. Deselect. Blend Mode: Overlay. Apply Blinds as shown below:


4. Select all. Float. Defloat. Add a new layer. Fill it with Black. Contract > 1. Deselect.

5. Open green-branch. Resize 30%. Mirror. Copy and paste as new layer. Move it a little down and to left.

6. Open envelopes. Resize 30%. Copy and paste as new layer. Move it down.

7. Open doodle-2. Resize 65%. Mirror. Copy and paste as new layer. Move it a little to left. Stop before the green brach.

8. Open fabric-leaf-1. Resize 45%. Copy and paste as new layer. Move it down and to left.  Duplicate. Free Rotate: Left-25. Move it a litle up and a little to right.
 Move this layer below the first golden leaf layer. 


9. Click on first layer. Open oak-leaves. Resize 45%. Flip. Copy and paste as new layer. Move it down and a little to left.

10. Open scarf. Resize 65%. Copy and paste as new layer. Move it way to left.

11. Open heart. Resize 70%. Copy and paste as new layer. Move it way to right.

12. Open time. Resize 40%. Copy and paste as new layer.Move it way to right.

13. Open leaf-scatter. Resize 50%. Mirror. Copy and paste as new layer. Move it to left.

14. Open your tube closeup. I mirrored mine. Copy and paste as new layer. Move it way to right.

15. OPTIONAL - Open WordArt. Resize 80%. Copy and paste as new layer. Move it down and to right. Add a border using Eye Candy 6 > Gradient Glow (color #5c0b00) with the settings below:


16. Add a new layer. Select all. Fill it with Black. Contract > 2. Deselect.


--> Add your copyright info and license#. Add your name or initials. Save as PNG.

--> Sometimes I had to change my Timeline size to 846x313 because when I add it to Facebook the image has extra pixels and do not fit perfectly. So try this size if the same is happening to you.

-----------------------------------------------------------

Idea for Profile Picture:


December 28, 2015

IB-AndreeaCernestean-2-3

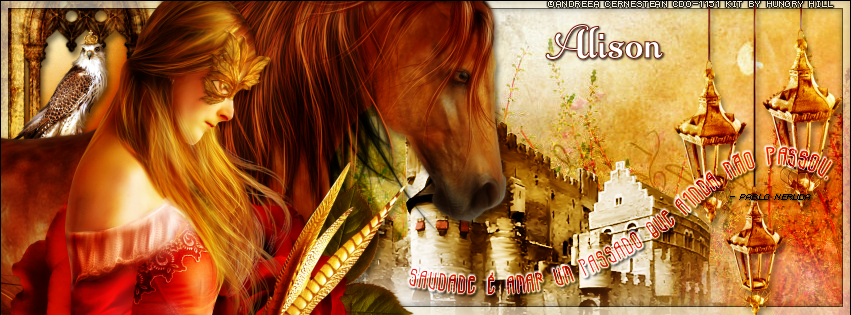
SAUDADE TUTORIAL

**Click to see original size**

Tutorial written by Marcia Salgado on June 5th, 2015
for those who have a working knowledge of PSP.
Any resemblance to any other tutorial is coincidental.
Do not copy and paste this tutorial anywhere on the net.
If you want to translate please ask first. 

****************************************
Material:

Tube: "Individual Tube 2-3" by Andreea Cernestean, you can purchase it here,
do not use without the proper #license.
PTU Kit "IB-AndreeaCernestean-2-3" by Hungry Hill,
you can purchase it here.
Font: Anna Nicole NF 

****************************************

--> Remember to save often and use my tag as reference if necessary. Use a Drop Shadow of your preference on layers. 

1. Create a new image 851x315.

2. Open paper-2. Copy and paste as new layer. Move it up to show the plants and flowers of the paper.

3. Open tower. Copy and paste as new layer. Move it to left.

4. Open falcon. Resize 20%. Copy and paste as new layer. Move it to left and place it on window frame at bottom.

5. Open castle-mist. Copy and paste as new layer. Move it to bottom.

6. Add a new layer. Select all. Fill it with the color #f1ebd5. Contract > 8. Fill the selection with black. Contract > 1. Delete. Deselect. Low the layer opacity to 60.

7. Open steed. Copy and paste as new layer. Move it to left.

8. Open rose-1. Resize 40%. Copy and paste as new layer. Move it down and to left. Place it over the the horse's front feet.

9. Open rose-2. Resize 30%. Copy and paste as new layer. Place it over the horse's belly.

10. Open lanterns. Resize 50%. Copy and paste as new layer. Move it way to right.

11.Open your tube. Resize if needed. Copy and paste as new layer. Move it to left. Rearrange the elements to better fit your tube.

12. add a new layer. Select all. Fill it with black. Contract > 1. Delete. Deselect.

--> Add your copyright info (no URL by Facebook TOU) and license#. Add your name. Save as PNG.

--> Sometimes I had to change my Timeline size to 846x313 because when I add it to Facebook the image has extra pixels and do not fit perfectly. So try this size if the same is happening to you.

-----------------------------------------------------------------------------

How I made my FB Profile Picture:


September 26, 2015

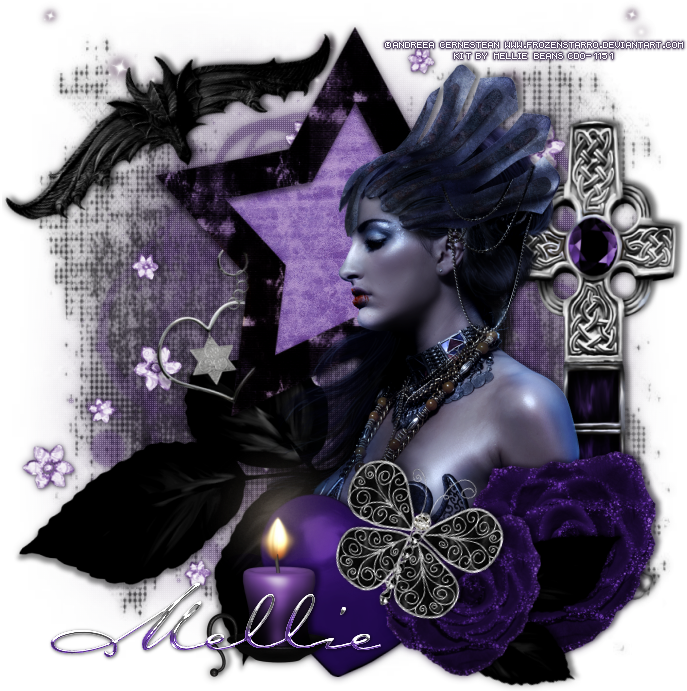
ScrapMB_IB-PinUpToons-224-1 - Mellie Beans CT Tag


== NEW CT MELLIE BEANS PTU TAG ==

Featuring "ScrapMB_IB-PinUpToons-224-1" by Mellie Beans at CDO - Creative Design Outlet.

Mellie Bean's kit has 20 elements. 2 frames, 1 wordart and 6 papers so you can play with it. 
The colors are beautiful and you can create different styles of tags.

Kit can be found at:

-> CDO - Creative Design Outlet, here

Visit her blog:


September 17, 2015

ScrapHH_IB-AndreeaCernestean-Sept2015-bt CT Tag Show Off


**Click to see original size**


== NEW CT HUNGRY HILL PTU TUTORIAL ==
WITH THE ART OF ANDREEA CERNESTEAN

Featuring "ScrapHH_IB-AndreeaCernestean-Sept2015-bt" Kit by HUNGRY HILL at Creative Design Outlet - CDO

The kit has 6 papers, 28 elements, 3 frames and 1 wordart so you can play with it.
The tube that inspired this scrap kit was only available during September 2015. 

Kit can be found exclusively at:

-> Creative Design Outlet - CDO, here

Don't forget to visit her blog:


September 15, 2015

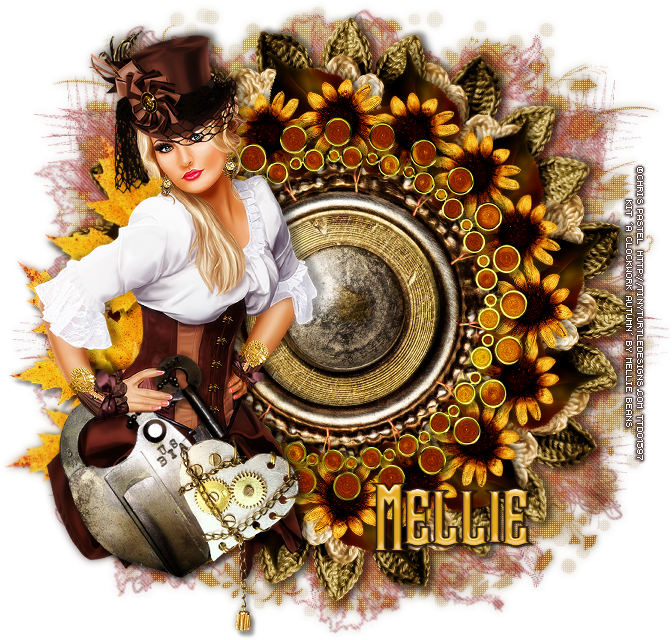
A Clock Work Autumn


I made this tag for an Auction at BAS - Bag-A-Snag Forum
and it only can have two copies, one with my name and one with the auction winner's name.


== NEW CT MELLIE BEANS PTU TAGS ==

Featuring "A Clock Work Autumn" by Mellie Beans
at Mystical Scraps Store and Heartbeatz Creationz.

This Steampunk themed Autumn kit is a must have for every Steampunk lover! 
Mellie Bean's kit has 92 elements, 4 wordarts and 10 papers so you can play with it. The colors are beautiful and you can create different styles of tags.

Kit can be found at:

-> Mystical Scraps Store, here

-> Heartbeatz Creationz, here

Visit her blog: