Showing posts with label DeesSignDepot. Show all posts

June 24, 2016

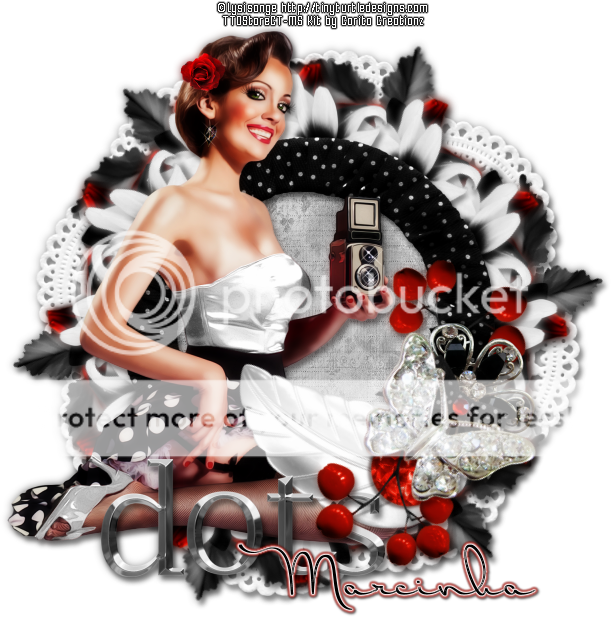
Charming Dots

VINTAGE PHOTOGRAPHER TUTORIAL


Tutorial written by Marcia Salgado on June 20th, 2016
for those who have a working knowledge of PSP.
Any resemblance to any other tutorial is coincidental.
Do not copy and paste this tutorial anywhere on the net.
If you want to translate please ask first. 

****************************************
Material:

Tube: "Isaure" by Lysisange, you can purchase it here 
do not use without the proper #license.
PTU Kit "Charming Dots" by Carita Creationz, you can purchase it here  
Font: Dr Carbfred

****************************************

--> Remember to save often and use my tag as reference if necessary. Use a Drop Shadow of your choice. 


1. Create a new image 650x650.

2. Open 'element' 6. Resize 80%. Copy and paste as new layer.

3. Open 'element' 27. Resize 40%. Mirror. Free Rotate: Right-25. Copy and paste as new layer. Move it a little up and to right. Place it showing only the tip of the leaves. Duplicate. Mirror. Flip. Merge down. Duplicate. Free Rotate: Right-60. Duplicate the copy and apply the same free rotate. Merge all leaves layers together.

5. Open 'element' 12. Resize 45%. Copy and paste as new layer. Free Rotate: Left-45. Add some shadow. Apply MuRa's Meister > Copies > Encircle - Default.

6. Open 'element' 12a. Resize 40%. Copy and paste as new layer. Add  some shadow. Apply MuRa's Meister > Copies > Encircle - Default.

7. Open 'element' 19. Resize 40%. Copy and paste as new layer. Add some shadow. Apply MuRa's Meister > Copies > Encircle - Default.

8. Open 'element' 4. Resize 55%. Copy and paste as new layer.

9. Select inside the frame. Expand > 8. Add a new layer and move it below the frame layer. Open 'paper' pp2. Copy and paste into selection.

10. Click on frame layer. Open your tube. Resize. Copy and paste as new layer. Move it to left a little.

11. Open 'element' 25. Resize 41%. Free Rotate: Right-35. Copy and paste as new layer. Move it down and to right.

12. Open 'element' 8. Resize 40%. Copy and paste as new layer. Move it down and to left.

13. Open 'element' 9. Resize 36%. Free Rotate: Left-60. Copy and paste as new layer. Move it to right. Duplicate. Mirror. Flip. Place it below the fist one.

14. Open 'element' 16. Resize 40%. Copy and paste as new layer. Place it over the joint point of the previous element.

15. Open 'element' 1. Resize 31%. Free Rotate: Right-30. Copy and paste as new layer. Place it over the metal flower.

16. Open 'element' 13. Resize 50%. Free Rotate: Right-45. Copy and paste as new layer. Move it a little down and to right.

17. Use Crop > Merged Opaque to get rid of all extra space.


--> Add your copyright info and license#. Add your name and save as PNG.


June 10, 2016

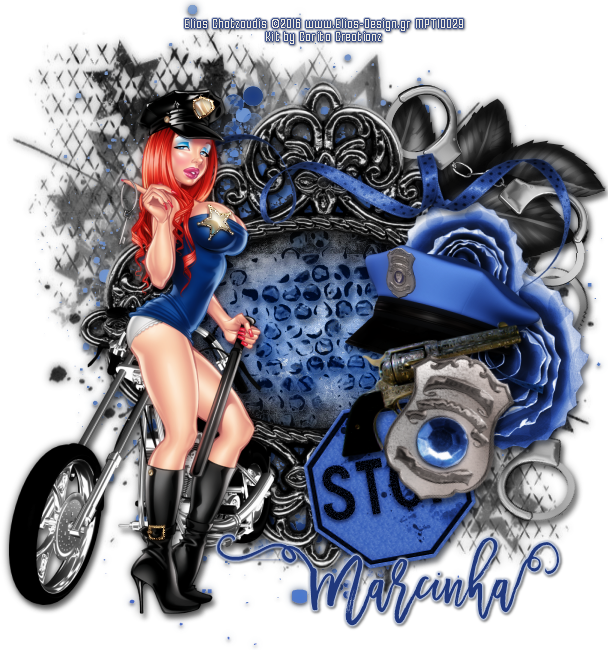
Under Arrest

YOU'RE MINE TUTORIAL


Tutorial written by Marcia Salgado on June 10th, 2016
for those who have a working knowledge of PSP.
Any resemblance to any other tutorial is coincidental.
Do not copy and paste this tutorial anywhere on the net.
If you want to translate please ask first. 

****************************************
Material:

Tube: "Bonnie" by Elias Chatzoudis, you can purchase it here 
do not use without the proper #license.
PTU Kit "Under Arrest" by Carita Creationz, you can purchase it here  
Mask: Dee's mask, DD_PatrioticMask_2. HERE 
Font: Madina Script

****************************************

--> Remember to save often and use my tag as reference if necessary. Use a Drop Shadow of your choice. 


1. Create a new image 650x650.

2. Add a new layer. Select all. Open 'paper" pp6. Copy and paste into selection. Deselect. Apply Dee's mask. Merge group.

3. Open 'element' 26. Copy and paste as new layer.

4. Open 'element' 17. Resize 75%. Copy and paste as new layer.

5. Open 'element' 29.  Copy and paste as new layer. Move it up and to right. Move this below the frame layer.

6. Open 'element' 6. Copy and paste as new layer.

7. Click on frame layer and select it inside. Expand > 10. Add a new layer and move it below the frame layer. Open 'paper' pp9. Copy and paste into selection. Invert selection.

8. Open 'element' 3. Copy and paste as new layer. Delete. Deselect. Blend Mode: Luminance (L).

9. Click on frame layer. Open 'element' 18. Resize 40%. Free Rotate: Left-10. Copy and paste as new layer.

10. Open 'element' 20. Resize 50%. Copy and paste as new layer. Move it to right. Duplicate. Resize 70%. Move it a little up and a little to left.

11. Open 'element' 15. Resize 70%. Copy and paste as new layer. Move it up and a little to right.

12. Open 'element' 2. Resize 60%. Mirror. Copy and paste as new layer. Move it to right and a very little up.

13. Open 'element' 12. Resize 60%. Free Rotate: Left-10. Copy and paste as new layer. Move it to right.

14. Open 'element' 11. Resize 60%. Free Rotate: Right-20. Copy and paste as new layer. Move it down and to right.

15. Open 'element' 24. Resize 60%. Mirror. Copy and paste as new layer. Move it down and to left.

16. Open your tube. Resize if needed. Copy and paste as new layer. Move it to left.

17. Use Crop > Merged Opaque to get rid of all extra spaces.


--> Add your copyright info and license#. Add your name and save as PNG.


------------------------------------------------------


Below the same tag where I added some simple animations (noise and underwater).


-------------------------------------------------------

Same FREE SNAGS I made for you, just click and save


May 12, 2016

You & Me

INTENSE TUTORIAL


Tutorial written by Marcia Salgado on May 12th, 2016
for those who have a working knowledge of PSP.
Any resemblance to any other tutorial is coincidental.
Do not copy and paste this tutorial anywhere on the net.
If you want to translate please ask first. 

****************************************
Material:

Tube: "The Sun" by Alehandra Vanhek (Exclusive), you can purchase it here 
do not use without the proper #license.
PTU Kit "You & Me" by Carita Creationz, you can purchase it here  
Mask: Dee's mask, DD_StarMask_4, here 
Plugin: MuRa's Meister
Font: Sourdough

****************************************

--> Remember to save often and use my tag as reference if necessary. Use a Drop Shadow of your choice. 


1. Create a new image 650x650.

2. Open 'element' 16. Copy and paste as new layer. Apply MuRa's Meister > Copies > Encircle as shown below:


3. Open 'element' 18. Copy and paste as new layer.

4. Open 'element' 4. Resize 55%. Flip. Copy and paste as new layer. Apply MuRa's Meister > Copies > Encircle with the settings below:


5. Select inside the frame created. Add a new layer. Expand > 5. Open 'paper' pp10. Copy and paste into selection. Keep selected.

6. Open 'paper' pp5. Copy and paste into selection. Invert selection. Blend Mode: Overlay.

7. Open yourtube close up. Resize a little if needed. Copy and paste as new layer. Place it inside the frame. Delete. Deselect. Low the layer opacity to 50. Select all. Clip to canvas. Crop to selection.Turn Layer 1 (it's the empty bottom layer) invisible  and merge all visible layer. Move the cluster creates to left but pay attention on borders. Turn bottom layer visible again and click on it.

8. Add a new layer. Select all. Open 'paper' pp2. Copy and paste into selection. Apply Dee's mask. Merge group. Move it to right.

9. Open 'element' 29. Resize 75%. Copy and paste as new layer. Move it down and to left (a little far from border but still showing under the cluster frame). Duplicate. Mirror. Flip. Merge down.

10. Click on first layer. Open your tube. Resize. Copy and paste as new layer. Move it to right. I mirrored mine.

11. Open 'element' 1. Resize 35%. Copy and paste as new layer. Move it down and to left.

12. Open 'element' 2. Resize 25%. Free Rotate: Right-120. Copy and paste as new layer. Place it over the previous leaf.

13. Open 'element' 13. Resize 25%. Free Rotate: Right-28. Copy and paste as new layer. Move it down and a little to left.

14. Open 'element' 22. Resize 55%. Free Rotate: Left-25. Copy and paste as new layer. Move it down and to left.


--> Add your copyright info and license#. Add your name and save as PNG.

-------------------------------------------------------------------------

Some FREE SNAGS I made for you, 
just click and save