Showing posts with label Free Snags. Show all posts

May 12, 2016

You & Me

INTENSE TUTORIAL


Tutorial written by Marcia Salgado on May 12th, 2016
for those who have a working knowledge of PSP.
Any resemblance to any other tutorial is coincidental.
Do not copy and paste this tutorial anywhere on the net.
If you want to translate please ask first. 

****************************************
Material:

Tube: "The Sun" by Alehandra Vanhek (Exclusive), you can purchase it here 
do not use without the proper #license.
PTU Kit "You & Me" by Carita Creationz, you can purchase it here  
Mask: Dee's mask, DD_StarMask_4, here 
Plugin: MuRa's Meister
Font: Sourdough

****************************************

--> Remember to save often and use my tag as reference if necessary. Use a Drop Shadow of your choice. 


1. Create a new image 650x650.

2. Open 'element' 16. Copy and paste as new layer. Apply MuRa's Meister > Copies > Encircle as shown below:


3. Open 'element' 18. Copy and paste as new layer.

4. Open 'element' 4. Resize 55%. Flip. Copy and paste as new layer. Apply MuRa's Meister > Copies > Encircle with the settings below:


5. Select inside the frame created. Add a new layer. Expand > 5. Open 'paper' pp10. Copy and paste into selection. Keep selected.

6. Open 'paper' pp5. Copy and paste into selection. Invert selection. Blend Mode: Overlay.

7. Open yourtube close up. Resize a little if needed. Copy and paste as new layer. Place it inside the frame. Delete. Deselect. Low the layer opacity to 50. Select all. Clip to canvas. Crop to selection.Turn Layer 1 (it's the empty bottom layer) invisible  and merge all visible layer. Move the cluster creates to left but pay attention on borders. Turn bottom layer visible again and click on it.

8. Add a new layer. Select all. Open 'paper' pp2. Copy and paste into selection. Apply Dee's mask. Merge group. Move it to right.

9. Open 'element' 29. Resize 75%. Copy and paste as new layer. Move it down and to left (a little far from border but still showing under the cluster frame). Duplicate. Mirror. Flip. Merge down.

10. Click on first layer. Open your tube. Resize. Copy and paste as new layer. Move it to right. I mirrored mine.

11. Open 'element' 1. Resize 35%. Copy and paste as new layer. Move it down and to left.

12. Open 'element' 2. Resize 25%. Free Rotate: Right-120. Copy and paste as new layer. Place it over the previous leaf.

13. Open 'element' 13. Resize 25%. Free Rotate: Right-28. Copy and paste as new layer. Move it down and a little to left.

14. Open 'element' 22. Resize 55%. Free Rotate: Left-25. Copy and paste as new layer. Move it down and to left.


--> Add your copyright info and license#. Add your name and save as PNG.


-------------------------------------------------------------------------

Some FREE SNAGS I made for you, 
just click and save


March 9, 2016

Southern Charm and Free Snags


== NEW CT HUNGRY HILL PTU TAG AND FREE SNAGS ==
WITH THE ARTWORK BY ENAMORTE

Featuring "Southern Charm" Kit by HUNGRY HILL at Creative Design Outlet - CDO


Created with the soft, feminine colors and the lightness and beauty that all true southern lady should have. But make no mistake, the southern lady so beautiful, has the hardness of steel, represented by beautiful metallic elements and magnificent jewels.
It has 6 papers, 36 elements, 3 frames and 2 wordart so you can play with it.

Kit can be found exclusively at:

-> Creative Design Outlet - CDO, here

Tube used on this tag can be purchased here

Don't forget to visit her blog:


----------------------------------------------------------------------------

Some FREE SNAGS I made for you, just click and save.


February 22, 2016

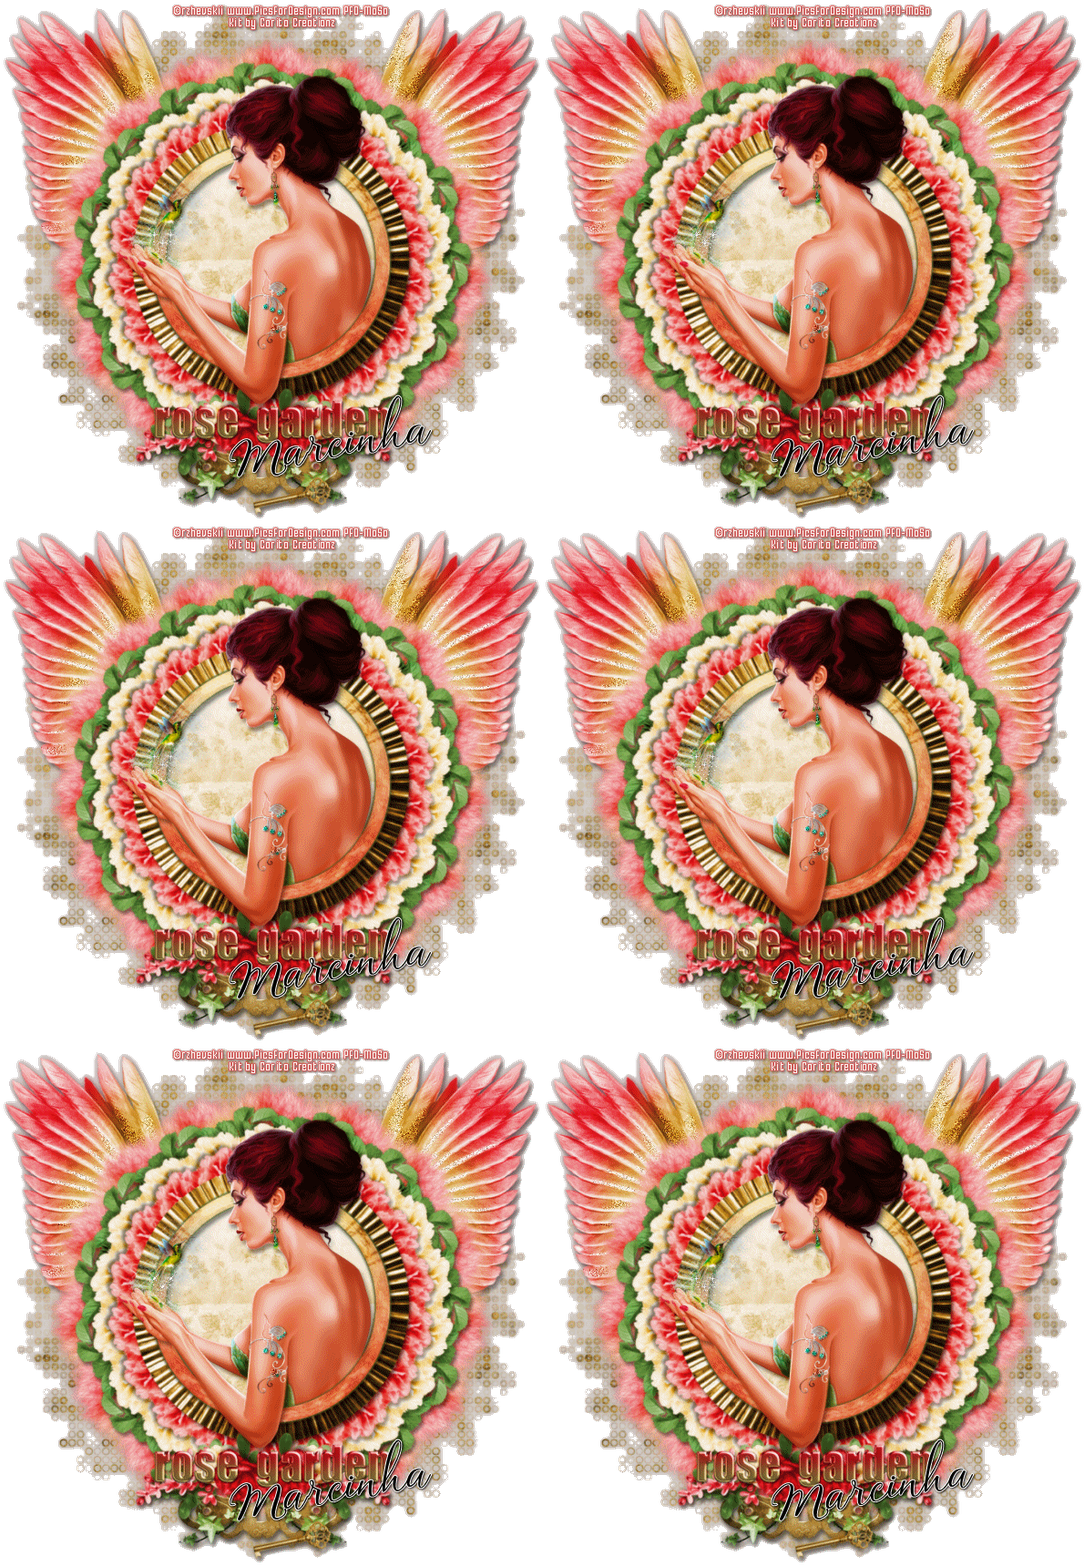
Rose Garden


== NEW CT CARITA CREATIONZ PTU TAG AND FREE SNAGS ==

Featuring "Rose Garden" Kit by CARITA CREATIONZ at Dees'Sign Depot Store

This kit is a unique beauty. The colors are soft and complement each other perfectly, creating a romantic lightness full of magic and enchantment.

Tagger sized kit for personal use. It has 44 elements, 6 frames and 10 papers.

Kit can be found exclusively at:

-> Dees'Sign Depot Store, here 

Don't forget to visit her blog:


------------------------------------

Some FREE SNAGS I made for you:


February 20, 2016

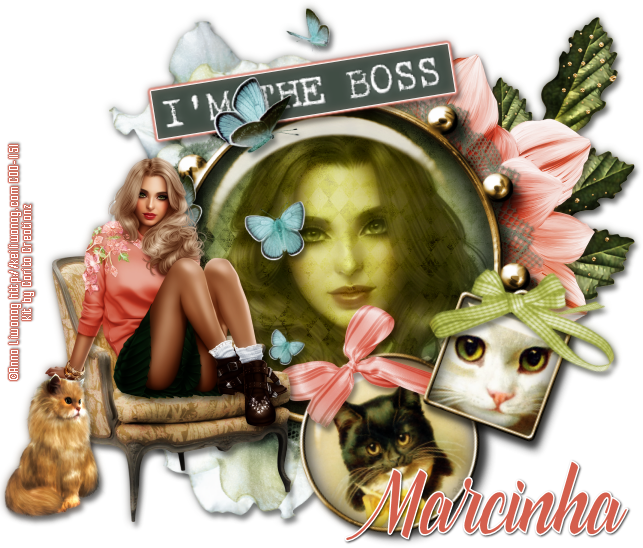
Purrr-fect Kittie

THE BOSS TUTORIAL


Tutorial written by Marcia Salgado on February 20th, 2016
for those who have a working knowledge of PSP.
Any resemblance to any other tutorial is coincidental.
Do not copy and paste this tutorial anywhere on the net.
If you want to translate please ask first. 

****************************************
Material:

Tube: "Individual Tube 86-3" by Anna Liwanag, you can purchase it here 
do not use without the proper #license.
PTU Kit "Purrr-fect Kittie" by Carita Creationz, you can purchase it here 
Font:  catfish script

****************************************

--> Remember to save often and use my tag as reference if necessary. Use a Drop Shadow of your choice. 


1. Create a new image 700x550. 

2. Open the frame f1. Resize 65%. Copy and paste as new layer.

3. Click on the bottom layer. Open 'element' 21. Resize 75%. Copy and paste as new layer. Move it to left. Duplicate it twice and made a semicircle on left side of the frame. Merge all layer with the same element.

4. Open 'element'4. Copy and paste as new layer. Move it to right and a little up.

5. Open 'element' 5. Copy and paste as new layer. Mopve it up and to right. Place it over the previous leaves.

6. Open 'element' 30. Resize 75%. Copy and paste as new layer.You may need to adjust it a little to be perfectly behind the frame.

7. Create a selection with the Lasso Tool around the frame. Like that:


8. Add a new layer. Open 'paper' pp5. Copy and paste into selection. Invert selection.

9. Open your tube close up. Copy and paste as new layer. Place it inside the frame and delete. Blend Mode: Luminance (Legacy). Low the opacity to 62. Duplicate. Gaussian Blur: 4. Blend Mode: Soft Light. Increase the layer opacity to 100.

10. Click on first layer (frame layer). Open 'element' 2. Resize 55%. Free Rotate: Left-20. Copy and paste as new layer. Move it down and a little to left.

11. Open 'element' 43. Resize 35%. Copy and paste as new layer. Place it over the cat picture on top. 

12. Open 'element' 1. Resize 45. Free Rotate: Right-20. Copy and paste as new layer. Move it down and to right. Place it over the big frame border.

13. Open 'element' 8. Resize 35%. Free Rotate: Right-20. Copy and paste as new layer. Place it over the previous cat picture on top.

14. Open 'element' 35. Resize 50%. Free Rotate: Left-8. Copy and paste as new layer. Place it over the big frame on top. Add a white border and then a border using the color: #d45f4d. 

15. Open 'element' 14. Resize 75%. Copy and paste as new layer. Move it to left.

16. Open 'element' 19. Resize 50%. Mirror. Copy and paste as new layer. Move it down and to left.

17. Open your tube (I'm using a sitted tube), resize it and copy and paste as new layer. Place it on the armchair.

18. Open 'element' 34. Resize 25%. Copy and paste as new layer. Move it down and way to left.

19. Use Crop > Merged Opaque and crop the extra space of the tag.


--> Add your copyright and license#. Add your name and save as PNG.


---------------------------------------------------------------------

Some FREE SNAGS for you:


February 15, 2016

The Black Pearl

AHOY MATE! TUTORIAL


Tutorial written by Marcia Salgado on February 15th, 2016
for those who have a working knowledge of PSP.
Any resemblance to any other tutorial is coincidental.
Do not copy and paste this tutorial anywhere on the net.
If you want to translate please ask first. 

****************************************
Material:

Tube: "My Treasure" an PFD Exclusive Tube by OrkusArt, you can purchase it here 
do not use without the proper #license.
PTU Kit "The Black Pearl" by Carita Creationz, you can purchase it here  
Font: TradeWind

****************************************

--> Remember to save often and use my tag as reference if necessary. Use a Drop Shadow of your choice. 

1. Create a new image 700x700.

2. Open 'element' 50. Resize 85%. Copy and paste as new layer. Move it way right. Duplicate. Mirror (Newer PSP versions may need to move it way left). Merge down.

3. Open 'element' 11. Copy and paste as new layer. Free Rotate: Right-15.

4. Open 'element' 19. Resize 75%. Copy and paste as new layer. Move it way down.

5. Open 'element' 14. Resize 30%. Copy and paste as new layer. Move it down and to right. Place it on ocean somewhere on right side of the map.

6. Open 'element' 1. Resize 75%. Copy and paste as new layer. Place it in the middle of the map.

7. Open 'element' 37. Copy and paste as new layer. Move it to left. Duplicate and move it down and a little to right.

8. Open 'element' 22. Copy and paste as new layer. Move it down and a little to left.

9. Open 'element' 5. Resize 85%. Copy and paste as new layer. Move it down and to left.

10. Open 'element' 12. Resize 65%. Copy and paste as new layer. Move it way down.

11. Open 'element' 13. Resize 50%. Copy and paste as new layer. Move it down and a little to right. Place it over the gold coins on right side.

12. Open 'element' 8. Resize 45%. Copy and paste as new layer. Move it down and way to right.

13. Open 'element' 15. Resize 65%. Copy and paste as new layer. Move it up and a little to right.

14. Open 'element' 18. Resize 30%. Copy and paste as new layer. Place it over the map border on the right side.

15. Open your tube and resize if needed. Mine is a seated pirate woman so I mirrored it and placed over the chest.


--> Add your copyright info and license#. Add your name and save as PNG.

--------------------------------------------------------------------

Some Extras I made for you


July 3, 2015

FTU Clusters - FB Hungry Hill Fan Group


Kit Summer Fan Freebie is available at Hungry Hill Fans too.

== 2 NEW CLUSTERS - FTU KIT ==

Made 2 clusters using Alison - Hungry Hill New Summer Fan Freebie kit.
 The download links will be posted only at her Hungry Hill Fans group.

Click below to subscribe to her group:

HUNGRY HILL FANS


February 23, 2015

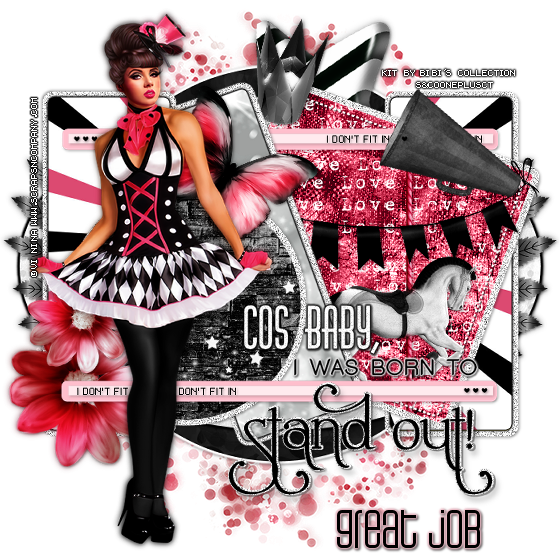
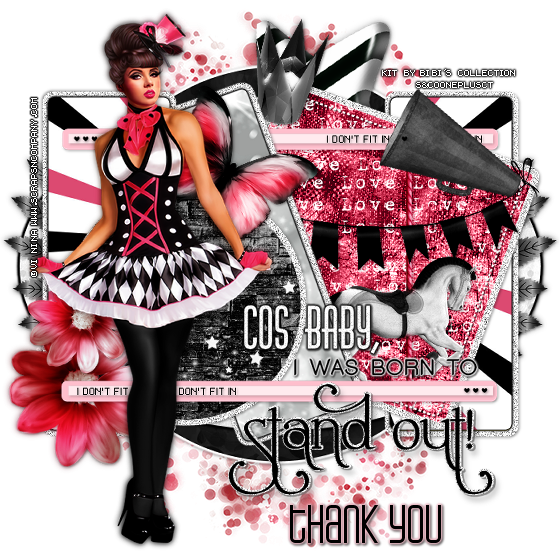
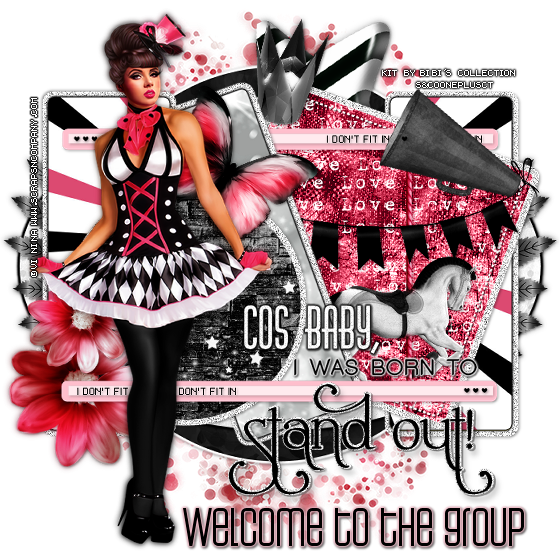
Cirkus - Snags


Some snags I made using the gorgeous " Cirkus" tube by Vi Nina, and
the beautiful "Magic Cirkus" kit by Bibi's Collection

To save:
 click on image to bigger size, right click and save.


==  VI NINA and BIBI'S COLLECTION KIT SNAGS ==

Featuring "Cirkus" tube by Vi Nina and "Magic Cirkus"Kit by Bibi's Collection at Scraps N Company - S&Co.

Vi Nina's tube is a gorgeous circus babe.
With a close-up layer. PSD file, big tagger size.

Bibi's Collection kit is a beautiful magic circus that match with Vi Nina's tube perfectly. 
It has 16 papers and 128 elements so you can play with it. Very versitile and can be easily be used with many other tubes and artists.

Vi Nina's tube can be found  at:
-> Scraps N Company - S&Co., here

Bibi's Collection kit can be found  at:
-> Scraps N Company - S&Co., here


February 19, 2015

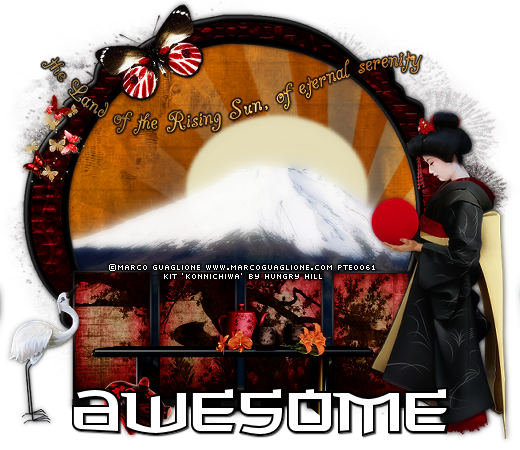
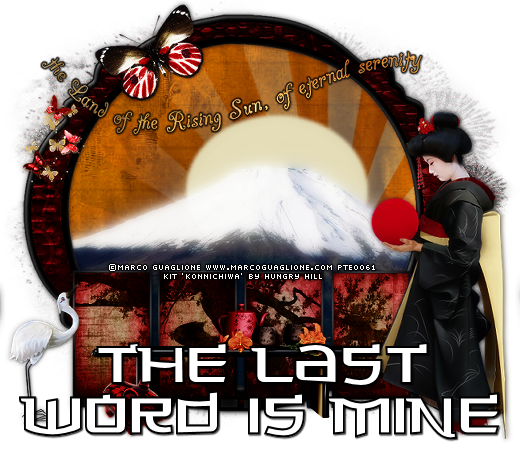
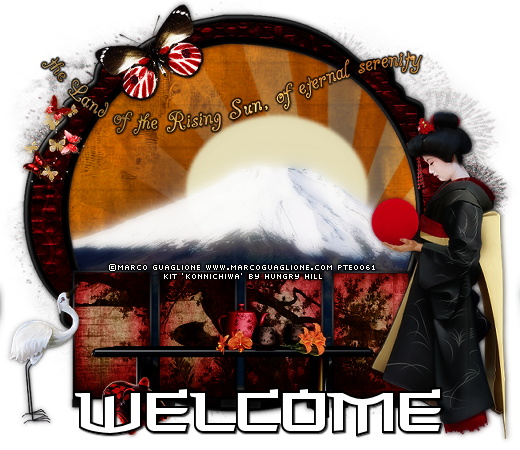
Konnichiwa Snags


Some snags I made using the fantastic kit 'Konnichiwa' by Hungry Hill
 just right click and save.


== HUNGRY HILL SNAGS ==

Featuring "Konnichiwa" Kit by HUNGRY HILL at Creative Design Outlet - CDO
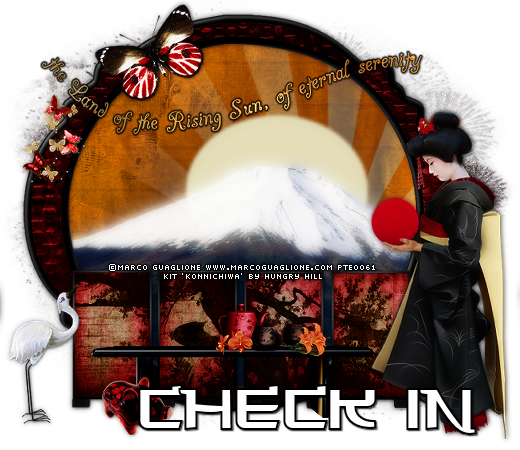
Kit with a fantastic oriental theme. 
The elements take you directly to the Land of The Rising Sun.
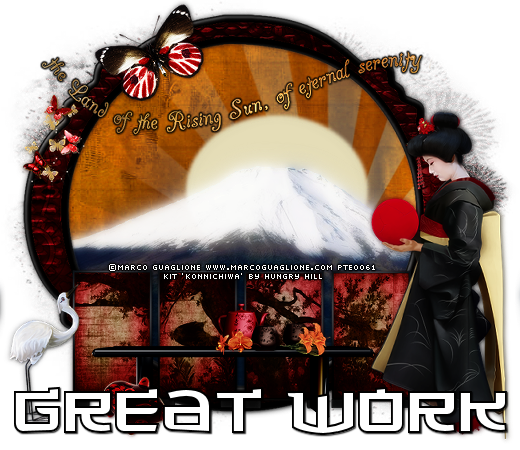
It has 12 papers, 49 elements, 4 frames and 3 wordart so you can play with it.

Kit can be found exclusively at:

-> Creative Design Outlet - CDO, here