
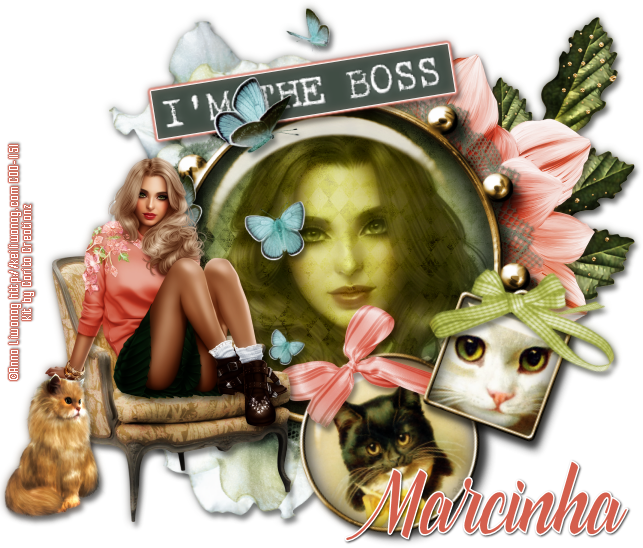
THE BOSS TUTORIAL
Tutorial written by Marcia Salgado on February 20th, 2016
for those who have a working knowledge of PSP.
Any resemblance to any other tutorial is coincidental.
Do not copy and paste this tutorial anywhere on the net.
If you want to translate please ask first.
****************************************
Material:
Tube: "Individual Tube 86-3" by Anna Liwanag, you can purchase it here
do not use without the proper #license.
PTU Kit "Purrr-fect Kittie" by Carita Creationz, you can purchase it here
Font: catfish script
****************************************
--> Remember to save often and use my tag as reference if necessary. Use a Drop Shadow of your choice.
1. Create a new image 700x550.
2. Open the frame f1. Resize 65%. Copy and paste as new layer.
3. Click on the bottom layer. Open 'element' 21. Resize 75%. Copy and paste as new layer. Move it to left. Duplicate it twice and made a semicircle on left side of the frame. Merge all layer with the same element.
4. Open 'element'4. Copy and paste as new layer. Move it to right and a little up.
5. Open 'element' 5. Copy and paste as new layer. Mopve it up and to right. Place it over the previous leaves.
6. Open 'element' 30. Resize 75%. Copy and paste as new layer.You may need to adjust it a little to be perfectly behind the frame.
7. Create a selection with the Lasso Tool around the frame. Like that:

8. Add a new layer. Open 'paper' pp5. Copy and paste into selection. Invert selection.
9. Open your tube close up. Copy and paste as new layer. Place it inside the frame and delete. Blend Mode: Luminance (Legacy). Low the opacity to 62. Duplicate. Gaussian Blur: 4. Blend Mode: Soft Light. Increase the layer opacity to 100.
10. Click on first layer (frame layer). Open 'element' 2. Resize 55%. Free Rotate: Left-20. Copy and paste as new layer. Move it down and a little to left.
11. Open 'element' 43. Resize 35%. Copy and paste as new layer. Place it over the cat picture on top.
12. Open 'element' 1. Resize 45. Free Rotate: Right-20. Copy and paste as new layer. Move it down and to right. Place it over the big frame border.
13. Open 'element' 8. Resize 35%. Free Rotate: Right-20. Copy and paste as new layer. Place it over the previous cat picture on top.
14. Open 'element' 35. Resize 50%. Free Rotate: Left-8. Copy and paste as new layer. Place it over the big frame on top. Add a white border and then a border using the color: #d45f4d.
15. Open 'element' 14. Resize 75%. Copy and paste as new layer. Move it to left.
16. Open 'element' 19. Resize 50%. Mirror. Copy and paste as new layer. Move it down and to left.
17. Open your tube (I'm using a sitted tube), resize it and copy and paste as new layer. Place it on the armchair.
18. Open 'element' 34. Resize 25%. Copy and paste as new layer. Move it down and way to left.
19. Use Crop > Merged Opaque and crop the extra space of the tag.
--> Add your copyright and license#. Add your name and save as PNG.
---------------------------------------------------------------------
Some FREE SNAGS for you:


---------------------------------------------------------------------
Some FREE SNAGS for you:


