July 28, 2015

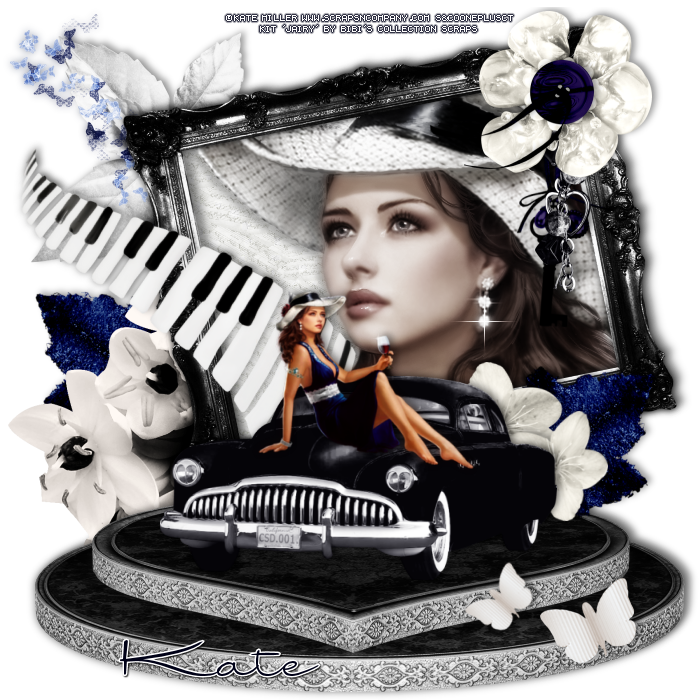
Jairy Romance Collab


== NEW PTU TAG S&CO. CT ==
KATE MILLER AND BIBI'S COLLECTION COLLAB

Featuring "Jairy", a Kate Miller tube and
 "Jairy", Bibi's Collection kit at Scraps N Company - S&Co.

Bibi's Collection kit has 10 papers and 103 elements so you can play with it. Very versatile and can be used with any other tubes and artists you have.

Kate Miller's tube AND Bibi's Collection kit can be found  at:

-> Scraps N Company - S&Co., here


Umma

SUMMER SWEET TUTORIAL


Tutorial written by Marcia Salgado on July 28th, 2015
for those who have a working knowledge of PSP.
Any resemblance to any other tutorial is coincidental.
Do not copy and paste this tutorial anywhere on the net.
If you want to translate please ask first. 

****************************************
Material:

Tube: "Umma" by Toriya, you can purchase it here
do not use without the proper #license.
PTU Kit "Umma" by Design by Joan, you can purchase it here 
Plugin: Penta.com
Font: FourSeasons Pro

****************************************

--> Remember to save often and use my tag as reference if necessary. Use a Drop Shadow of your like on layers. 

1. Create a new image 700x700.

2. Open UMMA_DBJ (1). Resize 90%. Copy and paste as new layer.

3. Open UMMA_DBJ (65). Resize 90%. Copy and paste as new layer. Move it up.

4. Open UMMA_DBJ (80). Resize 85%. Copy and paste as new layer. Move it up left.

5. Open UMMA_DBJ (58). Resize 50%. Copy and paste as new layer. Move it down right.

6. Open UMMA_DBJ (21). Resize 70%. Copy and paste as new layer. Move it down right.

7. Open UMMA_DBJ (57). Resize 80%. Copy and paste as new layer. Click inside the frame. Expand > 4. Add a new layer. Move it under the frame layer.

8. Open UMMA_DBJ_PP (3). Copy and paste into selection. Apply Penta.com > Jeans > Default. Add a new layer. Open UMMA_DBJ_PP (1). Copy and paste as new layer. Low the layer opacity to 50. Deselect. Click on frame layer. Duplicate. Blend Mode: Soft Light.

9. Open UMMA_DBJ (92). Resize 50%. Copy and paste as new layer. Move it a little up.

10. Click on first layer, shoul be the frame. Open UMMA_DBJ (78). Resize 70%. Copy and paste as new layer. Move a little up and to right to better place it over the first frame. 

11. Open UMMA_DBJ (50). Resize 60%. Mirror. Copy and paste as new layer. Move it to right. Place it over the flower frame border.

11. Open UMMA_DBJ (42). Resize 70%. Mirror. Copy and paste as new layer. Move it down left.

12. Open UMMA_DBJ (68). Resize 70%. Copy and paste as new layer. Move it down left.

13. Open UMMA_DBJ (25). Resize 50%. Copy and paste as new layer. Move it down left.

14. Open your tube. Resize if needed. Copy and paste as new layer. Move it down right and place it over the heart pillow. Add a suitable shadow.

15. Open UMMA_DBJ (91). Resize 50%. Copy and paste as new layer. Move it down left.

16. Open UMMA_DBJ (7). Resize 20%. Copy and paste as new layer. Move it left down. Place it over the pink branch stem. Duplicate it twice and cover the stem.

17. Open UMMA_DBJ (16). Resize 40%. Copy and paste as new layer. Move it down left. Place it over the daisies, at bottom.

--> All elements are on layers so you can move it until you get satisfied with the placements. Resize if wanted. Add your copyright info and license#. Add your name and save as PNG.


July 27, 2015

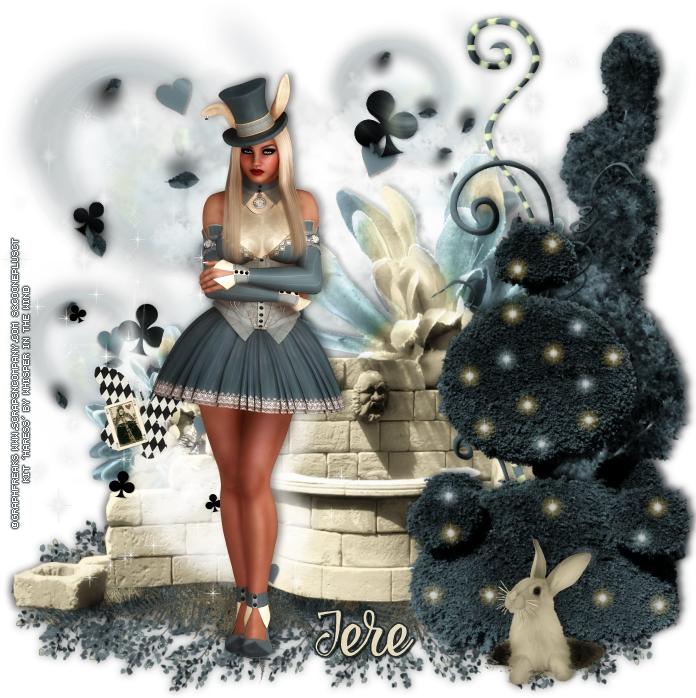
Haress

PRETTY HARESS TUTORIAL


Tutorial written by Marcia Salgado on July 28th, 2015
for those who have a working knowledge of PSP.
Any resemblance to any other tutorial is coincidental.
Do not copy and paste this tutorial anywhere on the net.
If you want to translate please ask first. 

****************************************
Material:

Tube: "Haress" by GraphFreaks, you can purchase it here
do not use without the proper #license.
PTU Kit "Haress" by Whisper In The Wind, you can purchase it here 
Font: Frosting for Breakfast

****************************************

--> Remember to save often and use my tag as reference if necessary. Use a Drop shadow you like on layers. 

1. Create a new image 700x700.

2. Open WITWHaress El84. Resize 85%. Copy and paste as new layer. Move it down.

3. Open WITWHaress El26. Resize 85%. Copy and paste as new layer. Move it up.

4. Open WITWHaress El13. Resize 40%. Copy and paste as new layer. Move it down left.

5. Open WITWHaress El43. Resize 80%. Copy and paste as new layer. Move it up left. Duplicate. Resize 60%. Move it up right. Duplicate and move it down left.

6. Open WITWHaress El74. Resize 60%. Copy and paste as new layer. Move it to right. Duplicate. Resize 50%. Mirror. Move it a little to left and down.

7. Open WITWHaress El3. Resize 70%. Copy and paste as new layer. Move it to right.

8. Open WITWHaress El67. Resize 70%. Mirror. Move it down and left.

9. Open WITWHaress El25. Resize 60%. Copy and paste as new layer. Move it to right and place in front the previous tree.

10. Open WITWHaress El97. Resize 10%. Copy and paste as new layer. Place it over the second tree. Duplicate as much as need to cover the tree as flowers. Merge all layers of this element. Blend Mode: Hard Light. Low the layer opacity to 70. Do the same with WITWHaress El96. Just change the blend mode to Screen.

11. Open WITWHaress El91. Resize 75%. Copy and paste as new layer. Move it up right.

12. Open WITWHaress El79. Resize 20% Copy and paste as new layer. Move it down right and place it in front the second tree, at its bottom.

13. Open WITWHaress El33. Resize 50%. Copy and paste as new layer. Move it down left.

14. Open your tube. Copy and paste as new layer. Move it to left. Add a suitable shadow.

--> Resize if wanted. Add your copyright info and license#. Add your name and save as PNG.


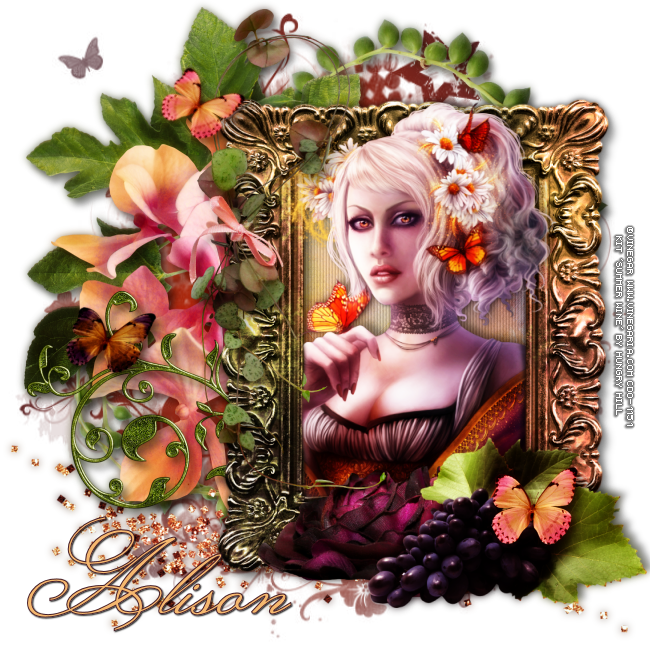
Summer Wine

BUTTERFLIES TUTORIAL


Tutorial written by Marcia Salgado on July 27th, 2015
for those who have a working knowledge of PSP.
Any resemblance to any other tutorial is coincidental.
Do not copy and paste this tutorial anywhere on the net.
If you want to translate please ask first. 

****************************************
Material:

Tube: "After Dusk" by Vinegar, you can purchase it here,
do not use without the proper #license.
PTU Kit "Summer Wine" by Hungry Hill,
you can purchase it here
Mask: Vix's Mask, Vix_Mask363, here
Font: Monsieur La Doulaise 

****************************************

--> Remember to save often and use my tag as reference if necessary. Use a Drop Shadow of your preference on layers.

1. Create a new image 650x650. Add a new layer. Create a Rectangular Gradient using #dd2d01 in foreground color and #491f27 in background color. Style: Rectangular, Angle: 45 and Repeat: 0. Fill the layer with the gradient and apply Vix's mask. Merge group.

2. Open vine-heart. Resize 70%. Copy and paste as new layer. Move it up and right.

3. Open glitter. Resize 70%. Copy and paste as new layer. Move it down.

4. Open oak-leaves. Resize 50%. Copy and paste as new layer. Move it up left.

5. Open petals-2. Resize 50%. Mirror. Copy and paste as new layer. Move it to left.

6. Open doodle-3. Resize 40%. Mirror. Copy and paste as new layer. Move it down left.

7. Open frame-3. Resize 60%. Copy and paste as new layer. Move it to right. Rename it FRAME. Select inside the frame. Expand > 5. add a new layer. Move this layer below frame layer.

8. Open paper-3. Copy and paste into selection. Deselect. Apply Blinds: 3-20-Black-Light from left/top marked. Duplicate. Blend Mode: Soft Light. Rename it BACK.

9. Click on FRAME layer. Open flower-4. Resize 30%. Mirror. Copy and paste as new layer. Move it down. Place it over bottom frame border at left.

10. Open grapes. Resize 35%. Mirror. Copy and paste as new layer. Move it down and place it over the frame border at right.

11. Open vine-1. Resize 60%. Copy and paste as new layer. Place it over the frame left border, a little up.

12. Open flutterby-2. Resize 30%. Mirror. Copy and paste as new layer. Place it over the grapes. Duplicate. Mirror. Resize 80%. Move it up left, place it over the frame top left corner.

13. Open flutterby-1, Resize 25%. Copy and paste as new layer. Place it over the green vine top.

14. Click on BACK layer. Open your tube. Resize if needed. Copy and paste s new tube and place it inside your frame, exactly where you want it, don't mind about the head. Rename this layer TUBE. Duplicate it. Rename it COPY. Move COPY layer above FRAME layer. Erase the bottom part of the tube. Add a suitable shadow.

15. Now you may want to rearrange all elements to better fit your tag.

--> Resize it if wanted. Add your copyright info and license#. Add your name and save as PNG.

July 26, 2015

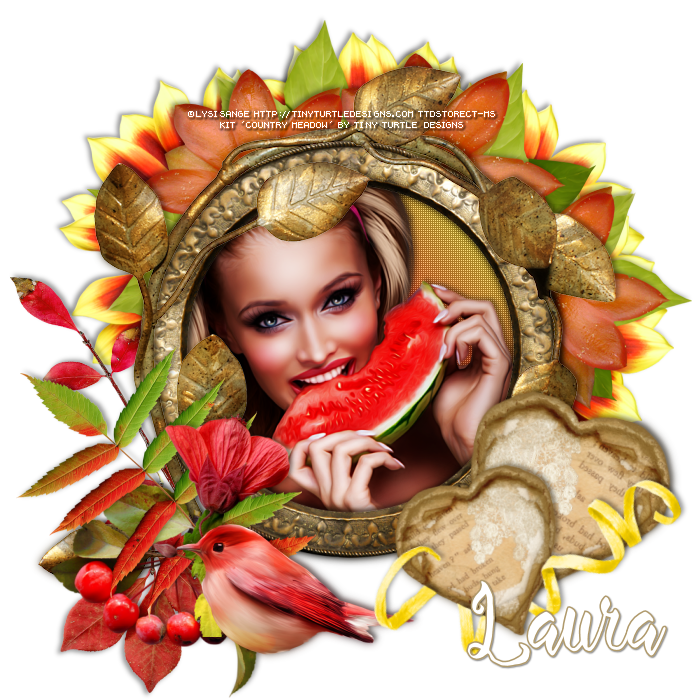
Country Meadow with Praline - Show Off


== NEW PTU TAG TINY TURTLE DESIGNS CT ==
AND THE ART OF LYSISANGE

Featuring "Praline", a Lysisange tube and
 "Country Meadow", Tiny Turtle Design kit at TinyTurtleDesign Store.

Tiny Turtle Design kit has 22 papers and 121 elements
so you can play with it. 

Lysisange's tube can be found  at:
-> TinyTurtleDesign Store, here

Tiny Turtle Design kit can be found  at:
-> TinyTurtleDesign Store, here


July 25, 2015

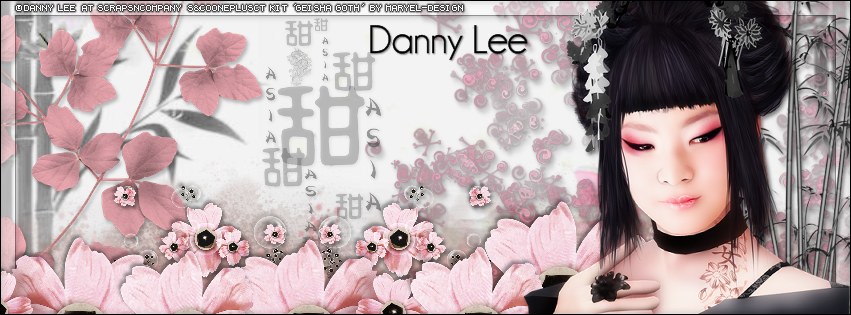
Geisha Goth

ORIENTAL TUTORIAL

**Click to see the original size**

Tutorial written by Marcia Salgado on July 25th, 2015
for those who have a working knowledge of PSP.
Any resemblance to any other tutorial is coincidental.
Do not copy and paste this tutorial anywhere on the net.
If you want to translate please ask first. 

****************************************
Material:

Tube: "Geisha Goth" by Danny Lee, you can purchase it here
do not use without the proper #license.
PTU Kit "Geisha Goth" by MaryeL-Design, you can purchase it here
Font: Champagne & Limousine

****************************************

--> Remember to save often and use my tag as reference if necessary. Use a Drop Shadow you like on layers. 

1. Create a new image 831X315. Add a new layer. Select all.

2. Open Paper 1. Custom Selection: Left-0, Top-235, Right-600, Bottom-520. Copy and paste into selection. Duplicate. Blend Mode: Burn.

3. Open 'element' 55. Copy and paste as new layer. Move it to left way down. Duplicate. Mirror. Merge down.

4. Open 'element' 54. Copy and paste as new layer. Move it way down left.

5. Open Frame 6. Copy and paste as new layer. Move it way right. Low opacity to 64.

6. Open 'element' 10. Resize 50%. Copy and paste as new layer. Move a little to left.

7. Open 'element' 22. Resize 70%. Copy and paste as new layer. Move it way left.

8. Open 'element' 73. Resize 30%. Copy and paste asn ew layer. Move it to right a little down. Duplicate. Mirror. Move it to left.

9. Add a new layer. Select all. Fill it with white. Contract > 15. Keep selected. Same layer. Fill with black. Contract > 1. Delete. Deselect. Low opacity to 40.

10. Open 'element' 74. Resize 40%. Move it down right. Duplicate it twice and place them on bottom moving them to left.

11. Open 'element' 75. Resize 30%. Move it down right. Duplicate it once and place it on bottom moving it to left.

12. Open 'element' 46. Copy and paste as new layer. Move it way right.

13. Open your tube close up. Resize it if needed. Copy and paste as new layer. Move it to right.

14. Add a new layer. Select all. Fill with black. Contract > 1. Delete. Deselect.

--> Add your copyright info (no URL by Facebook TOU) and license#. Add your name. Save as PNG.

--> Sometimes I had to change my Timeline size to 846x313 because when I add it to Facebook the image has extra pixels and do not fit perfectly. So try this size if the same is happening to you. 


July 24, 2015

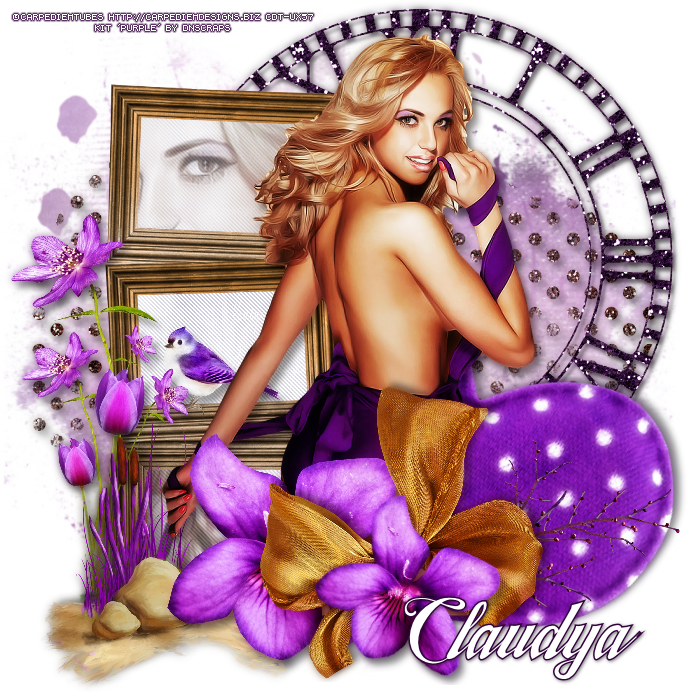
Purple

PURPLE TUTORIAL


Tutorial written by Marcia Salgado on July 24th, 2015
for those who have a working knowledge of PSP.
Any resemblance to any other tutorial is coincidental.
Do not copy and paste this tutorial anywhere on the net.
If you want to translate please ask first. 

****************************************
Material:

Tube: "Purple" by Carpe Diem, you can purchase it at her store, here 
do not use without the proper #license.
PTU Kit "Purple" by DnScraps, you can purchase it here  
Mask: Rachel Design Mask, RD_MaskSet80_Mask4, here
Plugin: Penta.com
Font: TradeWind

****************************************

--> Remember to save often and use my tag as reference if necessary. Use a Drop Shadow of your choice. 

1. Create a new image 700x700. Add a new layer. Select all.

2. Open Purplekitpudnpaper5. Copy and paste into selection. Deselect. Apply Rachel's mask. Merge group. Move it up left. Duplicate. Mirror. Flip. Merge down. 

3. Open Purplekitpudnmasks. Resize 80%. Copy and paste as new layer.

4. Open Purplekitpudnclock. Resize 70%. Copy and paste as new layer. Move it up right.

5. Open Purplekitpudnbigheart. Resize 60%. Free Rotate: Right-25. Copy and paste as new layer. Move it down right.

6. Open Purplekitpudntreeframe. Resize 70%, Copy and paste as new layer. Move it to left. Select inside all 3 frames. Expand > 3. Add a new layer and move it below frame layer.

7. Open Purplekitpudnpaper3. Copy and paste into selection. Deselect. Apply Penta.com > Jeans.

8. Click on frame layer. Select only first frame. Add a new layer. Expand > 3. Open your tube, mirror it and with selection tool - Rectangle Shape - select a part of it. Copy and paste into selection. Move this layer below frame Select inside the third frame. Expand > 3. Click on layer below the frame. Select another part of your tube the same way you did before. Copy and paste into selection. Blend Mode: Luminance (Legacy) and low the opacity to 48.

9. Click on frame layer. Open Purplekitpudnbird. Resize 15%. Copy and paste as new layer. Place it over the second frame border.

10. Open Purplekitpudnprettyflowers. Resize 50%. Mirror. Copy and paste as new layer. Move it down left and place it on frames side.

11. Open Purplekitpudntulips. Resize 30%. Copy and paste as new layer. Move it down left and place it in front of the previous flower.

12. Open Purplekitpudnscene. Resize 35%. Copy and paste as new layer. Move it down left and place it over the flowers base.

13. Open your tube. Resize it if needed. Copy and paste as new layer. Move it to right.

14. Open Purplekitpudnbranchs. Resize 50%. Copy and paste as new layer. Move it down right.

15. Open Purplekitpudnflowersss2. Resize 30%. Copy and paste as new layer. Move it down. Duplicate. Resize 70%. Free Rotate: Right-30. Move a little down and to right.

16. Open Purplekitpudnbow. Resize 40%. Copy and paste asnew layer. Move it don a little to right and place it between the two previous flowers - just below first frame.

--> Resize if needed. Add your copyright info and license#. Add your name and save as PNG.


July 23, 2015

Piratka with Pirate Skull

MOST WANTED TUTORIAL


Tutorial written by Marcia Salgado on July 23th, 2015
for those who have a working knowledge of PSP.
Any resemblance to any other tutorial is coincidental.
Do not copy and paste this tutorial anywhere on the net.
If you want to translate please ask first. 

****************************************
Material:

Tube: "Piratka" by Natalia NZ, you can purchase it here
do not use without the proper #license.
PTU Kit "Pirate Skull" by Devilish Dezines, you can purchase it here
Font: CK Pirate Hand

****************************************

--> Remember to save often and use my tag as reference if necessary. Use a Drop Shadow of your like. 

1. Create a new image 700x700.

2. Open element24. Resize 85%. Copy and paste as new layer. 

3. Open element40. Resize 87%. Copy and paste as new layer.

4. Open element31. Resize 89%. Copy and paste as new layer.

5. Open element10. Resize 70%. Flip. Copy and paste as new layer. Move it down left. Duplicate, leave it in same place. Duplicate again and move it to right.

6. Open element21. Resize 40%. Mirror. Copy and paste as new layer. Move it down right.

7. Open frame2. Resize 75%. Copy and paste as new layer. Select inside the frame. Expand > 5. Add a new layer. Move it under the frame layer.

8. Open paper2. Copy and paste into selection. Keep selected.

9. Open paper4. Copy and paste into selection. Blend Mode: Overlay. Keep selected.

10. Open your tube, resize if needed. Copy and paste as new layer. Place it inside the frame. Invert the selection. Hit delete. Select all. Selections > Clip to canvas. Image > Crop to selection.

11. Click on first layer, should be the frame layer. Open element32. Resize 60%. Copy and paste as new layer. Move it to right.

12. Open element18. Resize 10%. Mirror. Free Rotate: Left-25. Copy and paste as new layer. Place it over the tree. Duplicate. Mirror. Move it to another place on tree.

13. Open element42. Resize 40%. Copy and paste as new layer. Move it down right. Duplicate. Mirror. Place it over the first one a little down.

14. Open element43. Resize 30%. Copy and paste as new layer. Move it down right.

15. Open element14. Resize 35%. Copy and paste as new layer. Move it up left. Place it over the frame border.

16. Open element3. Resize 40%. Copy and paste as new layer. Move it down left.

17. Open element27. Resize 50%. Free Rotate: Right-90. Copy and paste as new layer. Move it down left.

18. Open element41. Resize 20%, Copy and paste as new layer. Move it down right. Place it over the stones.


19. Open element11. Resize 35%. Copy and paste as new layer. Move it down a little to right.

--> I made an extra step. Create a rectangle at the very bottom of the tag, click on follow elements layers and click delete to clean: element24, element40 and element31.

--> Resize if wanted. Add your copyright info and license#. Add your name and save as PNG. 

Orange Hair ~ by Joanne Salgado


Tutorial written by Joanne Salgado on July 12th, 2015
for those who have a working knowledge of PSP.
Any resemblance to any other tutorial is coincidental.
Do not copy and paste this tutorial anywhere on the net.
If you want to translate please ask first. 

Tube: Orange Hair by Danny Lee - you can purchase here
Kit Wide Open Road by Disturbed Scraps - you can purchase here
Font: Dancing Script

Don't forget to save often.
At any point if you have doubts check my tag.

1. Open a new image 600x500

2. Open element 'DS - WOR Element (73)' copy and paste as new layer. Resize 65%. Arrange it to bottom.

3. Open paper 'DS - WOR Paper 6' copy and paste as new layer. Resize 50%. Move this below the frame layer. Arrange it to the left. Clean the parts that appears outside the left frame.

4. Open paper 'DS - WOR Paper 5' copy and paste as new layer. Resize 50%. Arrange it to the right. Clean the parts that appears outside the right frame.

5. Open element 'DS - WOR Element (57)' copy and paste as new layer. Resize 70%. Arrange it to the top.

6. Open element 'DS - WOR Element (34)' copy and paste as new layer. Resize 60%. Arrange it to the left. Clean the parts that appears outside the left frame.

7. Open element 'DS - WOR Element (62)' copy and paste as new layer. Resize 65%. Arrange it to the top right. Clean if some part appears outside the frame.

8. Open element 'DS - WOR Element (46)' copy and paste as new layer. Resize 50%. Move this layer above the frame layer. Arrange it to the left.

9. Open element 'DS - WOR Element (63)' copy and paste as new layer. Resize 70%. Arrange it to the top.

10. Open your tube. Copy and paste as new layer. Resize as you prefer and arrange it to the middle.

11. Open element 'DS - WOR Element (83)' copy and paste as new layer. Resize 70%. Flip. Arrange it to bottom.

12. Open element 'DS - WOR Element (41)' copy and paste as new layer. Resize 30%. Mirror. Arrange it to the bottom right.

13. Add shadow. I used: 1-1-65-2 #404040

14. Add copyright.

15. Add name. I used: Dancing Script / size: 48

Save as PNG

July 22, 2015

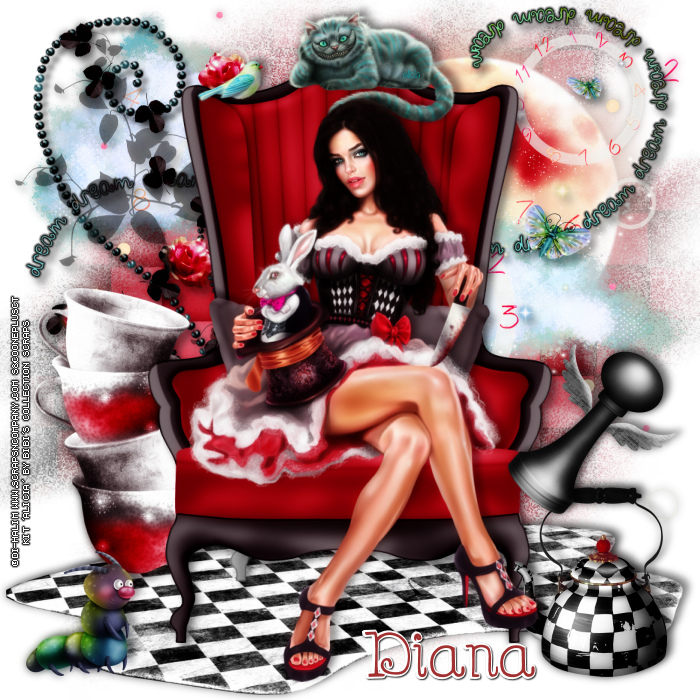
Alicia and Alicia-Queen

WONDER DUO TUTORIAL


Tutorial written by Marcia Salgado on June 10th, 2015
for those who have a working knowledge of PSP.
Any resemblance to any other tutorial is coincidental.
Do not copy and paste this tutorial anywhere on the net.
If you want to translate please ask first. 

****************************************
Material:

Tube: "Alicia" by Di-Halim, you can purchase it here
do not use without the proper #license.
Tube Layer "Alicia-Queen" by Di-Halim, you can purchase it here
PTU Kit "Alicia" by Bibi's Collection, you can purchase it here
Mask: Tonya's mask, Mask2byTonya, here
Font: DJB Holly Berry Wonderland

****************************************

--> Remember to save often and use my tag as reference if necessary. Used the Drop Shadow: 1-1-50-5 in most layers. 

1. Create a new image of 700x700. Add a new layer. Select all.

2. Open BIBI ALICIA PAPER (12). Copy and paste into selection. Deselect. Apply Tonya's mask. Merge group.

3. Open BIBI ALICIA ELEMS (28). Resize 60%. Copy and paste as new layer. Move it to right top.

4. Open BIBI ALICIA ELEMS (76). Resize 50%. Copy and paste as new layer. Move it up left. Duplicate. Move it to right and down.

5. Open BIBI ALICIA ELEMS (78). Copy and paste as new layer. Move it up right.

6. Open BIBI ALICIA ELEMS (10). Resize 60%. Copy and paste as new layer. Move it down.

7. Open BIBI ALICIA ELEMS (80). Resize 70%. Free Rotate: Left-20. Copy and paste as new layer. Move it up left.

8. Open BIBI ALICIA ELEMS (87). Resize 60%. Copy and paste as new layer. Move it up. Add a black border.

9. Open BIBI ALICIA ELEMS (24). Resize 50%. Mirror. Copy and paste as new layer. Move it to left.

10. Open BIBI ALICIA ELEMS (33). Resize 60%. Copy and paste as new layer. Move it to left.

11. Open BIBI ALICIA ELEMS (60). Resize 40%. Copy and paste as new layer. Move it up right.

12. Open BIBI ALICIA ELEMS (129). Resize 75%. Copy and paste as new layer.

13. Open BIBI ALICIA ELEMS (90). Resize 40%. Copy and paste as new layer. Move it down right.

14. Open BIBI ALICIA ELEMS (127). Resize 40%. Copy and paste as new layer. Move it down left.

15. Open BIBI ALICIA ELEMS (97). Resize 40%. Copy and paste as new layer. Move it to right.

16. Open BIBI ALICIA ELEMS (30). Resize 60%. Copy and paste as new layer. Move it up, place it on armchair's top.

17. Open BIBI ALICIA ELEMS (84). Resize 20%. Copy and paste as new layer. Move it up left. Place it on armchair's top.

18. Open your tube, resize it if needed. Copy and paste as new layer. Place the tube seated on armchair.

--> In case of using the Alicia-Queen tube layer, just open it and resize to same size of your tube. Copy and paste as new layer and place it over Alicia tube.

--> Resize the tag if wanted. Add your copyright info and license#. Add your name and save as PNG.
------------------------------------------------------------

Using the Alicia-Queen tube layer


July 20, 2015

Rainbow Bubble 3 with Misty


** Click to see original size **


== NEW PTU TAG TINY TURTLE DESIGNS CT ==
AND THE ART OF LADY MISHKA

Featuring "Misty", a Lady Mishka tube 
and "Rainbow Bubble 3", Tiny Turtle Design kit at TinyTurtleDesign Store.

Tiny Turtle Design kit has 39 papers and 214 elements so you can play with it. 

Lady Mishka's tube can be found  at:
-> TinyTurtleDesign Store, here

Tiny Turtle Design kit can be found  at:
-> TinyTurtleDesign Store, here


July 11, 2015

HH - IB-Vintage Angel - Show Off


== NEW CT HUNGRY HILL PTU TAG ==

Featuring "IB-Vintage Angel" Kit by HUNGRY HILL
at Creative Design Outlet - CDO

The elements are full of magic and beauty. 
It has 6 papers, 24 elements, 2 frames and 1 wordart so you can play with it.

Kit can be found exclusively at:

-> Creative Design Outlet - CDO, here

Don't forget to visit her blog:


July 10, 2015

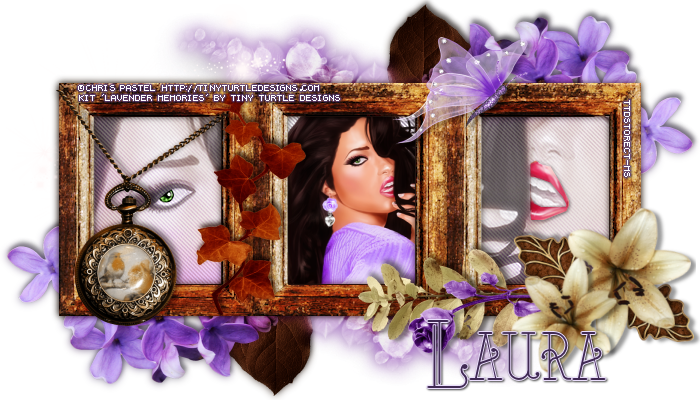
Lavender Memories with Marine - Show Off


== NEW PTU TAG TINY TURTLE DESIGNS CT ==
AND THE ART OF CHRIS PASTEL

Featuring "Marine", a Chris Pastel tube 
and "Lavender Memories", Tiny Turtle Design kit at TinyTurtleDesign Store.

Tiny Turtle Design kit has 31 papers and 112 elements so you can play with it. 

Chris Pastel's tube can be found  at:
-> TinyTurtleDesign Store, here


Tiny Turtle Design kit can be found  at:
-> TinyTurtleDesign Store, here


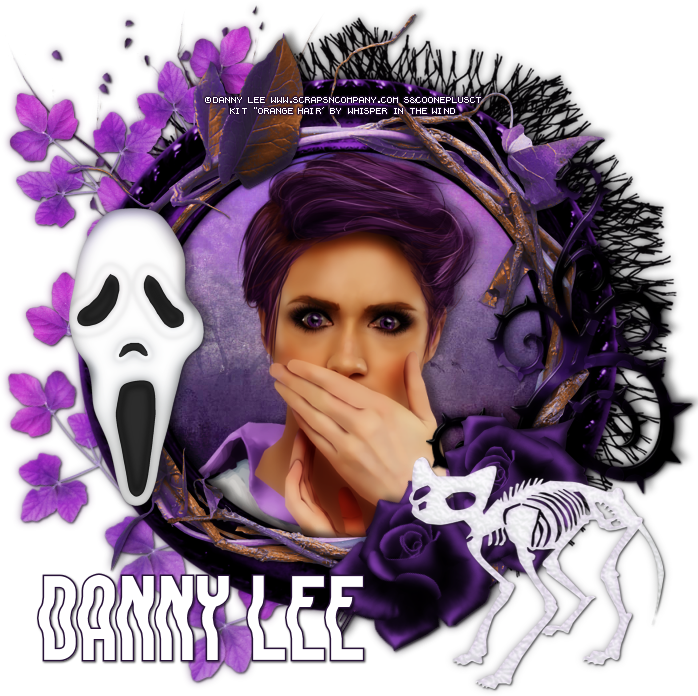
Fear

SCARY TUTORIAL


Tutorial written by Marcia Salgado on July 10th, 2015
for those who have a working knowledge of PSP.
Any resemblance to any other tutorial is coincidental.
Do not copy and paste this tutorial anywhere on the net.
If you want to translate please ask first. 

****************************************
Material:

Tube: "Fear" by Danny Lee, you can purchase it here 
do not use without the proper #license.
PTU Kit "Fear" by MaryeL-Design, you can purchase it here  
Font: LIQUIDO Fluid

****************************************

--> Remember to save often and use my tag as reference if necessary. Used the Drop Shadow: 1-1-50-5 in most layers. 

1. Create a new image 700x700.

2. Open 'element' 69. Copy and paste as new layer. Move a little up and right.

3. Open 'element' 6. Free Rotate: Left-5. Copy and paste as new layer. Move it up and left.

4. Open 'element' 35. Resize 60%. Copy and paste as new layer. Move it up and left. Duplicate. Mirror. Free Rotate: Left-20. Move it down and left. Erase any unwanted stem.

5. Open Frame 5. Resize 90%. Copy and paste as new layer. Select inside the frame. Expand > 5. Add a new layer. Move it under frame layer. Open Paper 4. Copy and paste into selection. Add a new layer. Open Paper 3. Copy and paste into selection. Keep selected. Blend Mode: Overlay. 

6. Open your tube close up. Resize if needed. Copya and paste as new layer. Place it inside the frmae. Invert selection. Delete. Select all. Selections > Clip to canvas. Image > Crop to selection. Add a suitable shadow.

7. Click on first layer, should be the frame. Open Frames 2. Copy and paste as new layer. If necessary move it a little to place it over the first frame.

8. Open 'element' 13. Resize 60%. Copy and paste as new layer. Move it down and right.

9. Open 'element' 47. Resize 30%. Copy and paste as new layer. Move it down and right. Duplicate. Free Rotate: Right-30. Move it a little down and left.

10. Open 'element' 51. Resize 50%. Mirror. Copy and paste as new layer. Move it down and right.

11. Open 'element' 21. Resize 50%. Copy and paste as new layer. Move it to left.


--> Resize if wanted. Add your copyright info and license#. Add your name and save as PNG.