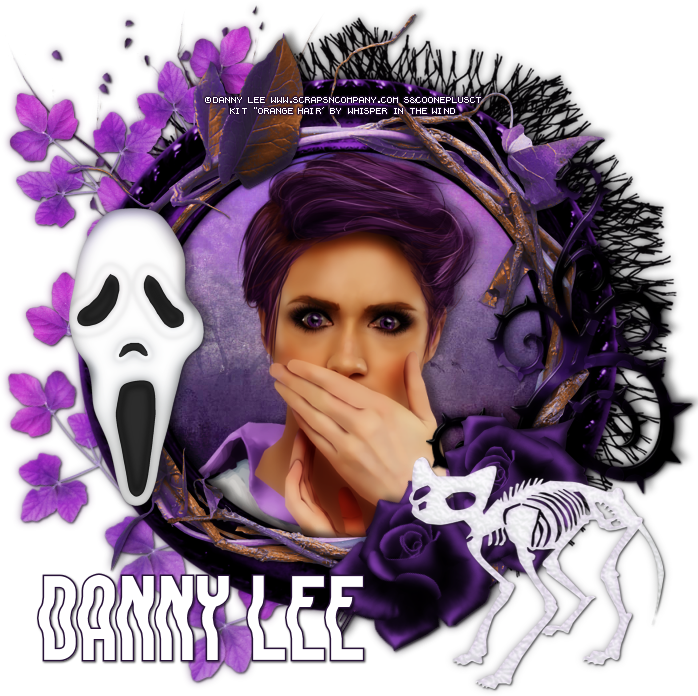
SCARY TUTORIAL
Tutorial written by Marcia Salgado on July 10th, 2015
for those who have a working knowledge of PSP.
Any resemblance to any other tutorial is coincidental.
Do not copy and paste this tutorial anywhere on the net.
If you want to translate please ask first.
****************************************
Material:
Tube: "Fear" by Danny Lee, you can purchase it here
do not use without the proper #license.
PTU Kit "Fear" by MaryeL-Design, you can purchase it here
Font: LIQUIDO Fluid
****************************************
--> Remember to save often and use my tag as reference if necessary. Used the Drop Shadow: 1-1-50-5 in most layers.
1. Create a new image 700x700.
2. Open 'element' 69. Copy and paste as new layer. Move a little up and right.
3. Open 'element' 6. Free Rotate: Left-5. Copy and paste as new layer. Move it up and left.
4. Open 'element' 35. Resize 60%. Copy and paste as new layer. Move it up and left. Duplicate. Mirror. Free Rotate: Left-20. Move it down and left. Erase any unwanted stem.
5. Open Frame 5. Resize 90%. Copy and paste as new layer. Select inside the frame. Expand > 5. Add a new layer. Move it under frame layer. Open Paper 4. Copy and paste into selection. Add a new layer. Open Paper 3. Copy and paste into selection. Keep selected. Blend Mode: Overlay.
6. Open your tube close up. Resize if needed. Copya and paste as new layer. Place it inside the frmae. Invert selection. Delete. Select all. Selections > Clip to canvas. Image > Crop to selection. Add a suitable shadow.
7. Click on first layer, should be the frame. Open Frames 2. Copy and paste as new layer. If necessary move it a little to place it over the first frame.
8. Open 'element' 13. Resize 60%. Copy and paste as new layer. Move it down and right.
9. Open 'element' 47. Resize 30%. Copy and paste as new layer. Move it down and right. Duplicate. Free Rotate: Right-30. Move it a little down and left.
10. Open 'element' 51. Resize 50%. Mirror. Copy and paste as new layer. Move it down and right.
11. Open 'element' 21. Resize 50%. Copy and paste as new layer. Move it to left.
--> Resize if wanted. Add your copyright info and license#. Add your name and save as PNG.

