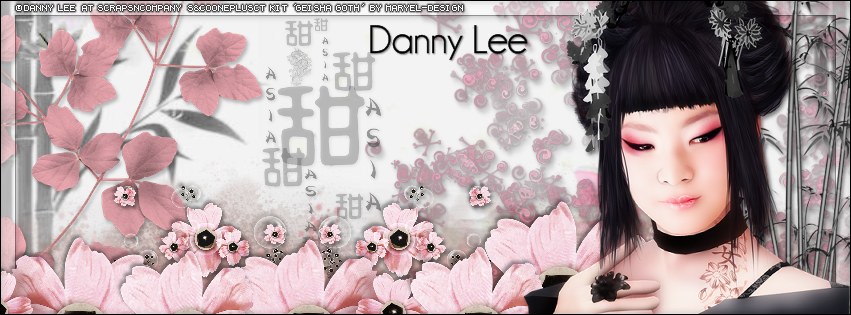
ORIENTAL TUTORIAL
**Click to see the original size**
Tutorial written by Marcia Salgado on July 25th, 2015
for those who have a working knowledge of PSP.
Any resemblance to any other tutorial is coincidental.
Do not copy and paste this tutorial anywhere on the net.
If you want to translate please ask first.
****************************************
Material:
Tube: "Geisha Goth" by Danny Lee, you can purchase it here
do not use without the proper #license.
PTU Kit "Geisha Goth" by MaryeL-Design, you can purchase it here
Font: Champagne & Limousine
****************************************
--> Remember to save often and use my tag as reference if necessary. Use a Drop Shadow you like on layers.
1. Create a new image 831X315. Add a new layer. Select all.
2. Open Paper 1. Custom Selection: Left-0, Top-235, Right-600, Bottom-520. Copy and paste into selection. Duplicate. Blend Mode: Burn.
3. Open 'element' 55. Copy and paste as new layer. Move it to left way down. Duplicate. Mirror. Merge down.
4. Open 'element' 54. Copy and paste as new layer. Move it way down left.
5. Open Frame 6. Copy and paste as new layer. Move it way right. Low opacity to 64.
6. Open 'element' 10. Resize 50%. Copy and paste as new layer. Move a little to left.
7. Open 'element' 22. Resize 70%. Copy and paste as new layer. Move it way left.
8. Open 'element' 73. Resize 30%. Copy and paste asn ew layer. Move it to right a little down. Duplicate. Mirror. Move it to left.
9. Add a new layer. Select all. Fill it with white. Contract > 15. Keep selected. Same layer. Fill with black. Contract > 1. Delete. Deselect. Low opacity to 40.
10. Open 'element' 74. Resize 40%. Move it down right. Duplicate it twice and place them on bottom moving them to left.
11. Open 'element' 75. Resize 30%. Move it down right. Duplicate it once and place it on bottom moving it to left.
12. Open 'element' 46. Copy and paste as new layer. Move it way right.
13. Open your tube close up. Resize it if needed. Copy and paste as new layer. Move it to right.
14. Add a new layer. Select all. Fill with black. Contract > 1. Delete. Deselect.
--> Add your copyright info (no URL by Facebook TOU) and license#. Add your name. Save as PNG.
--> Sometimes I had to change my Timeline size to 846x313 because when I add it to Facebook the image has extra pixels and do not fit perfectly. So try this size if the same is happening to you.

