September 26, 2015

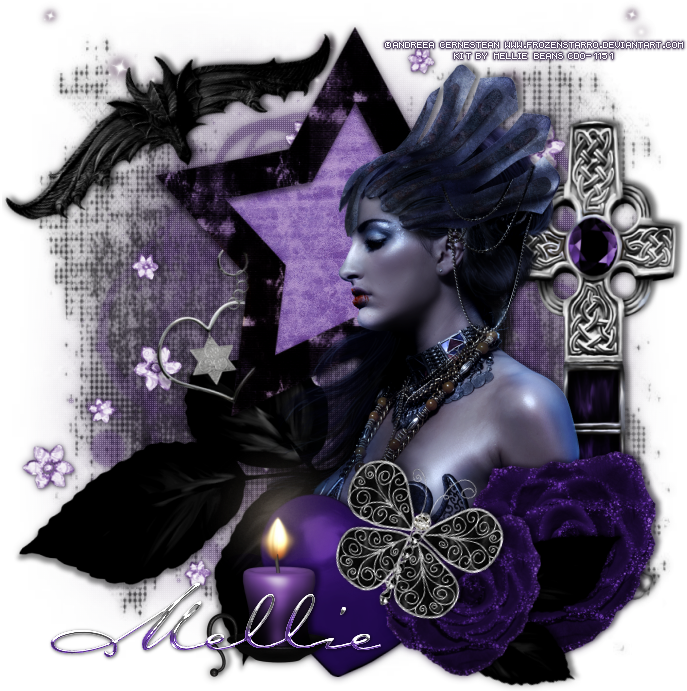
ScrapMB_IB-PinUpToons-224-1 - Mellie Beans CT Tag


== NEW CT MELLIE BEANS PTU TAG ==

Featuring "ScrapMB_IB-PinUpToons-224-1" by Mellie Beans at CDO - Creative Design Outlet.

Mellie Bean's kit has 20 elements. 2 frames, 1 wordart and 6 papers so you can play with it. 
The colors are beautiful and you can create different styles of tags.

Kit can be found at:

-> CDO - Creative Design Outlet, here

Visit her blog:


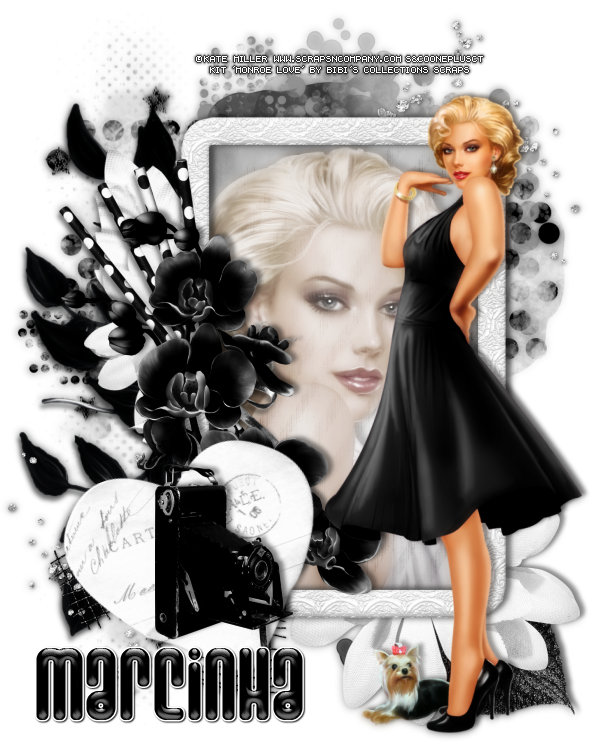
Monroe Love - S&Co. CT Tutorial

DIVA TUTORIAL


Tutorial written by Marcia Salgado on September 10th, 2015
for those who have a working knowledge of PSP.
Any resemblance to any other tutorial is coincidental.
Do not copy and paste this tutorial anywhere on the net.
If you want to translate please ask first. 

****************************************
Material:

Tube: "Monroe Love" by Kate Miller Exclusive, you can purchase it here
do not use without the proper #license.
PTU Kit "Monroe Love" by Bibi's Collection, you can purchase it here 
Font: Ashbury

****************************************

--> Remember to save often and use my tag as reference if necessary. Use a Drop Shadow of your preference on layers. 

1. Open a new image 600x750.

2. Open BIBI-MONROE LOVE ELEMS (68). Resize 60%. Copy and paste as new layer. Move a little up.

3. Open BIBI-MONROE LOVE ELEMS (72). Resize 65%. Copy and paste as new layer. Move it a little to right.

4. Open BIBI-MONROE LOVE ELEMS (78). Copy and paste as new layer. Move it down and to left. Duplicate. Flip. Merge down.

5. Open BIBI-MONROE LOVE ELEMS (82). Resize 70%. Mirror. Copy and paste as new layer, Move it to left. Move this layer below frame layer.

6. Open BIBI-MONROE LOVE ELEMS (75). Resize 40%. Copy and paste as new layer. Move it down and left. Duplicate. Mirror. Flip. Merge down.

7. Open BIBI-MONROE LOVE ELEMS (91). Resize 60%. Copy and paste as new layer. Move it to left.

8. Open BIBI-MONROE LOVE ELEMS (47). Resize 70%. Mirror. Flip. Copy and paste as new layer. Move it down and to right.

9. Open BIBI-MONROE LOVE ELEMS (67). Resize 50%. Copy and paste as new layer. Move it down and to right. Plafe it over the black leaf. Duplicate. Resize 70%. Move it up and to left and place it over the white leaf.

10. Click on the first layer and select inside the frame. Add a new layer and move it below frame layer. Open BIBI-MONROE LOVE PAPERS (8). Copy and paste into selection. Keep selected. Add a new layer. Open BIBI-MONROE LOVE PAPERS (3). Copy and paste into selection. Blend Mode: Soft Light. Open your tube close up, copy and paste as new layer. Place it as you wish. Invert selection. Delete. Deselect. Blend Mode: Luminance Legacy. Lower the opacity layer to 56. Duplicate and change the blend mode to soft light (I increase the opacity to 100). Select all. Clip to canvas. Image > Crop to selection.

11. Click on frame layer. Open BIBI-MONROE LOVE ELEMS (69). Mirror. Resize 60%. Copy and paste as new layer. Move it a little up and to left.

12. Ope BIBI-MONROE LOVE ELEMS (61). Resize 40%. Copy and paste as new layer. Move it a little down and to left.

13. Open BIBI-MONROE LOVE ELEMS (65). Resize 40%. Flip. Copy and paste as new layer. Move it down and to left. Place over the frame border.

14. Open BIBI-MONROE LOVE ELEMS (112). Resize 40%. Free Rotate: Left-20. Copy and paste as new layer. Move it down and to the left.

15. Open BIBI-MONROE LOVE ELEMS (97). Resize 30%. Copy and paste as new layer. Move it down and to the left. Place it over the white heart.

16. Open your tube. Resize if needed. I have to use mirror on mine. Copy and paste as new layer. Move it to right.  Re-arrange the elements to better fit your tube.

--> Resize all layer if wanted. Add your copyright info and license#. Add your name and save as PNG.


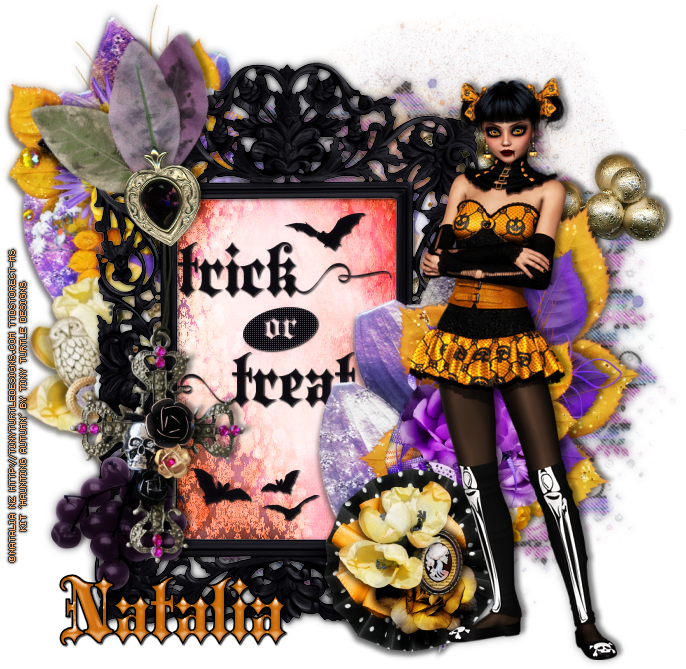
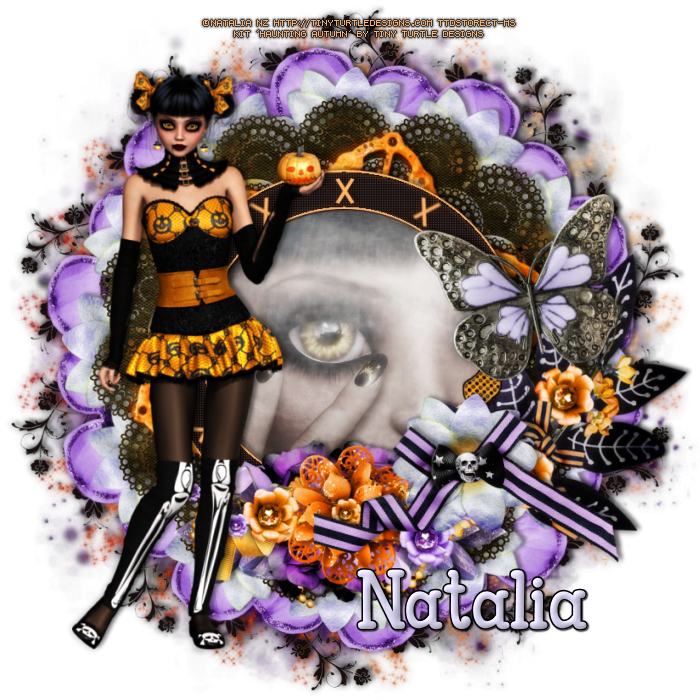
Azalia with Haunting Autumn - TTD CT Tags


== NEW PTU TAG TINY TURTLE DESIGNS CT ==
AND THE ART OF NATALIA NZ

Featuring "Azalia", a Natalia NZ tube and
"Haunting Autumn", Tiny Turtle Design kit at TinyTurtleDesign Store.

Tiny Turtle Design kit has 37 papers and 152 elements so you can play with it. 

Natalia NZ's tube can be found  at:
-> TinyTurtleDesign Store, here

Tiny Turtle Design kit can be found  at:
-> TinyTurtleDesign Store, here


September 17, 2015

CDO Halloween Collab Kit - Monti's Scraps CT


**Click to see original size**


== NEW CT MONTI'S SCRAPS PTU TIMELINE ==

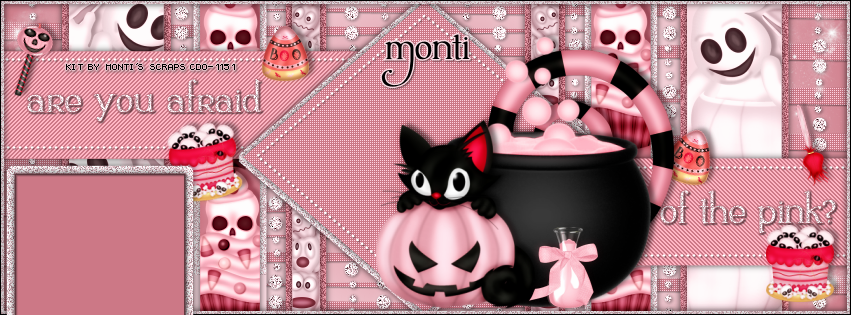
Featuring the portion of "CDO Halloween Collab Kit" made by MONTI'S SCRAPS at Creative Design Outlet - CDO

Monti's collab portion has 5 papers, 15 elements, 1 frames and 2 wordart so you can play with it.

CDO Collab Kit Promo can be found here
The CDO scrap designers have made a spooktastic Halloween collab kit to giveaway to you this month!! 

In total there are 199 elements, 18 frames, 13 word arts and 58 papers!

More info on how to acquire the CDO Halloween Collab can be found at:

-> Creative Design Outlet - CDO, here


ScrapHH_IB-AndreeaCernestean-Sept2015-bt CT Tag Show Off


**Click to see original size**


== NEW CT HUNGRY HILL PTU TUTORIAL ==
WITH THE ART OF ANDREEA CERNESTEAN

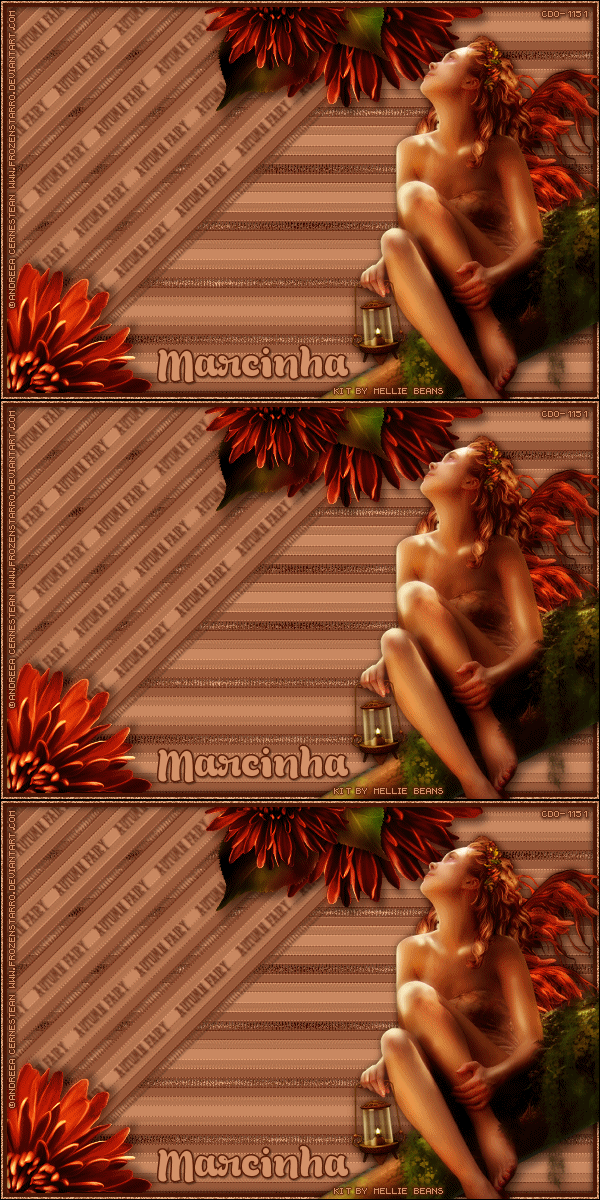
Featuring "ScrapHH_IB-AndreeaCernestean-Sept2015-bt" Kit by HUNGRY HILL at Creative Design Outlet - CDO

The kit has 6 papers, 28 elements, 3 frames and 1 wordart so you can play with it.
The tube that inspired this scrap kit was only available during September 2015. 

Kit can be found exclusively at:

-> Creative Design Outlet - CDO, here

Don't forget to visit her blog:


September 15, 2015

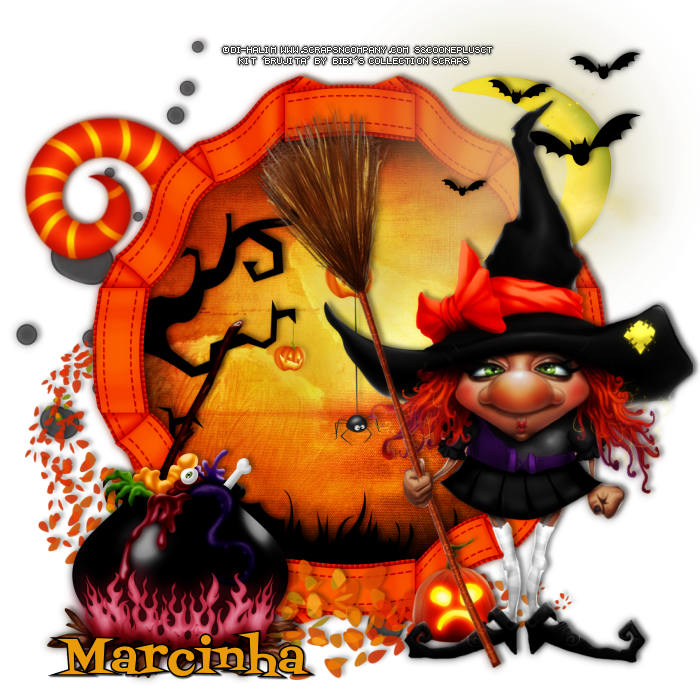
Brujita

BEWITCHED TUTORIAL


Tutorial written by Marcia Salgado on September 16th, 2015
for those who have a working knowledge of PSP.
Any resemblance to any other tutorial is coincidental.
Do not copy and paste this tutorial anywhere on the net.
If you want to translate please ask first. 

****************************************
Material:

Tube: "Brujita" by Di-Halim, you can purchase it here
do not use without the proper #license.
PTU Kit "Brujita" by Bibi's Collection, you can purchase it here 
Font: Fontdiner Swanky

****************************************

--> Remember to save often and use my tag as reference if necessary. Use a Drop Shadow of your preference on layers. 

1. Create a new image of 700x700.

2. Open BIBIBRUJITAS ELEMS (85). Resize 80%. Copy and paste as new layer. Move it up and to left.

3. Open BIBIBRUJITAS ELEMS (2). Resize 75%. Mirror. Copy and paste as new layer. Rotate it using the Deform Tool (Pick) just a little to left. Move it to left.

4. Open BIBIBRUJITAS ELEMS (48). Copy and paste as new layer. Select inside the frame. Expand > 3. Add a new layer and move it below frame layer.

5. Open BIBI BRUJITA PAPERS (4). Copy and paste into selection. Keep selected. Add a new layer.

6. Open BIBIBRUJITAS ELEMS (93). Copy and paste into selection. Blend Mode: Overlay.

7. Open BIBIBRUJITAS ELEMS (19). Resize 40%. Mirror. Copy and paste as new layer. Place it inside the frame and erase what is showing out.

8. Click on first layer. Open BIBIBRUJITAS ELEMS (107). Resize 50%. Copy and paste as new layer. Move it to bottom left. Erase a part of the end that is over the frame left side.

9. Open BIBIBRUJITAS ELEMS (106). Resize 40%. Copy and paste as new layer. Move it up and to right. Place it over the top frame border.

10. Open BIBIBRUJITAS ELEMS (7). Resize 40%. Copy and paste as new layer. Move it down and to left.

11. Open BIBIBRUJITAS ELEMS (28). Resize 40%. Copy and paste as new layer. Move it up and to right. Place it over the moon.

12. Open your tube and resize it if needed. Copy and paste as new layer. Move it to right.

13. Open BIBIBRUJITAS ELEMS (21). Resize 50%. Copy and paste as new layer. Place it hanging from the witch's broom.

--> Resize if wanted. Add your copyright info and license#. Add your name and save as PNG.

ScrapMonti_IB-MarylineCazenave-8-2 - CT Tag


== NEW CT MONTI'S SCRAPS PTU TIMELINE ==

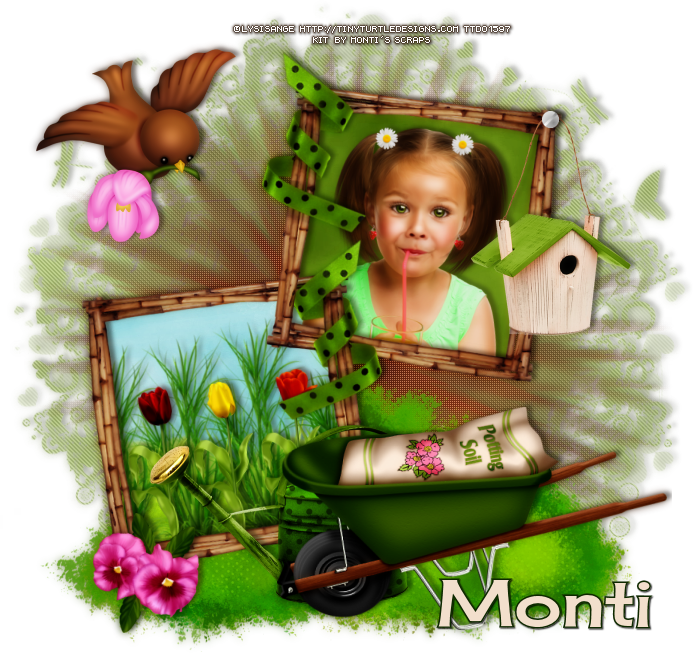
Featuring "ScrapMonti_IB-MarylineCazenave-8-2" Kit by MONTI'S SCRAPS
 at Creative Design Outlet - CDO

Monti's kit has 6 papers, 23 elements, 2 frames and  wordart so you can play with it. The tube that inspired this scrap kit can be purchased HERE

Kit can be found at:


-> Creative Design Outlet - CDO, here


ScrapMonti_IB-MarylineCazenave-8-2 - Timeline


** Click to see original size**


== NEW CT MONTI'S SCRAPS PTU TIMELINE ==

Featuring "ScrapMonti_IB-MarylineCazenave-8-2" Kit by MONTI'S SCRAPS
 at Creative Design Outlet - CDO

Monti's kit has 6 papers, 23 elements, 2 frames and  wordart so you can play with it. The tube that inspired this scrap kit can be purchased HERE

Kit can be found at:

-> Creative Design Outlet - CDO, here


Autumn Green ~ by Joanne Salgado


Tutorial written by Joanne Salgado on September 15th, 2015
for those who have a working knowledge of PSP.
Any resemblance to any other tutorial is coincidental.
Do not copy and paste this tutorial anywhere on the net.
If you want to translate please ask first.

Tube: AUTUMN DOLL 3 by LadyMishka Dolls - you can purchase here
Template by Me here
Texture here
Font: PonytailScriptSSK

Don't forget to save often.
At any point if you have doubts check my tag.

1. Open the template I've created. Duplicate. Close the original.

2. Open your texture. Copy and paste as new layer. Move this below all layers. Duplicate, change blend mode to multiply. Duplicate, change blend mode to overlay. (you may want to skip some of the steps depending on your texture and color choise).

3. Add a new layer and fill with the color of your choise. I used: #c3d8b4. Change blend mode to color.

4. Select the 'inside' layer. Change the border color to white. Select inside it with magic wand. Invert selection. Select the texture layer and Adjust/Hue and Saturation/Colorize both 0. Select all texture layers you have and apply the same in all. Select the color layer and hit delete on your keyboard. Select none. Add shadow on the inside layer. I used 1-1-65-2 black.

5. Open your tube. Copy and paste as new layer. Arrange it to the right. Select the 'outside' layer. Select inside it with magic wand. Invert Selection. Select your tube layer and hit delete on your keyboard. Select the textures layers and delete too. Select none.

6. Open your texture again. Resize 40%. Arrange it above the 'white circles' layer so it will fill the circles around the frame. Select the 'circles' layer. Select inside with magic wand, invert selection. Select the texture we just added and hit delete on your keyboard. Invert selection again, add a new layer and fill with the same color we used before. Change the blend mode to color. Select none. Merge down (so the texture and the color are one layer). Duplicate. Mirror/Flip. Merge them together. Rename layer as ANI.

7. Duplicate ANI two times, so you have a total of three layers. Select the first one, add noise uniform/10/monochrome checked. Select the other two and apply the same noise.

8. I used the tube roses around the circles.

9. Add copyright.

10. Add name.

FOR ANIMATION

1. Close the two copies from ANI we made. Copy merged. Go to animation and paste as new animation.

2. Go back to PSP, close ANI and open Copy of ANI. Copy merged. Go to animation and paste after current.

3. Go back to PSP, close Copy of ANI and open Copy (2) of ANI. Copy merged. Go to animation and paste after current.

Save as GIF

A Clock Work Autumn


I made this tag for an Auction at BAS - Bag-A-Snag Forum
and it only can have two copies, one with my name and one with the auction winner's name.


== NEW CT MELLIE BEANS PTU TAGS ==

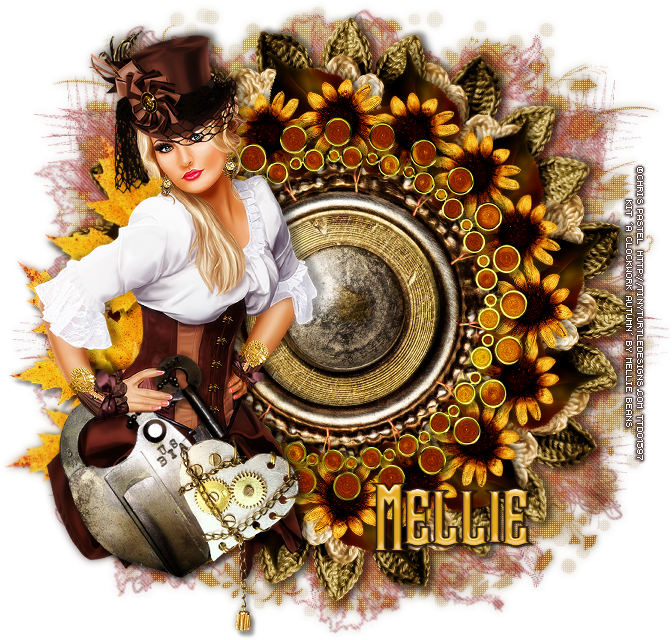
Featuring "A Clock Work Autumn" by Mellie Beans
at Mystical Scraps Store and Heartbeatz Creationz.

This Steampunk themed Autumn kit is a must have for every Steampunk lover! 
Mellie Bean's kit has 92 elements, 4 wordarts and 10 papers so you can play with it. The colors are beautiful and you can create different styles of tags.

Kit can be found at:

-> Mystical Scraps Store, here

-> Heartbeatz Creationz, here

Visit her blog:


September 11, 2015

Early Snow

COLD BLUE TUTORIAL


Tutorial written by Marcia Salgado on September 11th, 2015
for those who have a working knowledge of PSP.
Any resemblance to any other tutorial is coincidental.
Do not copy and paste this tutorial anywhere on the net.
If you want to translate please ask first. 

****************************************
Material:

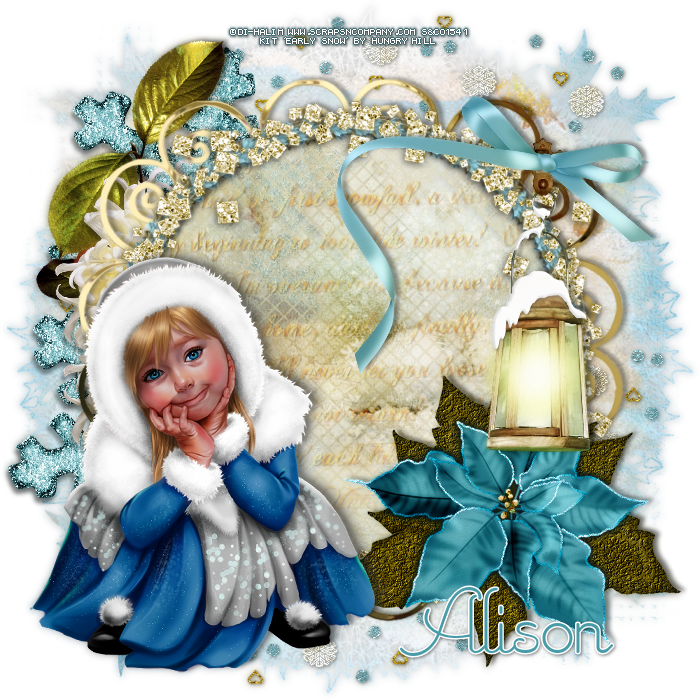
Tube: "Winter Baby" by Di-Halim, you can purchase it here
do not use without the proper #license.
PTU Kit "Early Snow" by Hungry Hill,
you can purchase it here
Mask: Dee's Mask, DD_2014FM2, here
Font: Emily Regular

****************************************

--> Remember to save often and use my tag as reference if necessary. Use a Drop Shadow of your preference on layers.

1. Open tag-cluster. Duplicate and close the original. Resize all layer to 600x600 pixels. Resize canvas to 700x700 > Center.

2. Open paper-9. Copy. Add a new layer. Move this layer to bottom, place it below mesh layer. Select all. Paste into selection. Apply Dee's mask. Merge group.

3. Open scatter. Resize 75%. Copy and paste as new layer. Move it up. Duplicate. Flip. Mirror. Merge down.

4. Open flake-1. Resize 40% Copy and paste as new layer. Move the flake up and to left. Duplicate and move it a little down and a little more to left. Merge down.

5. Open twig-2. Resize 60%. Copy and paste as new layer. Move it up and to left.

6. Open flower-1. Resize 30%. Copy and paste as new layer. Move it down and to left. Leave only a thin part of the flower showing. under the cluster. Duplicate it twice and place it around the cluster on the left side. Merge all flowers layer together.

7. Click on scene layer. Open WA-2. Resize 80%. Copy and paste as new layer. Blend Mode: Hard Light.

8. Click on first layer. Open twig. Resize 35%. Copy and paste as new layer. Move it down and to right. 

9. Open poinsettia. Resize 50%. Copy and paste as new layer. Move it down and to right.

10. Open lantern. Resize 40%. Copy and paste as new layer. Move it up and to right. Place it over the gold frame border.

11. Open ribbon-3. Resize 40%. Mirror. Copy and paste as new layer. Place it over the lantern top.

12. Open your tube. Resize if needed. Copy and paste as new layer. Move it to left.

--> Resize it if wanted. Add your copyright info and license#. Add your name and save as PNG.


September 10, 2015

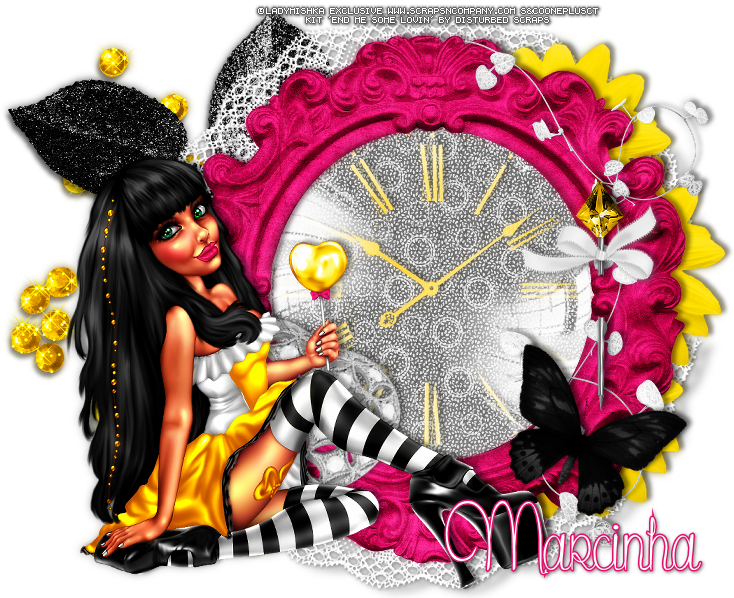
Eva Lollipop 5 with Send Me Some Lovin

BRIGHT TIME TUTORIAL


Tutorial written by Marcia Salgado on September 10th, 2015
for those who have a working knowledge of PSP.
Any resemblance to any other tutorial is coincidental.
Do not copy and paste this tutorial anywhere on the net.
If you want to translate please ask first. 

****************************************
Material:

Tube: "Eva Lollipop 5" by Lady Mishka Exclusive Tube,
you can purchase it here do not use without the proper #license.
PTU Kit "Send Me Some Lovin" by Disturbed Scraps,
ou can purchase it here  
Font: Secret of the Octopus

****************************************

--> Remember to save often and use my tag as reference if necessary. Use a Drop Shadow of yor choice on layers.

1. Create a new image 750x600.

2. Open DS - SSL Element (62). Resize 60%. Copy and paste as new layer. Move it to left.

3. Open DS - SSL Element (10). Resize 60%. Mirror. Copy and paste as new layer. Move it up and left.

4. Open DS - SSL Element (60). Copy and paste as new layer. Move it up and to right.  Duplicate. Flip. Merge down.

5. Open DS - SSL Element (6). Resize 60%. Copy and paste as new layer. Move it to right and down. Place it over the laces border. Duplicate and move it up. Repeat. Merge the three flowers layers into one.

6. Open DS - SSL Element (75). Resize 60%. Copy and paste as new layer. Place it over the flowers. Select inside the frame. Expand > 4. Add a new layer. Move it below frame layer.

7. Open DS - SSL Paper 7. Copy and paste into selection. Add a new layer. Open DS - SSL Paper 6. Copy and paste into selection. Blend Mode: Overlay. Low the opacity to 50.

8. Open DS - SSL Element (64). Resize 60%. Copy and paste as new layer. Place it inside the frame.

9. Open DS - SSL Element (80). Copy and paste as new layer. Place it over the clock.

10. Click on first layer. Open DS - SSL Element (9). Resize 60%. Copy and paste as new layer. Move it to right. Place it over the frame. Place the top stem on top of the frame.

11. Open DS - SSL Element (49), Resize 80¨. Copy and paste as new layer. Move it to right and place it over the frame border.

12. Open DS - SSL Element (39). Resize 40%. Free Rotate: Right-25. Copy and paste as new layer. Move it down and to right. Place it over the frame border.

13. Open DS - SSL Element (15). Resize 60 %. Free Rotate: Right-25. Copy and paste as new layer. Move it to left and down. Place it over the frame.

14. Open your tube. Resize if needed. Copy and paste as new layer and move it to left.

--> Add your copyright info and license#. Add your name and save as PNG.


Secret Fall and Bridget - Show Off


== NEW PTU TAG TINY TURTLE DESIGNS CT ==
AND THE ART OF LYSISANGE

Featuring "Bridget", a Lysisange tube and
 "Secret Fall ", Tiny Turtle Design kit at TinyTurtleDesign Store.

Tiny Turtle Design kit has 23 papers and 118 elements so you can play with it. 

Lysisange's tube can be found  at:
-> TinyTurtleDesign Store, here

Tiny Turtle Design kit can be found  at:
-> TinyTurtleDesign Store, here


September 7, 2015

Creepy Autumn and Otty - Show Off


**Click to see original size**


== NEW PTU TAG TINY TURTLE DESIGNS CT ==
AND THE ART OF NATALIA NZ

Featuring "Otty", a Natalia NZ tube and
 "Creepy Autumn", Tiny Turtle Design kit at TinyTurtleDesign Store.

Tiny Turtle Design kit has  papers and  elements so you can play with it. 

Natalia NZ's tube can be found  at:
-> TinyTurtleDesign Store, here

Tiny Turtle Design kit can be found  at:
-> TinyTurtleDesign Store, here


September 5, 2015

Countess ~ Joanne Salgado


== NEW PTU TAG TINY TURTLE DESIGNS CT ==
AND THE ART OF OKY DRAFT


Featuring "Countess 1", tube by Oky Draft and
"White Wedding", Tiny Turtle Design kit at TinyTurtleDesign Store.

Oky Draft's tube can be found  at:
-> TinyTurtleDesign Store, here

Tiny Turtle Design kit can be found  at:
-> TinyTurtleDesign Store, here

TinyTurtleDesign Store

Miss Suzie with School Days

SASSY TEACHER TUTORIAL


Tutorial written by Marcia Salgado on September 5th, 2015
for those who have a working knowledge of PSP.
Any resemblance to any other tutorial is coincidental.
Do not copy and paste this tutorial anywhere on the net.
If you want to translate please ask first. 

****************************************
Material:

Tube: "Miss Suzie" by Vi Nina, you can purchase it here
do not use without the proper #license.
PTU Kit "School Days" by Disturbed Scrap Kits, you can purchase it here 
Font: Magic Bean Salade

****************************************

--> Remember to save often and use my tag as reference if necessary. Use a Drop Shadow you like on layers after finish your tag.

1. Create a new image 700x700. 

2. Open DS - SD Element (63). Resize 70%. Copy and paste as new layer. Move it up and left.

3.Open DS - SD Element (56). Copy and paste as new layer. Move it to right.

4. Open DS - SD Element (69). Resize 70%. Copy and paste as new layer.

5. Open DS - SD Element (71). Resize 55%. Copy and paste as new layer. Select inside the frame. Add a new layer. Move this layer below frame layer Expand > 4.

6. Open DS - SD Paper 6. Copy and paste into selection. 

7. I used a wordart made by me, if you want it to use the same it's below, just click and save.


8. Open DS - SD Element (58). Resize 20%. Copy and paste as new layer. Place it near the wordart and duplicate and resize to embellish the wordart.

9. Click on first layer. Open Alpha - School Days. Resize all layer 13%. Use the letters T, E, A, C, H and R to spell TEACHER on tag. Copy and paste the letter as new layer and move them to top, place them as you wish.

10. Open DS - SD Element (52). Resize 60%. Free Rotate: Left-20. Copy and paste as new layer. Move it to left and a little down.

11. Open DS - SD Element (50). Resize 40%. Copy and paste as new layer. Move it to right and a little up.

12. Open DS - SD Element (43). Resize 50%. Copy and paste as new layer. Move it to right.

13. Open DS - SD Element (4). Resize 50%. Copy and paste as new layer. Move it to bottom right.

14. Open DS - SD Element (20). Resize 30%. Free Rotate: Left-20. Copy and paste as new layer. Move it to bottom right.

15. Open DS - SD Element (21). Resize 35%. Copy and paste as new layer. Move it to bottom.

16. Open DS - SD Element (12). Resize 40%. Copy and paste as new layer. Move it to bottom left.

17. Open your tube. Resize it if needed. Copy and paste as new layer. Move it to right. Now you can rearrange all elements to better fit with your tube.

--> Resize all layers if wanted. Add your copyright info and license#. Add your name and save as PNG.


--------------------------------------------------

Here an animated version using a Simone's (Scrappy Bit Of Fun) 
animation that you can find HERE
Changed the animation color to fit my tag, 
resize my tag to 600x600 and added a noise inside the TEACHER word.


September 4, 2015

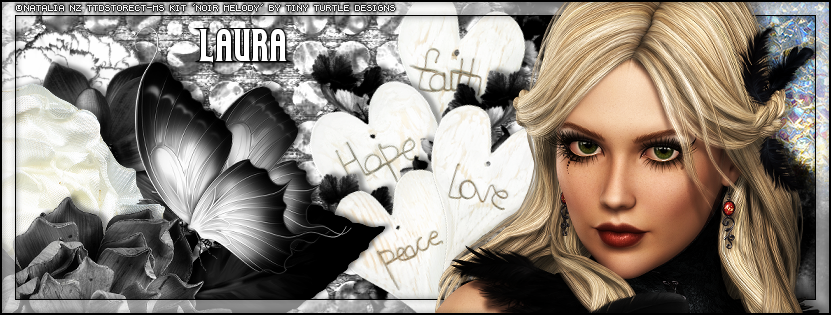
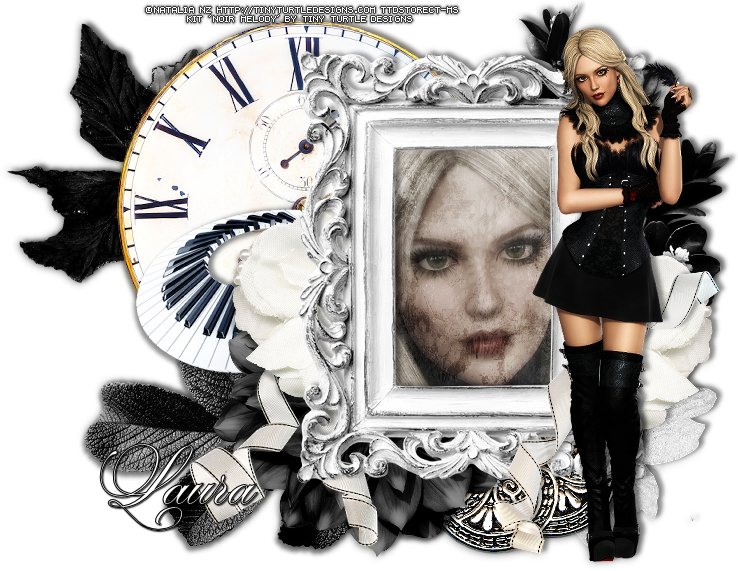
Noir Melody with Pero - Show Off


** Click to see original size**


== NEW PTU TAG TINY TURTLE DESIGNS CT ==
AND THE ART OF NATALIA NZ

Featuring "Pero", a Natalia NZ tube and
"Noir Melody", Tiny Turtle Design kit at TinyTurtleDesign Store.

Tiny Turtle Design kit has 26 papers and 136 elements so you can play with it. 

Natalia NZ's tube can be found  at:
-> TinyTurtleDesign Store, here

Tiny Turtle Design kit can be found  at:
-> TinyTurtleDesign Store, here