Tutorial written by Joanne Salgado on July 31th, 2016
for those who have a working knowledge of PSP.
I'm using PSP9 to create my tuts.
Any resemblance to any other tutorial is coincidental.
Do not copy and paste this tutorial anywhere on the net.
If you want to translate please ask first.
****************************************
Material:
Tube: "Tube 26-1" by Enamorte - you can purchase it here
do not use without the proper #license.
PTU Kit "Amour De Paris" by Gimptastic Scraps - you can purchase it here
Font: Alex Brush
****************************************
Don't forget to save often.
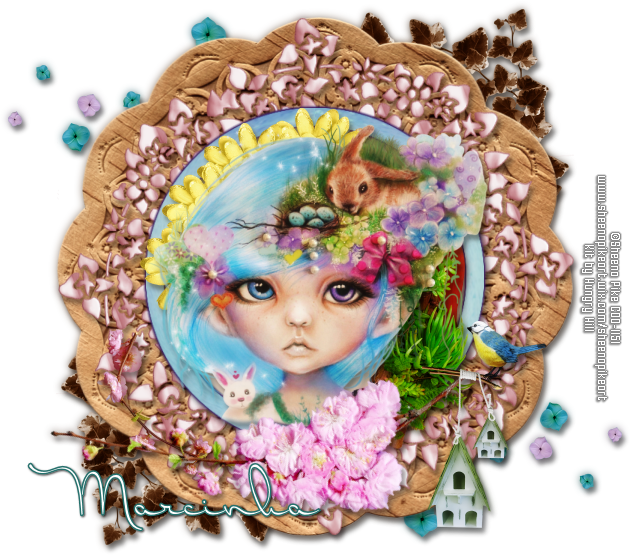
At any point if you have doubts check my tag.
1. Open a new image 650x650
2. Open GS-Amour_De_Paris_ele51. Copy and paste as new layer. Resize 70%. Use Manual color Correction as I show below. Copy and paste as new layer. Move it up and to left. Duplicate. Mirror. Flip.

3. Open GS-Amour_De_Paris_ele45. Copy and paste as new layer. Apply MuRa's Meister > Copies > Encircle with settings below:
4. Add a thin black border using Eye Candy > Gradient Glow with settings below:

5. Open GS-Amour_De_Paris_frame1. Copy and paste as new layer.
6. Open GS-Amour_De_Paris_frame4. Copy and paste as new layer. Resize 80%
7. Select inside the frame. Expand > 10. Add a new layer and move it below the frame layer. Open paper GS-Amour_De_Paris_paper1. Copy and paste into selection. Keep Selection
8. Add a new layer. Open GS-Amour_De_Paris_paper8. Copy and paste as new layer. Blend Mode: Hard Light. Layer Opacity to 60.
9. Invert selection. Open your tube close up. Copy and paste as new layer. Place it inside the frame. Delete. Select all. Clip to canvas. Crop to selection. Colorize: 0-0. Blendo Mode: Luminance (L). Layer Opacity to 50. Select none.
10. Open GS-Amour_De_Paris_ele22. Copy and paste as new layer. Resize 65%. Move this layer above the frame. Arrange it to the left.
11. Open GS-Amour_De_Paris_ele34. Copy and paste as new layer. Resize 65%. Arrange it to the bottom left.
12. Open GS-Amour_De_Paris_ele19. Copy and paste as new layer. Resize 50%. Arrange it to the top left.
13. Open GS-Amour_De_Paris_ele49. Copy and paste as new layer. Arrange it to the bottom left.
14. Open GS-Amour_De_Paris_ele37. Copy and paste as new layer. Resize 40%. Arrange it to the bottom left.
15. Open your tube. Copy and paste as new layer. Resize as needed and arrange it to the right.
16. Add shadow as you prefer.
17. Add copyright. Add name. Save as PNG.