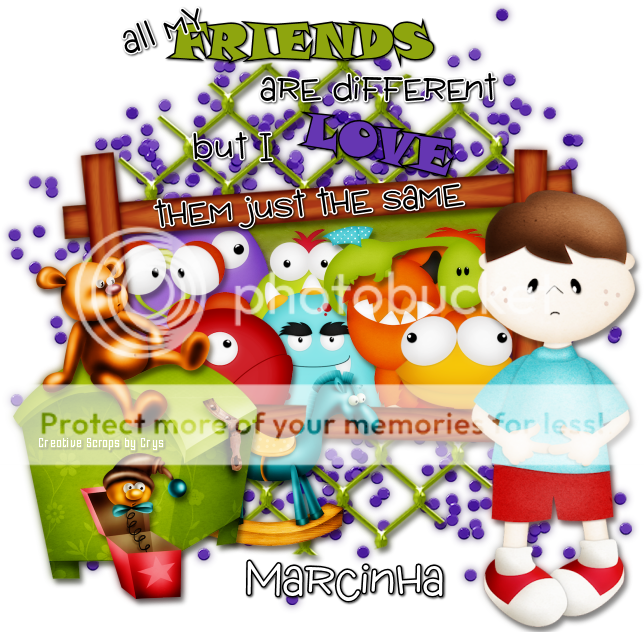
CUTE SPRING TUTORIAL
Tutorial written by Marcia Salgado on July 12th, 2016
for those who have a working knowledge of PSP.
Any resemblance to any other tutorial is coincidental.
Do not copy and paste this tutorial anywhere on the net.
If you want to translate please ask first.
****************************************
Material:
PTU Kit "
Hello Spring" by
Creative Scraps by Crys, you can purchase it
here
Material: ground made by me, mar2016_groundHS, just click and save.
Font: kg pdx bridgetown
****************************************
--> Remember to save often and use my tag as reference if necessary. Use a Drop Shadow of your choice.
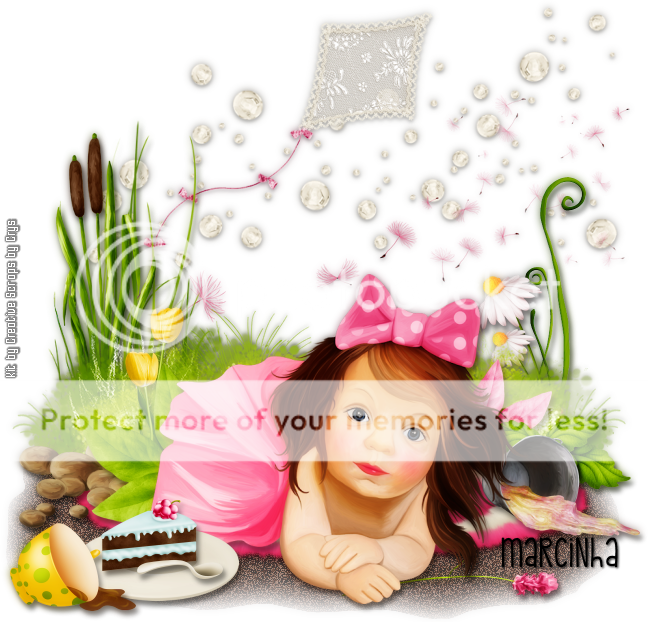
1. Create a new image 650x650.
2. Open my ground. Copy and paste as new layer. Move it down.
3. Open HS_Element_39. Resize 90%. Copy and paste as new layer. Move it up.
4. Open HS_Element_49. Resize 65%. Mirror. Copy and paste as new layer. Move it up and a little to left.
5. Open HS_Element_86. Copy and paste as new layer. Move it a little up and to left.
6. Open HS_Element_101. Resize 80%. Copy and paste as new layer. Move it to left.
7. Open HS_Element_80. Resize 50%. Mirror. Copy and paste as new layer. Move it to right.
8. Open HS_Element_64. Resize 35%. Mirror. Copy and paste as new layer. Move it a little down and to right.
9. Open HS_Element_98. Resize 45%. Copy and paste as new layer. Move it to left. Place it over the grass.
10. Open HS_Element_74. Copy and paste as new layer. Move it halfway down. Now look the daisies, see if the bow is hidden behind this bush.
11. Open HS_Element_40. Resize 35%. Copy and paste as new layer. Move it a little down and to left. Duplicate. Place it a little down and on the left side of the first tulip.
12. Open HS_Element_82. Resize 85%. Copy and paste as new layer. Move it down.
13. Open HS_Element_32. Resize 30%. Copy and paste as new layer. Move it down and to right. A little far from the bush edge.
14. Open HS_Element_100. Resize 35%. Copy and paste as new layer. Move it halfway down and way to left.
15. Open HS_Element_33. Resize 35%. Mirror. Copy and paste as new layer. Move it to left. Place it a little over the rocks on the left.
16. Open HS_Element_17. Resize 35%. Copy and paste as new layer. Move it halfway down and way to right.
17. Open HS_Element_99. Resize 35%. Copy and paste as new layer. Place it over the previous foliage at bottom.
18. Open HS_Element_65. Resize 65%. Copy and paste as new layer. Move it down. Place her over the rug.
19. Open HS_Element_14. Resize 40%. Copy and paste as new layer. Move it halfway to left and down.
20. Open HS_Element_10. Resize 20%. Copy and paste as new layer. Place it on the plate.
21. Open HS_Element_15. Resize 20%. Copy and paste as new layer. Place it in front of the cake slice.
22. Open HS_Element_7. Resize 30%. Mirror. Copy and paste as new layer. Move it way down and way to left.
23. Open HS_Element_57. Resize 35%. Move it down and to right. Copy and paste as new layer. Send this layer below the girl layer. Place it under her hand.
24. Use Crop > Merged Opaque to get rid of all extra spaces.
--> Add your copyright and license#. Add your name and save as PNG.
-------------------------------------------------------------------------
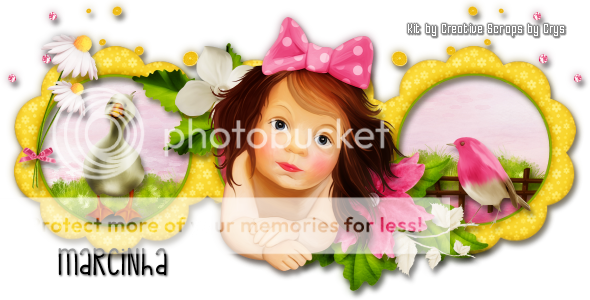
Ideas for a
Forum Style tag and an Avatar