June 30, 2015

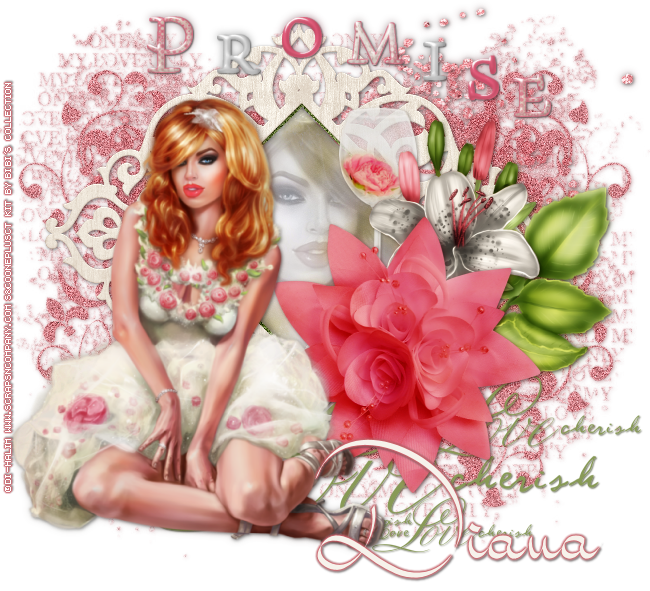
Bride with Promise

ROMANTIC TUTORIAL


Tutorial written by Marcia Salgado on June 10th, 2015
for those who have a working knowledge of PSP.
Any resemblance to any other tutorial is coincidental.
Do not copy and paste this tutorial anywhere on the net.
If you want to translate please ask first. 

****************************************
Material:

Tube: "Bride" by Di-Halim, you can purchase it here
do not use without the proper #license.
PTU Kit "Promise" by Bibi's Collection, you can purchase it here
Alpha "Promise" by Designs By Sue, you can purchase it here
Mask: Dee's mask, DD_VMask_6, here
Font: Amaldemo

****************************************

--> Remember to save often and use my tag as reference if necessary. Used the Drop Shadow: 1-1-50-5 (not always in black) in most layers. 

--> The elements placements are chosen to be used with my tube, if you are using a different one you may want to arrange them to better fit yours.

1. Create a new image 650x650. Open BIBIROMANTICBRIDE ELEM (81). Resize 50%. Copy and paste as new layer. Move it up and right. 

2. Open BIBIROMANTICBRIDE ELEM (116). Resize 40%. Copy and paste as new layer. Move it down and right.

3. Add a new layer and fill it with #cf636c. Apply Dee's mask. Merge group. Noise: Gaussian-50-Monochrome.

4. Open BIBIROMANTICBRIDE ELEM (50). Resize 50%. Copy and paste as new layer. Move it down.

5. Open BIBIROMANTICBRIDE ELEM (5). Resize 50%. Copy and paste as new layer. Move it up and left.

6. Select inside the frame. Expand > 2. Add a new layer. Open BIBIROMANTIC BRIDE PAPER (7). Copy and paste into selection. Move this layer below frame layer. Open your tube close up. Resize if needed. Copy and paste as new layer. Place it inside the frame. Invert selection. Delete. Deselect. Blend Mode: Luminance (Legacy). Low the opacity layer to 34. Select all. Selections > Clip to canvas. Image > Crop to selection.

7. Add the mar2015_greenborder as new layer, it's ready below, just click and save. Open it, copy and paste as new layer and place it inside the frame.


8. Click on first layer, should be the frame layer. Open BIBIROMANTICBRIDE ELEM (52). Resize 70%. Copy and paste as new layer. Move it to right.

9. Open BIBIROMANTICBRIDE ELEM (112). Resize 50%. Copy and paste as new layer. Move it to right.

10. Open BIBIROMANTICBRIDE ELEM (56). Resize 40%. Copy and paste as new layer. Move it to right.

11. Open BIBIROMANTICBRIDE ELEM (1). Resize 50%. Copy and paste as new layer. Move it to right.

12. Open Alpha PROMISE, select one by one letters P, R, O, M, I, S and E. Resize them 70% and copy and paste each one as new layer. Arrange them to form the word PROMISE and merge them together.

13. Open your tube, resize if needed. Copy and paste as new layer. Move it to left.

--> Resize if wanted. Add your copyright info and license#. Add your name and save as PNG.


June 29, 2015

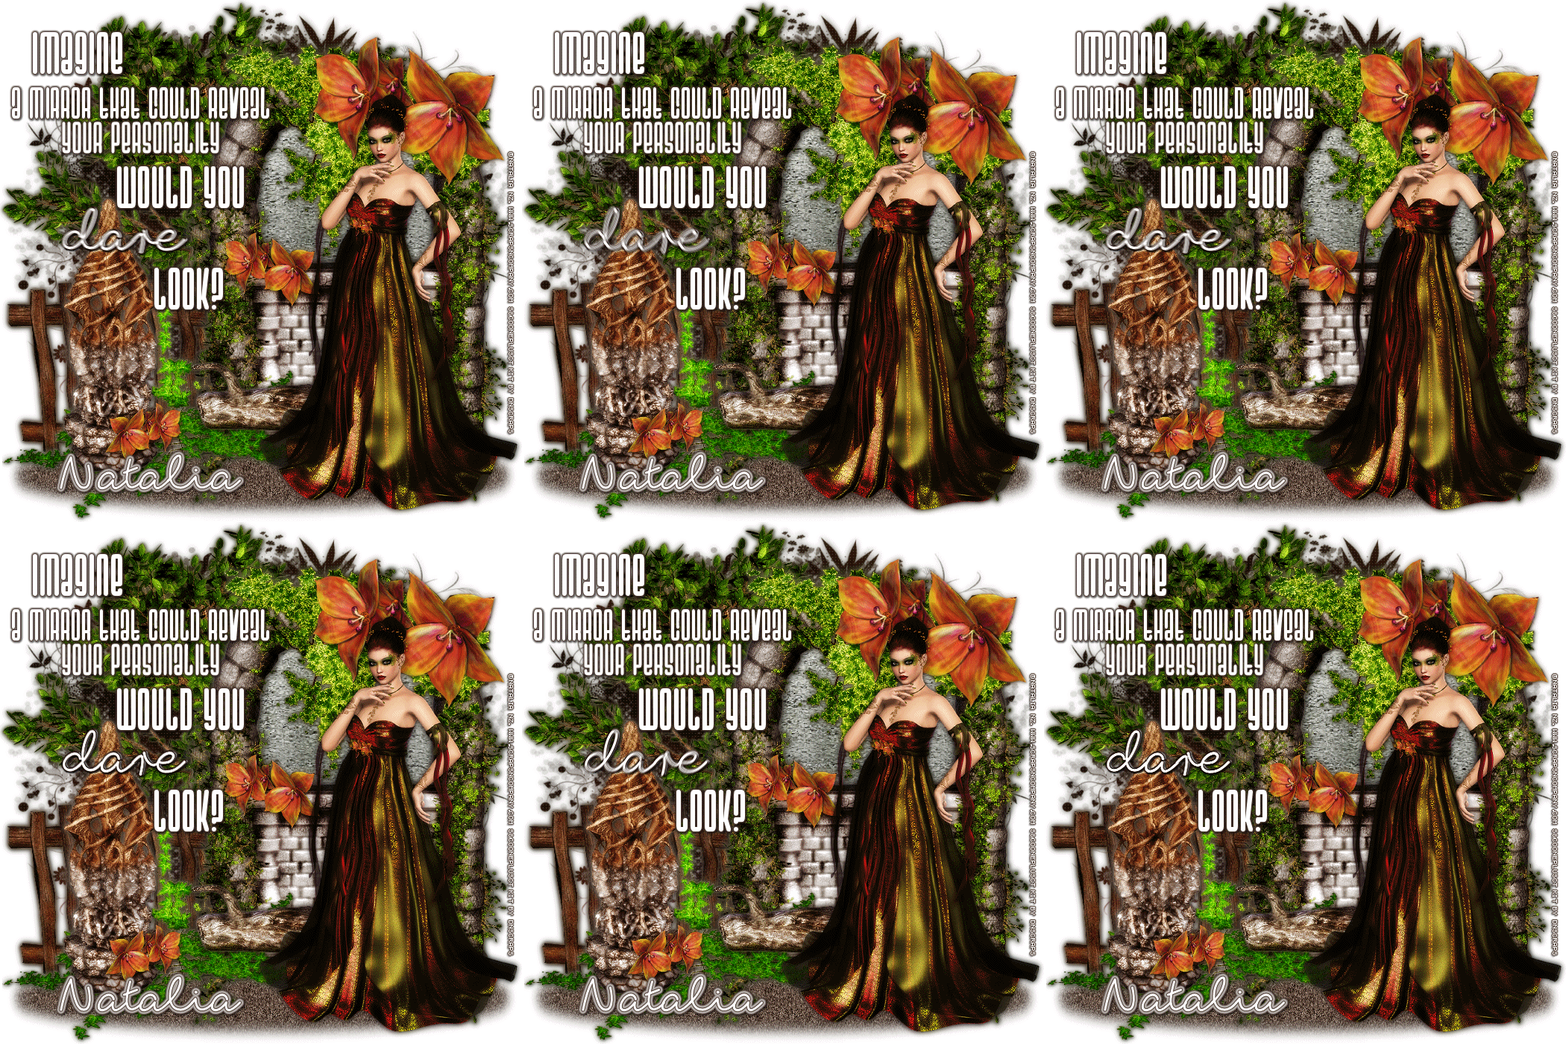
Letana with Grabbag Forest

TRUE MIRROR TUTORIAL


Tutorial written by Marcia Salgado on June 29th, 2015
for those who have a working knowledge of PSP.
Any resemblance to any other tutorial is coincidental.
Do not copy and paste this tutorial anywhere on the net.
If you want to translate please ask first. 

****************************************
Material:

Tube: "Letana" by Natalia NZ, you can purchase it here 
do not use without the proper #license.
PTU Kit "Grabbag Forest" by DnScraps, you can purchase it here 
Mask: Dee's mask DD_NFM_2015_2, here (second from top)
Plugin: MuRa's Meister
My Materials: extra itens made by me, here
Font: fox in the snow

****************************************

--> Remember to save often and use my tag as reference if necessary. Used the Drop Shadow: 1-1-50-5 in most layers. Flower used is from Natalia's tube.

1. Create a new image 700x700. Open mar2015_simpleground from my materials. Copy and paste as new layer. Move it down.

2. Open your tube and select a part of it. Copy and paste as new layer. Apply MuRa's Meister > Copies > Wall Paper(rotate) > Default. Gaussian Blur > 10. Apply Dee's mask. Merge group. Texture Effects > Weave with the settings below (color #6b5b52):


3. Open Grabbagforesttree. Resize 40%. Copy and paste as new layer. Move it to left.

4. Open Grabbagforestfence. Resize 50%. Copy and paste as new layer. Move it down.

5. Open Grabbagforestwindow. Resize 40%. Copy and paste as new layer. Move it to right.

6. Open mar2015_mirrorplace from my materials. Copy and paste as new layer. Move it below the forest window layer and place it behind the window frame. It's to show where the mirror animation should be added later, but if you decided not to animate the tag, it will work as a motionless mirror as well. Rename the layer MIRROR.

7. Click on first layer, should be the forest window layer. Open Grabbagforestleaves. Resize 25%. Mirror. Copy and paste as new layer. Place it over the forest window top.

8. Open Grabbagforestleaves2. Resize 30%. Copy and paste as new layer. Move it down. Place it over the fence.

9. Open Grabbagforestoldtrunk. Resize 30%. Mirror. Copy and paste as new layer. Move it down. Place it on forest window bottom.

10. Open Grabbagforestspiral. Resize 25%. Copy and paste as new layer. Move it down and left.

11. Now I'm using the dress flower of Natalia's tube. Place them on many places to embellish the tag.

12. Open your tube. Resize if needed. Copy and paste as new layer. Move it to right.

13. Open mar2015_darewordart from my materials. Copy and paste as new layer. Move it up left.

--> Resize if wanted. Add your copyright info and license#. Add your name.

--> If you do not want to animate just save as PNG.

ANIMATION

1. PSP -> Click on MIRROR layer. From this layer down turn all layers invisible. Merge Visible. Rename it TOP. Turn the merged layer invisible and all rest visible. Merge visible again. Rename BACK. Copy merged.

2. Animation Shop -> Paste as new animation. Duplicate it until you have 6 frames. Select all. Open mar2015_mirrorani. Delete first frame (with my copyright). Select all. Copy. Back to main tag frames. Paste into selected frames and place the mirror over the marked place. Click to fix it.

3. PSP -> Turn BACK layer invisible and TOP layer visible. Copy merged.

4. Animation Shop -> Edit > Propagate paste. Paste as new animation. Copy. Click on your main tag layers. Paste into selected frames. Position and click to fix it. 

5. Animation Shop -> Open mar2015_dareani from my materials. Select all. Copy. Back to your main tag frames. Paste into selected frames. Place it over the word "dare" and click to fix it. Change the Frame Properties to 18. Save as GIF.


June 27, 2015

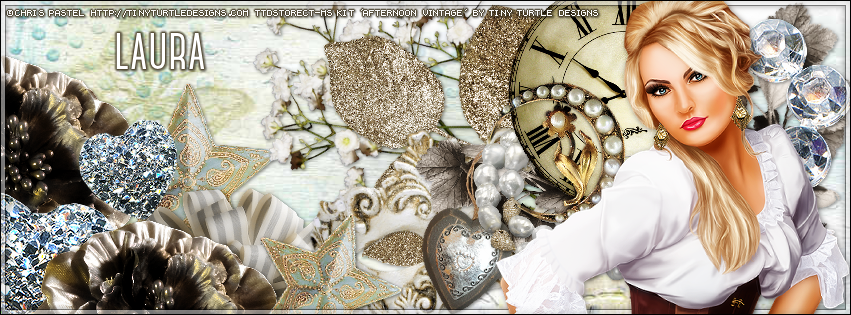
Afternoon Vintage with Marianne - Show Off


**Click to see original size**


== NEW PTU TAG TINY TURTLE DESIGNS CT ==
AND THE ART OF CHRIS PASTEL

Featuring "Marianne", a Chris Pastel tube 
and "Afternoon Vintage", Tiny Turtle Design kit at TinyTurtleDesign Store.

Tiny Turtle Design kit has 36 papers and 118 elements so you can play with it. 

Chris Pastel's tube can be found  at:
-> TinyTurtleDesign Store, here

Tiny Turtle Design kit can be found  at:
-> TinyTurtleDesign Store, here


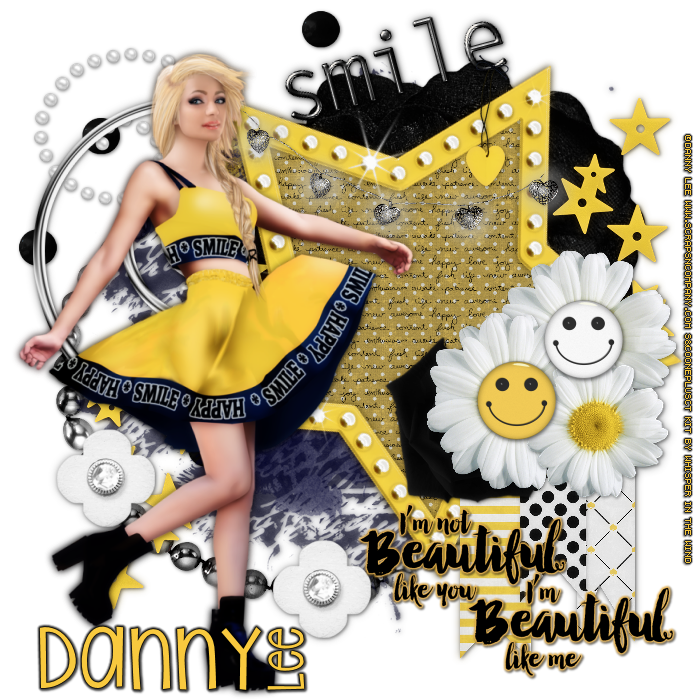
Smile

BEAUTIFUL TUTORIAL


Tutorial written by Marcia Salgado on June 10th, 2015
for those who have a working knowledge of PSP.
Any resemblance to any other tutorial is coincidental.
Do not copy and paste this tutorial anywhere on the net.
If you want to translate please ask first. 

****************************************
Material:

Tube: "Smile" by Danny Lee, you can purchase it here
do not use without the proper #license.
PTU Kit "Smile" by Whisper in the wind,
you can purchase it here 
Plugin: OPTIONAL - Eye Candy 6
Font: KG Shake it Off

****************************************

--> Remember to save often and use my tag as reference if necessary. Used the Drop Shadow: 1-1-50-5 in most layers. 

--> The elements placements are chosen to be used with my tube, if you are using a different one you may want to arrange them to better fit yours.

1. Create a new image 700x700. Open WITWSmile El 53. Resize 70%. Copy and paste as new layer. Move it to top left corner.

2. Open WITWSmile El 51. Resize 70%. Mirror. Copy and paste as new layer. Move it to top left.

3. Open WITWSmile El 65. Resize 70%. Flip. Copy and paste as new layer. Move it up and left.

4. Open WITWSmile El 30. Resize 80%. Copy and paste as new layer.

5. Open WITWSmile El 20. Resize 60%. Copy and paste as new layer. Move it up and right.

6. Open WITWSmile El 17. Resize 70%. Copy and paste as new layer. Move it up and left.

7. Open WITWSmile El 8. Resize 50%. Copy and paste as new layer. Move it to top right corner. Duplicate. Mirror. Flip. Merge down.

8. Open WITWSmile El 77. Resize 70%. Free Rotate: Right-30. Copy and paste as new layer. Move it a little up and to right. Select inside the frame. Look to see if all space inside the frame is selected. Expand > 5. Add a new layer and move it below the frame layer.

9. Open WITWSmile Paper 1. Copy and paste into selection. Add a new layer. Open WITWSmile Paper 6. Copy and paste into selection. Blend Mode: Screen. Add a new layer. Open WITWSmile Paper 11. Copy and paste into selection. Blend Mode: Multiply. Deselect.

10. Click on first layer, should be the frame layer. Open WITWSmile El 72. Resize 45%. Copy and paste as new layer. Move it up and place it over the frame at top.

11. Open WITWSmile El 39. Resize 30%. Copy and paste as new layer. Move it to bottom right.

12. Open WITWSmile El 91. Resize 60%. Copy and paste as new layer. Place it over the frame bottom, on right side.

13. Open WITWSmile El 79. Resize 30%. Copy and paste as new layer. Move it to right and place over the frame border on left.Duplicate. Move it up and more to right. Duplicate. Resize 80%. And place it over the previous flowers on the middle.

14. Open WITWSmile El 87 and WITWSmile El 85. Resize 15%. Copy and paste as new layer. Place the smilies over the big daisies center (stamens).

15. Open WITWSmile El 37. Resize 30%. Free Rotate: Left-15. Copy and paste as new layer. Move it to top. 

16. Open WITWSmile El 56. Resize 40%. Copy and paste as new layer. Place it hanging on element smile over the letter "e".

17. Open WITWSmile El 50. Resize 40%. Copy and paste as new layer. Place it over the black pearl circle on the bottom at left. Duplicate and move it to right keeping it over the black pearl circle.

18. Open WITWSmile El 12. Resize 40%. Copy and paste as new layer. Move it to bottom right corner. Add a yellow border using Eye Candy 6 > Gradient Glow (Use the preset Simple Thin > Black and change the Glow Radius (%) to 1 and the color to #f8c93e) or just select the wordart and expand > 2.

19. Open your tube. Resize if needed. Copy and paste as new layer. Move it to left. Add a suitable shadow.

--> Resize if wanted. Add your copyright info and license#. Add your name and save as PNG.


June 26, 2015

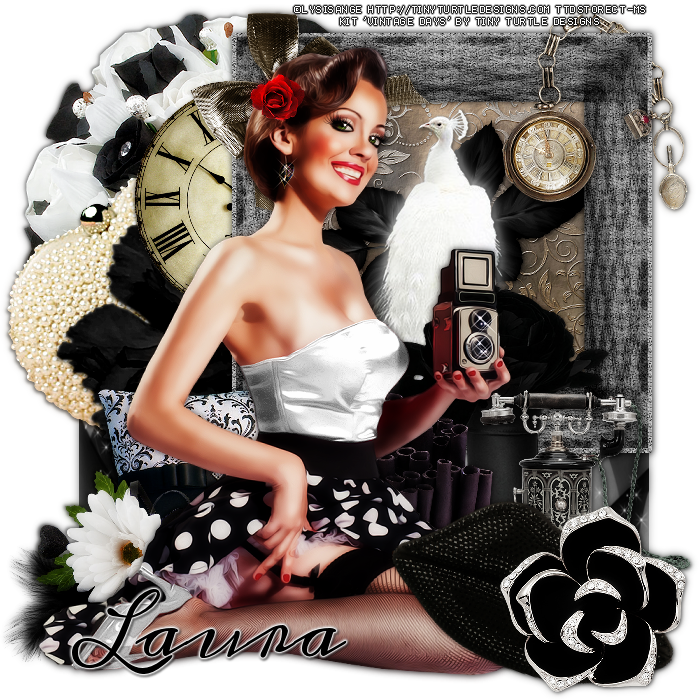
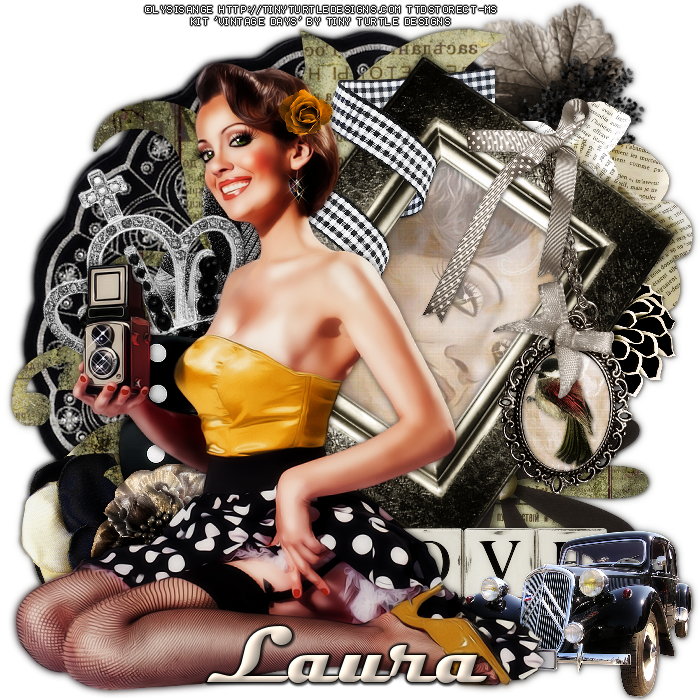
Vintage Days with Isaure - Show Off


== NEW PTU TAG TINY TURTLE DESIGNS CT ==
AND THE ART OF LYSISANGE

Featuring "Isaure", a Lysisange tube 
and "Vintage Days", Tiny Turtle Design kit at TinyTurtleDesign Store.

Tiny Turtle Design kit has 37 papers and 120 elements so you can play with it. 

Lysisange's tube can be found  at:
-> TinyTurtleDesign Store, here

Tiny Turtle Design kit can be found  at:
-> TinyTurtleDesign Store, here


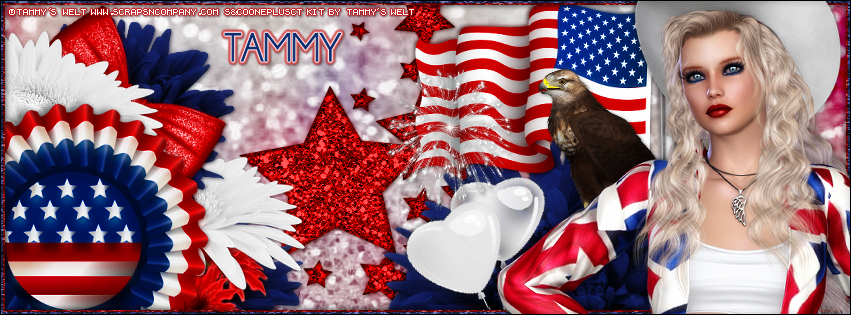
USA Country Girl

4th OF JULY TUTORIAL

**Click to see original size**

Tutorial written by Marcia Salgado on June 26th, 2015
for those who have a working knowledge of PSP.
Any resemblance to any other tutorial is coincidental.
Do not copy and paste this tutorial anywhere on the net.
If you want to translate please ask first. 

****************************************
Material:

Tube: "USA Country Girl" by Tammy's Welt, you can purchase it here
do not use without the proper #license.
PTU Kit "USA Country" by Tammy's Welt, you can purchase it here
Plugin: MuRa's Meister > Copies
Font: Champagne & Limousines

****************************************

--> Remember to save often and use my tag as reference if necessary. Used the Drop Shadow: 1-1-50-5 in most layers. 

1. Create a new image 831x315. Add a new layer. Select all. Open paper 8. Custom Selection: Left-0, Top-250, Right-800, Bottom-550. Copy and paste into selection.

2. Open your tube. Select a piece of the tube. Copy and paste as new layer. MuRa's Meister > Copies > Wall Paper(rotate) > Default. Gaussian Blur > 30. Blend Mode: Burn.

3. Open usa country (41). Copy and paste as new layer. Move it a little to left.

4. Open usa country (9). Resize 70%. Copy and paste as new layer. Move it a little to right and all way down.

5. Open usa country (77). Resize 30%. Free Rotate: Left-25. Copy and paste as new layer. Move it down and to right.

6. Open usa country (5). Resize 70%. Mirror. Copy and paste as new layer. Move it to right and up.

7. Open usa country (9). Resize 50%. Copy and paste as new layer. Move it left up. Duplicate. Mirror and move it down a little to right.

8. Open usa country (48). Copy and paste as new layer. Move it to left and way way down. Leave out only the top flowers. And place it between the upper and lower blue flowers.

9. Open usa country (68). Resize 70%. Copy and paste as new layer. Move it down left. This layer goes directly over the red flower layer. Duplicate. Arrange this layer on top of first blue flower layer. Move it up and to left.

10. Open usa country (42). Resize 50%. Free Rotate: Right-45. Copy and paste as new layer. Move it up and to left. Place it under the top white flower.

11. Click on first layer (should be the top white flower). Open usa country (4). Resize 70%. Copy and paste as new layer. Move it way down to left bottom corner. 

12. Open usa country (69). Resize 30%. Copy and paste as new layer. Move it a little up and a little to right. Place it over the flag.

13. Open usa country (52). Resize 40%. Copy and paste as new layer. Move it up and to right. Place it over the flag right side.

14. Add a new layer. Select all. Open paper 2. Copy and paste into selection. Contract > 5. Delete. Deselect.

15. Add a new layer. Select all. Open paper 3. Copy and paste into selection. Contract > 3. Delete. Deselect.

16. Open your tube. Resize if needed. Copy and paste as new layer. Move it way to right. Add a suitable shadow.

17. Add a new layer. Select all. Fill with black. Contract > 1. Delete.

--> Add your copyright info (no URL by Facebook TOU) and license#. Add your name. Save as PNG.

--> Sometimes I had to change my Timeline size to 846x313 because when I add it to Facebook the image has extra pixels and do not fit perfectly. So try this size if the same is happening to you. 


Miss Disgusted with Natasja

ROUGH MESS TUTORIAL


Tutorial written by Marcia Salgado on June 26th, 2015
for those who have a working knowledge of PSP.
Any resemblance to any other tutorial is coincidental.
Do not copy and paste this tutorial anywhere on the net.
If you want to translate please ask first. 

****************************************
Material:

Tube: "Miss Disgusted" by Danny Lee, you can purchase it here
do not use without the proper #license.
PTU Kit "Natasja" by Chili Designz, you can purchase it here 
Font: Stadium 1946

****************************************

--> Remember to save often and use my tag as reference if necessary. Used the Drop Shadow: 1-1-50-5 in most layers.

1. Create a new image 700x700. Open CHILI_DESIGNZ_Natasja_bokeh. Resize 75%. Copy and paste as new layer. 

2. Open CHILI_DESIGNZ_Natasja_flowertrail. Resize 70%. Copy and paste as new layer. Move it down left.

3. Open CHILI_DESIGNZ_Natasja_graffiti3. Resize 75%. Copy and paste as new layer. Move it up right.

4. Open CHILI_DESIGNZ_Natasja_glitter. Resize 80%. Copy and paste as new layer. Move it way right.

5. Open CHILI_DESIGNZ_Natasja_flower2. Flip. Copy and paste as new layer. Move it down left.

6. Open CHILI_DESIGNZ_Natasja_cardboard. Resize 50%. Free Rotate: Right-20. Copy and paste as new layer. Move it down.

7. Open CHILI_DESIGNZ_Natasja_flower5. Resize 50%. Copy and paste as new layer. Move it down and place over the cardboard.

8. Open CHILI_DESIGNZ_Natasja_brad. Copy and paste as new layer. Move it down and place over the flower and the cardboard.

9. Open CHILI_DESIGNZ_Natasja_sparkles. Resize 60%. Copy and paste as new layer. Move it down left. Place it over the dark green flower.

10. Open CHILI_DESIGNZ_Natasja_frame2. Resize 75%. Copy and paste as new layer. Move it to left a little up. Select inside the frame using the Freehand Selection Tool. Expand > 2. Add a new layer. Open CHILI_DESIGNZ_Natasja_paper17. Copy and paste into selection. Add a new layer. Open CHILI_DESIGNZ_Natasja_paper9. Copy and paste into selection. Blend Mode: Burn. Keep selected.

11. Open your tube close up. Copy and paste as new layer. Place it inside the selection. Invert the selection. Delete. Select all. Selections > Clip to canvas. Image > Crop to selection. Blend Mode: Luminance (Legacy). Low the layer opacity to 48. Duplicate. Gaussian Blur > 4. Blend Mode: Soft Light. Low the opacity layer to 48.

12. Click on frame layer (should be the first layer). Open CHILI_DESIGNZ_Natasja_greenery2. Resize 30%. Copy and paste as new layer. Move it to left and place over the frame border. Duplicate. Flip. Place it over the bottom frame border.

13. Open CHILI_DESIGNZ_Natasja_flower3. Copy and paste as new layer. Move it to left and place over the frame border. Duplicate, move it down still over the frame border. Duplicate again and move it a little more down and keep over the frame border. Try to keep these flowers between the greenery added before.

14. Open CHILI_DESIGNZ_Natasja_lips. Copy and paste as new layer. Move it down right.

15. Open CHILI_DESIGNZ_Natasja_pearls. Copy and paste as new layer. Move it a little up and right. Place it over the frame on its right side.

16. Open CHILI_DESIGNZ_Natasja_jewel. Resize 50%. Copy and paste as new layer. Move it up and right. Place it on top of pearls element.

17. Open CHILI_DESIGNZ_Natasja_wa. Resize 50%. Free Rotate: Right-70. Copy and paste as new layer. Move it way right and up.

18. Open CHILI_DESIGNZ_Natasja_wa2. Resize 50%. Free Rotate: Right-90. Copy and paste as new layer. Move it right and down.

19. Open CHILI_DESIGNZ_Natasja_heart. Resize 70%. Copy and paste as new layer. Move it left and down. Place over the frame bottom and erase same parts of the padlock arch to look interlaced with the frame.

20. Open your tube. Resize it if needed. Copy and paste as new layer. Move it a little to right. Add a suitable shadow.

--> Resize if wanted. Add your copyright info and license#. Add your name and save as PNG.


June 25, 2015

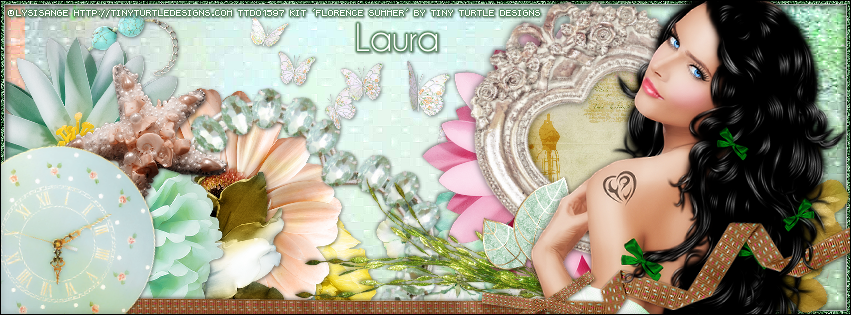
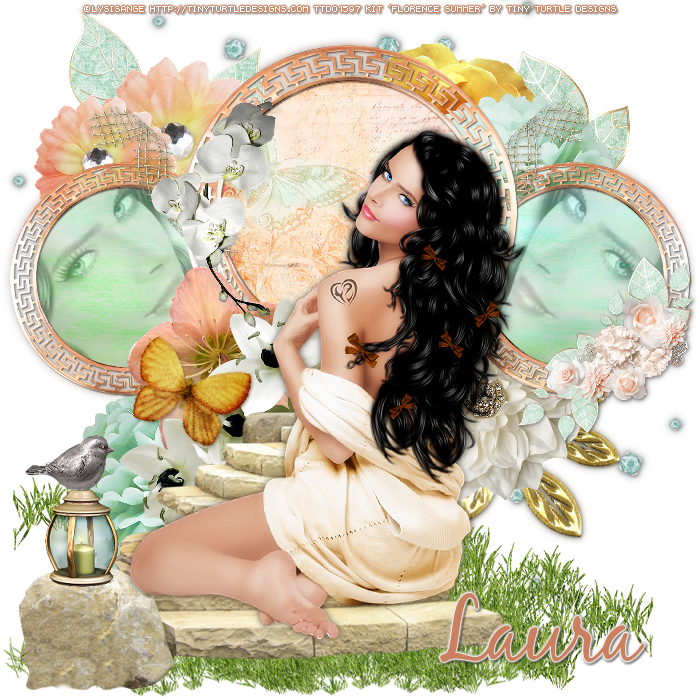
Florence Summer with Angie - Show Off


**Click to see original size**


== NEW PTU TAG TINY TURTLE DESIGNS CT ==
AND THE ART OF LYSISANGE

Featuring "Angie", a Lysisange tube 
and "Florence Summer", Tiny Turtle Design kit at TinyTurtleDesign Store.

Tiny Turtle Design kit has  papers and  elements so you can play with it. 

Lysisange's tube can be found  at:
-> TinyTurtleDesign Store, here

Tiny Turtle Design kit can be found  at:
-> TinyTurtleDesign Store, here


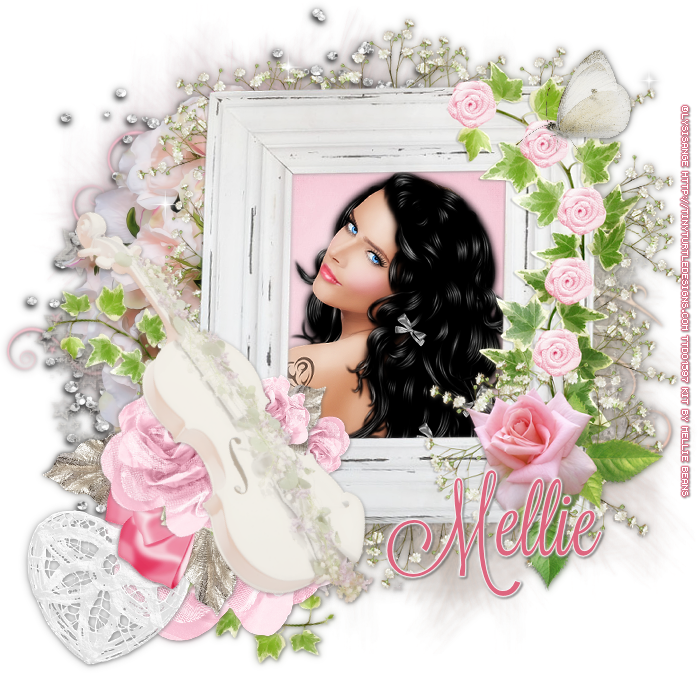
I Do - Show Off


**Click to see original size**


== NEW CT MELLIE BEANS PTU TAGS ==

Featuring "I Do" by Mellie Beans 
at Mystical Scraps Store and Heartbeatz Creationz.

Mellie Bean's kit has 50 elements and 10 papers so you can play with it. The colors are beautiful and you can create different styles of tags.

Kit can be found at:

-> Mystical Scraps Store, here

-> Heartbeatz Creationz, here

Visit her blog:


June 24, 2015

Mermaid's Dream

SUNSHINE TUTORIAL


Tutorial written by Marcia Salgado on June 22th, 2015
for those who have a working knowledge of PSP.
Any resemblance to any other tutorial is coincidental.
Do not copy and paste this tutorial anywhere on the net.
If you want to translate please ask first. 

****************************************
Material:

Tube: "Sirena" by Elias Chatzoudis, you can purchase it here
do not use without the proper #license.
The license used is from former MPT tube company.
PTU Kit "Mermaid's Dream" by  Dezignz By Vi, you can purchase it at:
Smiley Creations Shop here
Mask: dmsk0670 made by Diana Todd - she is no longer online - here
Font: Miss Lankfort

****************************************

--> Remember to save often and use my tag as reference if necessary. Used the Drop Shadow: 1-1-50-5 in most layers -> apply only after finished all tag. 

--> The elements placements are chosen to be used with my tube, if you are using a different one you may want to arrange them to better fit yours.

1. Create a new image of 700x700. Open "element' 46. Mirror. Copy and paste as new layer. Move it to right up.

2. Add a new layer select all. Open "element' 21. Copy and paste into selection. Deselect. Open "element' 10. Copy and paste as new layer. Move it down. Merge down. Apply mask dmsk0670. Merge group.

3. Open "element' 37. Resize  40%. Free Rotate: Right-90. Copy and paste as new layer. Move it to top left corner.

4. Open Frame1. Resize 60%. Copy and paste as new layer. Move it a little up. Select inside the frame. Open Paper1. Copy and paste into selection. Deselect. Move this layer below the frame layer.

5. Click on frame layer (should be the first layer). Open "element' 42. Resize  30%. Copy and paste as new layer. Move it down.

6. Open "element' 14. Resize  40%. Copy and paste as new layer. Move it down and a little to left.

7. Open "element' 2. Resize  50%. Copy and paste as new layer. Move it down right.

8. Open "element' 6. Resize  40%. Copy and paste as new layer. Move it down and left.

9. Open "element' 39. Resize  60%. Copy and paste as new layer. Move it down right.

10. Open "element' 5. Resize  30%. Copy and paste as new layer. Move it down right and place it on the big rock base. Duplicate and move it a little to left. Merge down.

11. Open "element' 1. Resize  40%. Copy and paste as new layer. Move it down left.

12. Open "element' 26. Resize  30%. Copy and paste as new layer. Move it to left and place it on column top.

13. Open "element' 7. Resize  30%. Copy and paste as new layer. Move it to down left and place over column base on its right side.

14. Open "element' 41. Resize  20%. Copy and paste as new layer. Place it on big rock top at left.

15. Open "element' 30. Resize  30%. Free Rotate: Left-90. Copy and paste as new layer. Move it to bottom left. Open "element' 28. Resize  30%. Copy and paste as new layer. Place it on right side of previous shell. Open "element' 32. Resize  30%. Copy and paste as new layer. Place it on right side of previous shell. 

16. Open "element' 36. Resize  20%. Copy and paste as new layer. Move it to bottom a little to the left.

17. Open your tube. Resize if needed. Copy and paste as new layer. Place it over the big rock.

18. Open "element' 4. Resize  40%. Copy and paste as new layer. Move it down. Place it in front of the big rock base on its left side.

19. Open "element' 3. Resize  40%. Mirror. Copy and paste as new layer. Move it to bottom right. Place it in front of the big rock base on its right side.

20. Open "element' 27. Resize  30%. Copy and paste as new layer. Move it bottom left. Open "element' 29. Resize  40%. Copy and paste as new layer. Place it on right side of previous shell.


--> Resize if needed. Add your copyright info and #license. Add your name. Save as PNG.


June 21, 2015

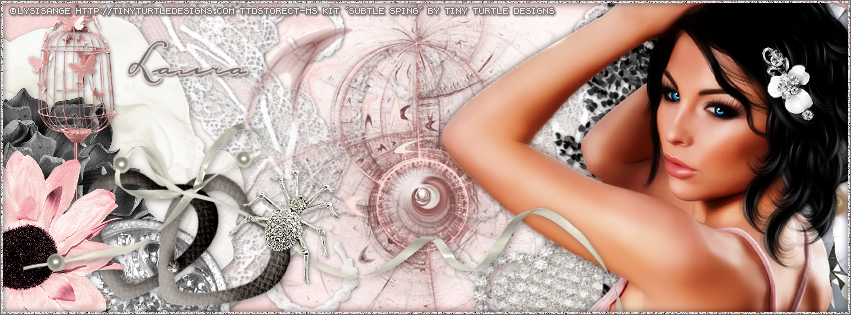
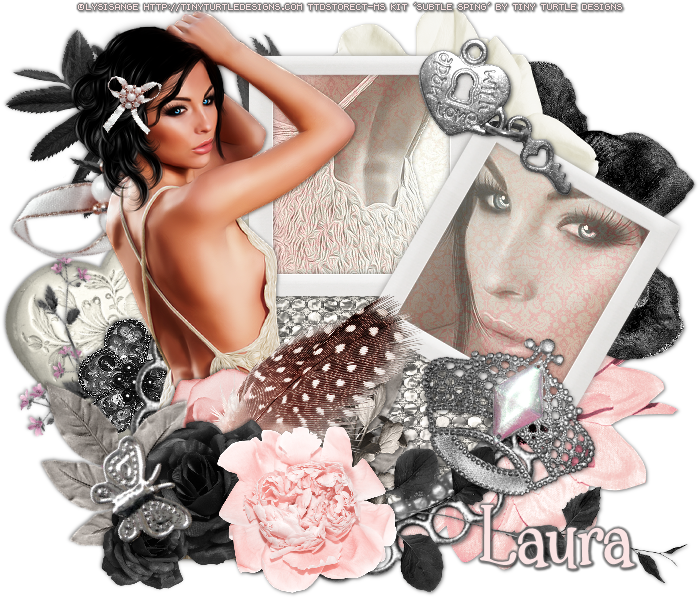
Subtle Spring with Violetta Show Off


**Click to see original size**


== NEW PTU TAG TINY TURTLE DESIGNS CT ==
AND THE ART OF LYSISANGE

Featuring "Violetta", a Lysisange tube and "Subtle Spring", 
Tiny Turtle Design kit at TinyTurtleDesign Store.

Tiny Turtle Design kit has 19 papers and 139 elements so you can play with it. 

Lysisange's tube can be found  at:
-> TinyTurtleDesign Store, here

Tiny Turtle Design kit can be found  at:
-> TinyTurtleDesign Store, here


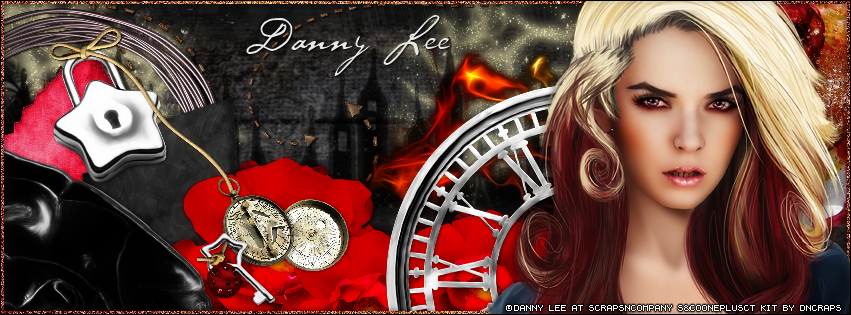
Angry Woman

LOCKED TUTORIAL

**Click to see original size**

Tutorial written by Marcia Salgado on June 21th, 2015
for those who have a working knowledge of PSP.
Any resemblance to any other tutorial is coincidental.
Do not copy and paste this tutorial anywhere on the net.
If you want to translate please ask first. 

****************************************
Material:

Tube: "Angry Woman" by Danny Lee, you can purchase it here 
do not use without the proper #license.
PTU Kit "Angry Woman" by DnScraps, you can purchase it here 
Font: P22 Cezanne Regular

****************************************

--> Remember to save often and use my tag as reference if necessary. Used the Drop Shadow: 1-1-50-5 in most layers. 

1. Create a new image of 851x315. Add a new layer. Select all. Open Angrywomandnkitpupaper4 Custom Selection: Left-0, Top-0, Right-799, Bottom-355. Copy and paste into selection. Deselect.

2. Open Angrywomandnkitpuhallo. Resize 50%. Copy and paste as new layer. Move it up. Duplicate. Mirror. Move to left. Merge down.

3. Open Angrywomandnkitpucity. Copy and paste as new layer. Move it to left. Duplicate. Move it to right. Merge down. Blend Mode: Multiply.

4. Open Angrywomandnkitpuarrow3. Resize 50%. Copy and paste as new layer. Move it up.

5. Open Angrywomandnkitpuarrow. Resize 50%. Copy and paste as new layer. Move it to up left.

6. Open Angrywomandnkitpuballs. Resize 40%. Copy and paste as new layer. Move it way right.

7. Open Angrywomandnkitpuflux2. Resize 40%. Copy and paste as new layer. Move it a little down and right.

8. Open Angrywomandnkitpumetalframe. Resize 40%. Copy and paste as new layer. Move it way to left.

9. Open Angrywomandnkitpucuteelve and Angrywomandnkitpucuteelve2. Resize 30%. Copy and paste as new layer. Move them down left. On black inverted heart use Free Rotate: Right-25. Merge down.

10. Open Angrywomandnkitpuflowers. Resize 40%. Copy and paste as new layer. Move it way down. Duplicate. Resize 80%. Move it a little to right and down. Duplicate. Mirror. Move it more to right and up.

11. Open Angrywomandnkitpudarks. Resize
 50%. Copy and paste as new layer. Move it to bottom left corner. Show only 1/4 of the element.

12. Open Angrywomandnkitpuclock. Resize 50%. Copy and paste as new layer. Move it down and right. 

13. Open Angrywomandnkitpulock. Resize 30%. With Free Selection tool create a selection around the padlock, keep the element open and the selection. Copy and paste as new layer. Place it over the top of red inverted heart.

14. Open Angrywomandnkitpumagicball. Resize 40%. Copy and paste as new layer. Place the lace part over the padlock arch. 

15. Open Angrywomandnkitpucompass2. Resize 20%. Copy and paste as new layer. Place it over the middle of magic ball thread. Erase the top of the circle of compass pendant.

16. Back to Angrywomandnkitpuclock. Invert the selection. Copy and paste as new layer. Mirror. Place it on the bottom edge of magic ball thread. Erase a part of the key left side to look like the knot is passing through key hole.

17. On your foreground color use #7a0c08 and in background color put #d68960. Create a Foreground+Background gradient: Angle-45, Repeat-1, Style-Linear. Add a new layer. Select all. Fill with the gradient. Contract > 5. Delete. Deselect. Noise: Gaussian-100-Monochrome.

18. Open your tube close up. Resize if needed. Copy and paste s new layer. Move it to right.

19. Add a new layer. Select all. Fill with black. Contract > 1. Delete. Deselect.

--> Add your copyright info (no URL by Facebook TOU) and license#. Add your name. Save as PNG.
--> Sometimes I had to change my Timeline size to 846x313 because when I add it to Facebook the image has extra pixels and do not fit perfectly. So try this size if the same is happening to you.