
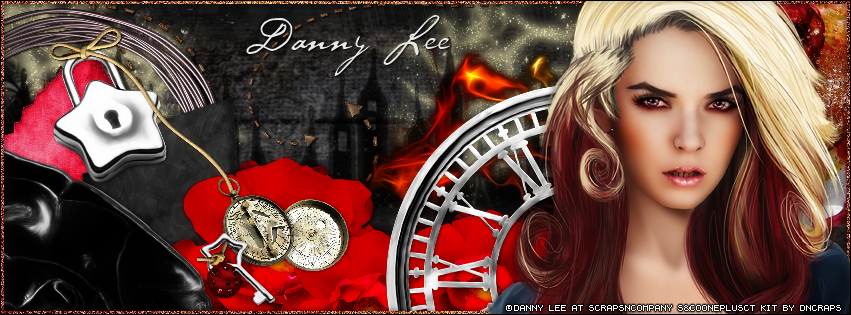
LOCKED TUTORIAL
**Click to see original size**
Tutorial written by Marcia Salgado on June 21th, 2015
for those who have a working knowledge of PSP.
Any resemblance to any other tutorial is coincidental.
Do not copy and paste this tutorial anywhere on the net.
If you want to translate please ask first.
****************************************
Material:
Tube: "Angry Woman" by Danny Lee, you can purchase it here
do not use without the proper #license.
PTU Kit "Angry Woman" by DnScraps, you can purchase it here
Font: P22 Cezanne Regular
****************************************
--> Remember to save often and use my tag as reference if necessary. Used the Drop Shadow: 1-1-50-5 in most layers.
1. Create a new image of 851x315. Add a new layer. Select all. Open Angrywomandnkitpupaper4 Custom Selection: Left-0, Top-0, Right-799, Bottom-355. Copy and paste into selection. Deselect.
2. Open Angrywomandnkitpuhallo. Resize 50%. Copy and paste as new layer. Move it up. Duplicate. Mirror. Move to left. Merge down.
3. Open Angrywomandnkitpucity. Copy and paste as new layer. Move it to left. Duplicate. Move it to right. Merge down. Blend Mode: Multiply.
4. Open Angrywomandnkitpuarrow3. Resize 50%. Copy and paste as new layer. Move it up.
5. Open Angrywomandnkitpuarrow. Resize 50%. Copy and paste as new layer. Move it to up left.
6. Open Angrywomandnkitpuballs. Resize 40%. Copy and paste as new layer. Move it way right.
7. Open Angrywomandnkitpuflux2. Resize 40%. Copy and paste as new layer. Move it a little down and right.
8. Open Angrywomandnkitpumetalframe. Resize 40%. Copy and paste as new layer. Move it way to left.
9. Open Angrywomandnkitpucuteelve and Angrywomandnkitpucuteelve2. Resize 30%. Copy and paste as new layer. Move them down left. On black inverted heart use Free Rotate: Right-25. Merge down.
10. Open Angrywomandnkitpuflowers. Resize 40%. Copy and paste as new layer. Move it way down. Duplicate. Resize 80%. Move it a little to right and down. Duplicate. Mirror. Move it more to right and up.
11. Open Angrywomandnkitpudarks. Resize
50%. Copy and paste as new layer. Move it to bottom left corner. Show only 1/4 of the element.
12. Open Angrywomandnkitpuclock. Resize 50%. Copy and paste as new layer. Move it down and right.
13. Open Angrywomandnkitpulock. Resize 30%. With Free Selection tool create a selection around the padlock, keep the element open and the selection. Copy and paste as new layer. Place it over the top of red inverted heart.
14. Open Angrywomandnkitpumagicball. Resize 40%. Copy and paste as new layer. Place the lace part over the padlock arch.
15. Open Angrywomandnkitpucompass2. Resize 20%. Copy and paste as new layer. Place it over the middle of magic ball thread. Erase the top of the circle of compass pendant.
16. Back to Angrywomandnkitpuclock. Invert the selection. Copy and paste as new layer. Mirror. Place it on the bottom edge of magic ball thread. Erase a part of the key left side to look like the knot is passing through key hole.
17. On your foreground color use #7a0c08 and in background color put #d68960. Create a Foreground+Background gradient: Angle-45, Repeat-1, Style-Linear. Add a new layer. Select all. Fill with the gradient. Contract > 5. Delete. Deselect. Noise: Gaussian-100-Monochrome.
18. Open your tube close up. Resize if needed. Copy and paste s new layer. Move it to right.
19. Add a new layer. Select all. Fill with black. Contract > 1. Delete. Deselect.
--> Add your copyright info (no URL by Facebook TOU) and license#. Add your name. Save as PNG.
--> Sometimes I had to change my Timeline size to 846x313 because when I add it to Facebook the image has extra pixels and do not fit perfectly. So try this size if the same is happening to you.