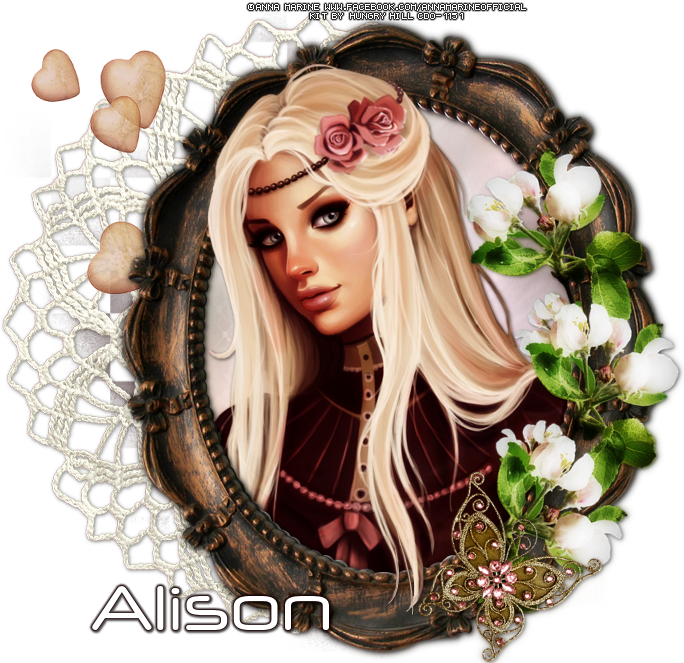
With the white background:
With a different Customization:

Tutorial written by Marcia Salgado on November 3rd, 2015
for those who have a working knowledge of PSP.
Any resemblance to any other tutorial is coincidental.
Do not copy and paste this tutorial anywhere on the net.
If you want to translate please ask first.
****************************************
Material:
Tube: Anna Marine "Individual Tube 50-1", you can purchase it here
do not use without the proper #license.
Material: All made by me, here
Plugin: Eye Candy 5
Font: Dhuwur
****************************************
--> Remember to save often and use my tag as reference if necessary. Use a Drop Shadow of your choice.
--> Unzip my materials and place all Selections inside the folder Selections in your My PSP Files. Double click on Glass1 to install it to Eye Candy 5. Open base, chrome, glass, animation and curve in your PSP area.
1. Open my base. Duplicate and close the original. Select inside the frame. Add a new layer. Move this layer below the frame.
2. Fill with #19161f. Deselect. Apply Blinds: 3-20-Color:#ecc7cd and only Light from left top marked.
3. Add a new layer. Load the Selection opc_candy1. Fill with #19161f. Apply Weave: Gap Size>1, Width>5, Opacity>10, Both Colors>White and Fill Gaps marked. Edge Effects > Enhance. Low the opacity layer to 70. Deselect.
--> If you will use another tube you'll have to create your own noise animation. First chose 4 colors from your tube. Open a new image of 100x100 and fill with a light color. Now with the Airbrush Tool (Size:20 Hardness:40 Spep:78 Density:49 Thickness:100 Rotation:0 and Opacity:38) paint traces over the background. After finished use Noise: Uniform-50 and Monochrome NOT marked. Duplicate the layer. Mirror. Duplicate it again. Flip. Rename the layers 1, 2 and 3.
4. Add a new layer. Rename it 1. Load the Selection opc_candy3. Click on image Animation. Close layers 2 and 3. Use it as pattern to fill the selection (Angle:0 Scale:100). Fill the selection. Add a new layer. Rename it 2. On image Animation open layer 2 and close 1. Fill the selection. Add a new layer. Rename it 3. On image Animation open layer 3 and close 2. Fill the selection. Keep selected.
5. Add a new layer. Rename it shadow. Use Cutout: V-2 H-3 Opacity-50 Blur-8 Shadow Color-Black and Fill interior NOT marked. Deselect.
6. Copy chrome and paste as new layer. Click on Deform Tool (or Pick Tool on new PSP versions) and on Tool Options mark PositionX:398 and PositionY:201. Apply Eye Candy 5 Impact > Chrome > Indoor, Platinum.
7. Copy glass and paste as new layer. Click on Deform Tool (or Pick Tool on new PSP versions) and on Tool Options mark PositionX: 402 and PositionY:205. Change the color to one that suits your tube. I used #d63e70 (Manual Color Correction tut HERE). Apply Eye Candy 5 Impact > Glass and use Glass1.
8. Copy curve and paste as new layer. Click on Deform Tool (or Pick Tool on new PSP versions) and on Tool Options mark PositionX:2 and PositionY:110. Change the color to one that suits your tube. I used #d63e70 (Manual Color Correction tut HERE).
9. Load the Selection opc_candy2. Add a new layer and fill with #d63e70. Contract > 3. Deselect. Rename this layer N1. Duplicate it twice, in a total of 3 layer. Click on N1 and apply Noise: Gaussian-Monochrome-75. Click on Copy of N1 and apply the same Noise (do NOT use Edit > Repeat). Click on Copy (2) of N1 and apply the same Noise. Leave Copy of N1 and Copy (2) of N1 invisible.
10. Click on first layer, should be the frame. Open your tube close up, resize if needed. Copy and paste as new layer. Move it to left. After place it erase the bottom shirt that is outside the frame. I leave some parts of the tube showing outside of the frame but that's your choice, you can crop it to keep only with the rectangle then you won't need to add a white background after finish the animation. Crop the extra space.
--> Add your copyright info and license#, Add your name. Save it as PSP and now we can start the animation.
ANIMATION SHOP
1. If you followed mu instructions the tag is ready to start. PSP -> Copy Merged.
2. AS -> Paste as new animation.
3. PSP -> Close layers 1 and N1. OPen layers 2 and Copy of N1. Copy merged.
4. AS -> Paste After Current Frame.
5. PSP -> Close layers 2 and Copy of N1. Open layers 3 and Copy (2) of N1. Copy merged.
6. AS -> Paste After Current Frame. Add a white background and save as GIF.
--> You can add a different color if wanted or change the customization to better fit your necessity.
----------------------------------------------------------------------------------
Just to give an idea to create an Avatar: