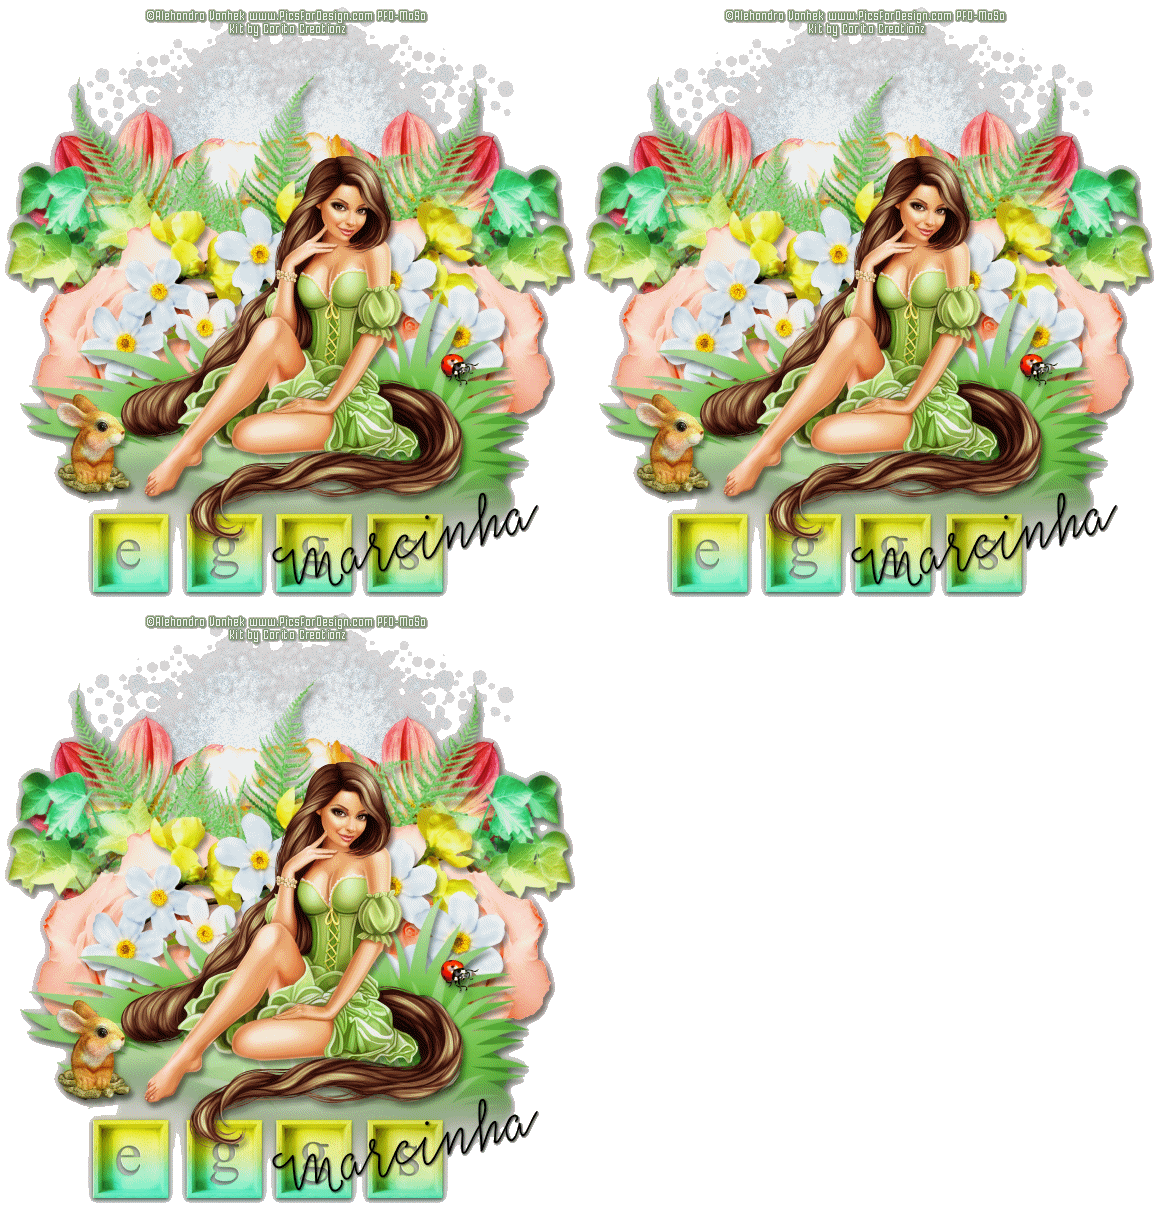
EGGSTASTIC TUTORIAL
Tutorial written by Marcia Salgado on March 25th, 2016
for those who have a working knowledge of PSP.
Any resemblance to any other tutorial is coincidental.
Do not copy and paste this tutorial anywhere on the net.
If you want to translate please ask first.
****************************************
Material:
Tube: "Rapunzel" by Alehandra Vanhek, you can purchase it here
do not use without the proper #license.
PTU Kit "Springtastic" by Carita Creationz, you can purchase it here
Font: Salt and Spices Mono Regular
****************************************
--> Remember to save often and use my tag as reference if necessary. Use a Drop Shadow of your choice.
1. Create a new image 650x650.
2. Open 'element' 11. Resize 85%. Copy and paste as new layer. Move it down.
3. Open 'element' 42. Copy and paste as new layer. Move it up.
4. Open 'element' 27. Resize 50%. Copy and paste as new layer. Move it up and to left. Duplicate and mirror. Merge down.
5. Open 'element' 32. Resize 70%. Copy and paste as new layer. Move it a little up. Place between the previous flowers.
6. Open 'element' 36. Resize 85%. Copy and paste as new layer. Move it to left. Place it over the pink flower. Duplicate. Mirror. Duplicate the original element again. Flip and place it between the first two plants.
7. Open 'element' 21. Resize 65%. Copy and paste as new layer. Move it up and to left. Duplicate. Mirror. Merge down.
8. Open 'element' 35. Copy and paste as new layer. Move it to right. Duplicate and mirror. Merge down.
9. Open 'element' 4. Resize 60%. Copy and paste as new layer. Move it a little up.
10. Open 'element' 29. Copy and paste as new layer. If need move it a little down to show the yellow flower behind it.
11. Select inside the center of the flowers. Promote selection to a layer. Duplicate it twice. Add on each layer Noise: Gaussian-35-Monochrome. Rename the layer 1, 2 and 3. Leave layers 2 and 3 invisible for now.
12. Click on first layer (should be the grass layer). Open 'element' 1. Resize 50%. Copy and paste as new layer. Move it way down.
13. Open your tube. Resize if needed. Copy and paste as new layer. Place it over the grass element.
14. Open 'element' 14. Resize 20%. Copy and paste as new layer. Move it down and to left.
15. Open 'element' 30. Resize 30%. Copy and paste as new layer. Place it over the grass on right side.
16. Using Crop > Merged opaque remove all extra space from your tag.
17. Add your copyright info and license#. Add your name. If you do not want to add the noise animation you can save it as PNG now.
ANIMATION
1. PSP -> Copy merged.
2. AS -> Paste as new animation.
3. PSP -> Turn layer 1 invisible and layer 2 visible. Copy merged.
4. AS -> Paste after current frame.
5. PSP -> Turn layer 2 invisible and layer 3 visible. Copy merged.
4. AS -> Paste after current frame.
5. Add a white background and save as GIF

