Tutorial written by Marcia Salgado on June 5th, 2014
for those who have a working knowledge of PSP.
Any resemblance to any other tutorial is coincidental.
Do not copy and paste this tutorial anywhere on the net.
If you want to translate please ask first.
**********************************
Materials:
My Cards - here (I made a red and a black ace)
MuRa's Meister Filter
PSP Effects
Font - Used Canter Bold
**********************************
1. Open a new image 600 x 300.
2. Foreground Color > Black and Background Color > Null.
3. Use the Preset Shape Tool
Ellipse - Uncheck Antialias and Line Width: 1.
Ellipse - Uncheck Antialias and Line Width: 1.
4. Draw an oval format to use as tag background.
Objects > Align > Center In Canvas.
Layers > Convert to Raster Layer.
5. Create a gradient using two colors of your tube
or use two colors derived from the same tone as I did.
or use two colors derived from the same tone as I did.
Used foreground: #3a4e57 Background: #91b3bd.
Gradient Settings: Style: Linear - Angle: 20 and Repeats: 7.
6. With the Magic Wand select inside the oval shape.
Selection > Modify > Expand > 1.
7. Add a new layer and fill it with your gradient. Keep Selected.
Move this layer below your oval shape.
Effects > Distortion Effects >
Pixelate: Uncheck Symmetric - Block Width:1 - Block Height: 15.
Selection Invert.
Effects > 3D Effects > Drop Shadow:
V and H: 0 - Opacity: 70 - Blur: 10 - Color: Black.
Selections > Select None.
V and H: 0 - Opacity: 70 - Blur: 10 - Color: Black.
Selections > Select None.
8. Click on layer with your oval shape.
Open one of the cards I made (or another image that fits your tag idea),
copy and paste as new layer, resize it to keep it inside the shape
(I used a resize of 60%).
Close the card or the image used.
Add a shadow to the card, used
V and H: 1 - Opacity: 50 - Blur: 5 - Color: Black.
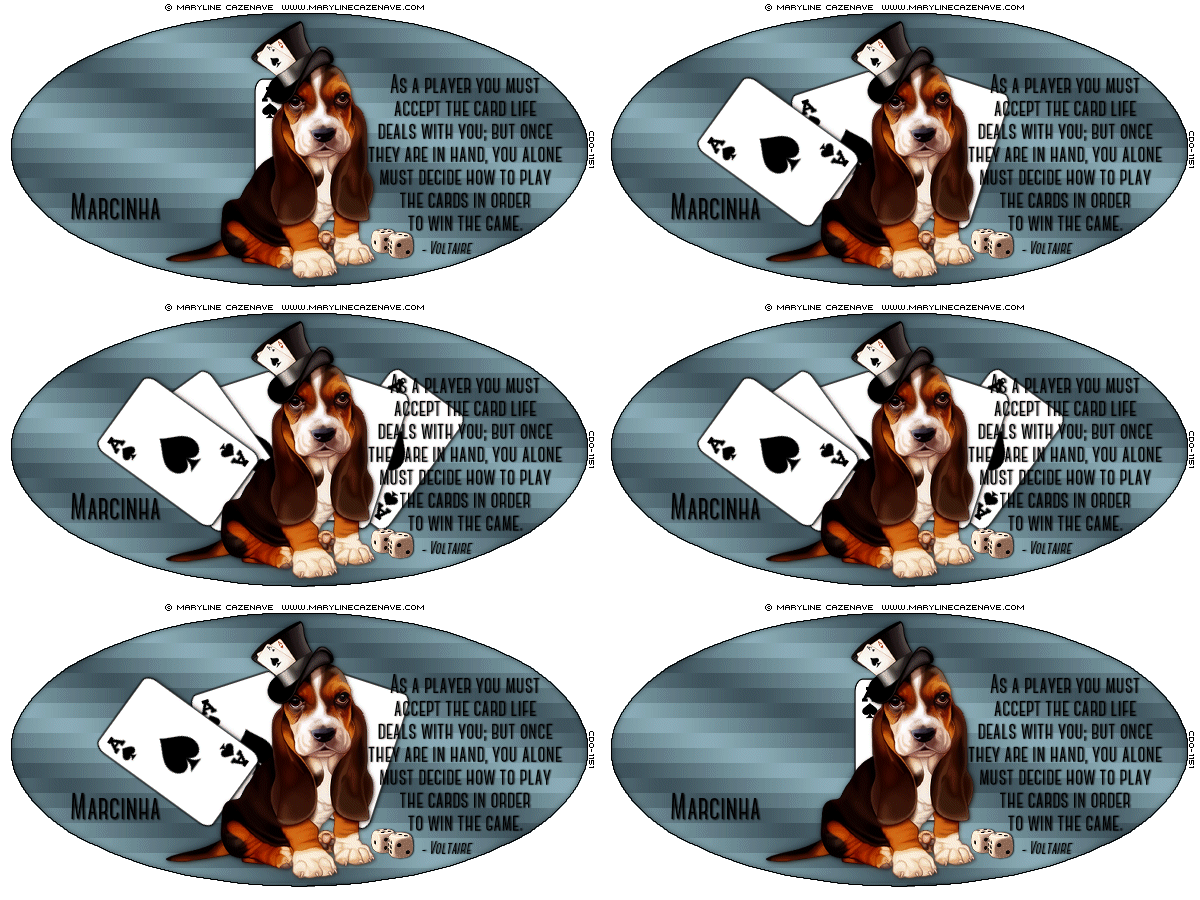
Rename this layer Card. Duplicate this layer 8 times - You'll have 9 card layers.
9. Filter MuRa's Meister > Copies. Use the preset Cards.
Only change the option number to 1 and ShiftY to 0. Apply.
Repeat the process on Copy of Card changing Number to 2.
Repeat on each copy layer changing the Number, last layer will use Number: 8.
Close all Copy Layers for now.
10. Add your tube. Resize it to keep it inside the shape.
TIP: If your tube has any part of it on the outside of the shape
click on the shape layer, using the magic wand click outside the frame
click on the shape layer, using the magic wand click outside the frame
Selection > Modify > Expand > 1.
Click back on tube layer and use the delete key of your keyboard.
I leave mine in the center over the card. Add a shadow to it
(used the same applied on the card image).
Add your copyright info, name and quote, if you want it.
All you add must remain inside the oval shape
(except for the copyright if you use a pixel font without the antialias option).
Once you finished to add all you want or need we will start the animation part.
ANIMATION
1. Open Animation Shop (AS).
2. Back to PSP - We will play only with Card Layer and its copies.
Close all copies - with only Card layer open click on Edit > Copy Merged.
AS - Edit > Paste > As New Animation.
3. Back to PSP - close Card Layer. Open Copy of Card layer. Edit > Copy Merged.
AS - Edit > Paste > After Current Frame.
4. Back to PSP - close Copy of Card Layer. Open Copy (2) of Card layer.
Edit > Copy Merged. AS - Edit > Paste > After Current Frame.
5. Repeat the process until all layers card are copied into Animation Lessons.
6. Edit > Select All.
7. Edit > Copy.
8. Click on Frame 9 (last frame). Edit > Paste > After Current Frame.
Animation > Reverse Frames.
9. Click on Frame 1, Animation > Frame Properties > 300.
Go to Frame 9 - Animation > Frame Properties > 100
and click on Frame 10 - Edit > Delete.
10. Save as gif (No need to add color to your background -
the oval shape do not contain any antialias so the gif
won't add extra pixels to it.)
won't add extra pixels to it.)


