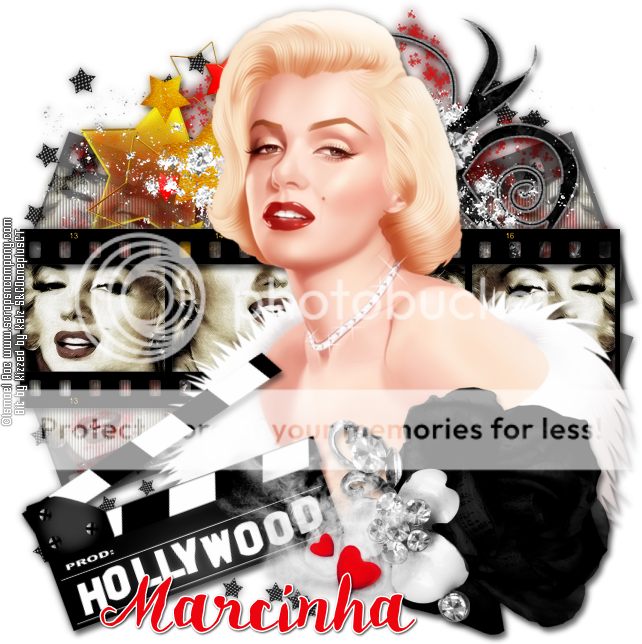
MY DIVA TUTORIAL
Tutorial written by Marcia Salgado on September 17th, 2016
for those who have a working knowledge of PSP.
I'm using PSP9 to create my tuts.
Any resemblance to any other tutorial is coincidental.
Do not copy and paste this tutorial anywhere on the net.
If you want to translate please ask first.
****************************************
Material:
Tube: "Bonus MM" by Ismael Rac, you can purchase it here
or you can receive it as a gift with a purchase.
do not use without the proper #license.
PTU Kit "Bonus MM" by Kizzed by Kelz, you can purchase it here
Font: HMS Gilbert Brush
****************************************
--> Remember to save often and use my tag as reference if necessary. Use a Drop Shadow of your preference on layers.
1. Open KBK_BonusMM (55). Copy and paste as new layer.
2. Open KBK_BonusMM (95). Flip. Copy and paste as new layer. Move it a little up.
3. Open KBK_BonusMM (134). Copy and paste as new layer.
4. Open KBK_BonusMM (113). Resize 45%. Copy and paste as new layer. Move it below the frame layer. Place inside the first frame, arrange it as you wish. Duplicate. Turn the copy layer invisible.
5. Click on frame layer and select inside the first frame. Expand > 2. Invert selection. Click on original Marylin image and delete.Deselect.
6. Turn Copy os Raster 1 visible. Duplicate and turn Copy of Raster 2 invisible. Back on Copy of Raster 1 layer. Mirror. Place inside the second frame as you want.
7. Click on frame layer and select inside the second layer. Expand > 2. Invert selection. Click on Copy of Raster 1 layer. Delete. Deselect. Repeat the process with third and fourth frames.
8. Apply a shadow on the frame layer and merge all Marylin images in only one layer. Duplicate. On original merged layer use Colorize 0-0. On copy use Gaussian Blur > 4. Blend Mode: Soft Light. Low opacity layer to 80.
9. Leave only the frame and images visible and merge them. Duplicate twice, move the Merged layer above the copies. Click on first copy. Free Rotate: Left-20. Low the layer opacity to 60. Use Blinds as shown below.
10. Click on second copy. Free Rotate: Right-20. Low the layer opacity to 60. Use Blinds as used before. Turn all layers visible. Preview of the frames below:
11. Open KBK_BonusMM (72). Resize 75%. Copy and paste as new layer. Move it to right.
12. Open KBK_BonusMM (119). Resize 55%. Copy and paste as new layer. Move it tp and to left.
13. Open KBK_BonusMM (83). Copy and paste as new layer.
14. Click on original frame layer
15. Open your tube. Resize. Copy and paste as new layer. Move it up and to right.
16. Open KBK_BonusMM (107). Resize 65%. Copy and paste as new layer. Move it down and to right.
17. Open KBK_BonusMM (70). Resize 40%. Copy and paste as new layer. Move it down and a little to right.
18. Open KBK_BonusMM (12). Resize 50%. Free Rotate: Left-20. Copy and paste as new layer. Move it down and to left.
19. Open KBK_BonusMM (105). Resize 40%. Copy and paste as new layer. Move it down.
20. Use Crop > Merged Opaque to get rid of all extra space.
--> Add your copyright info and license#.Add your name and save as PNG.


