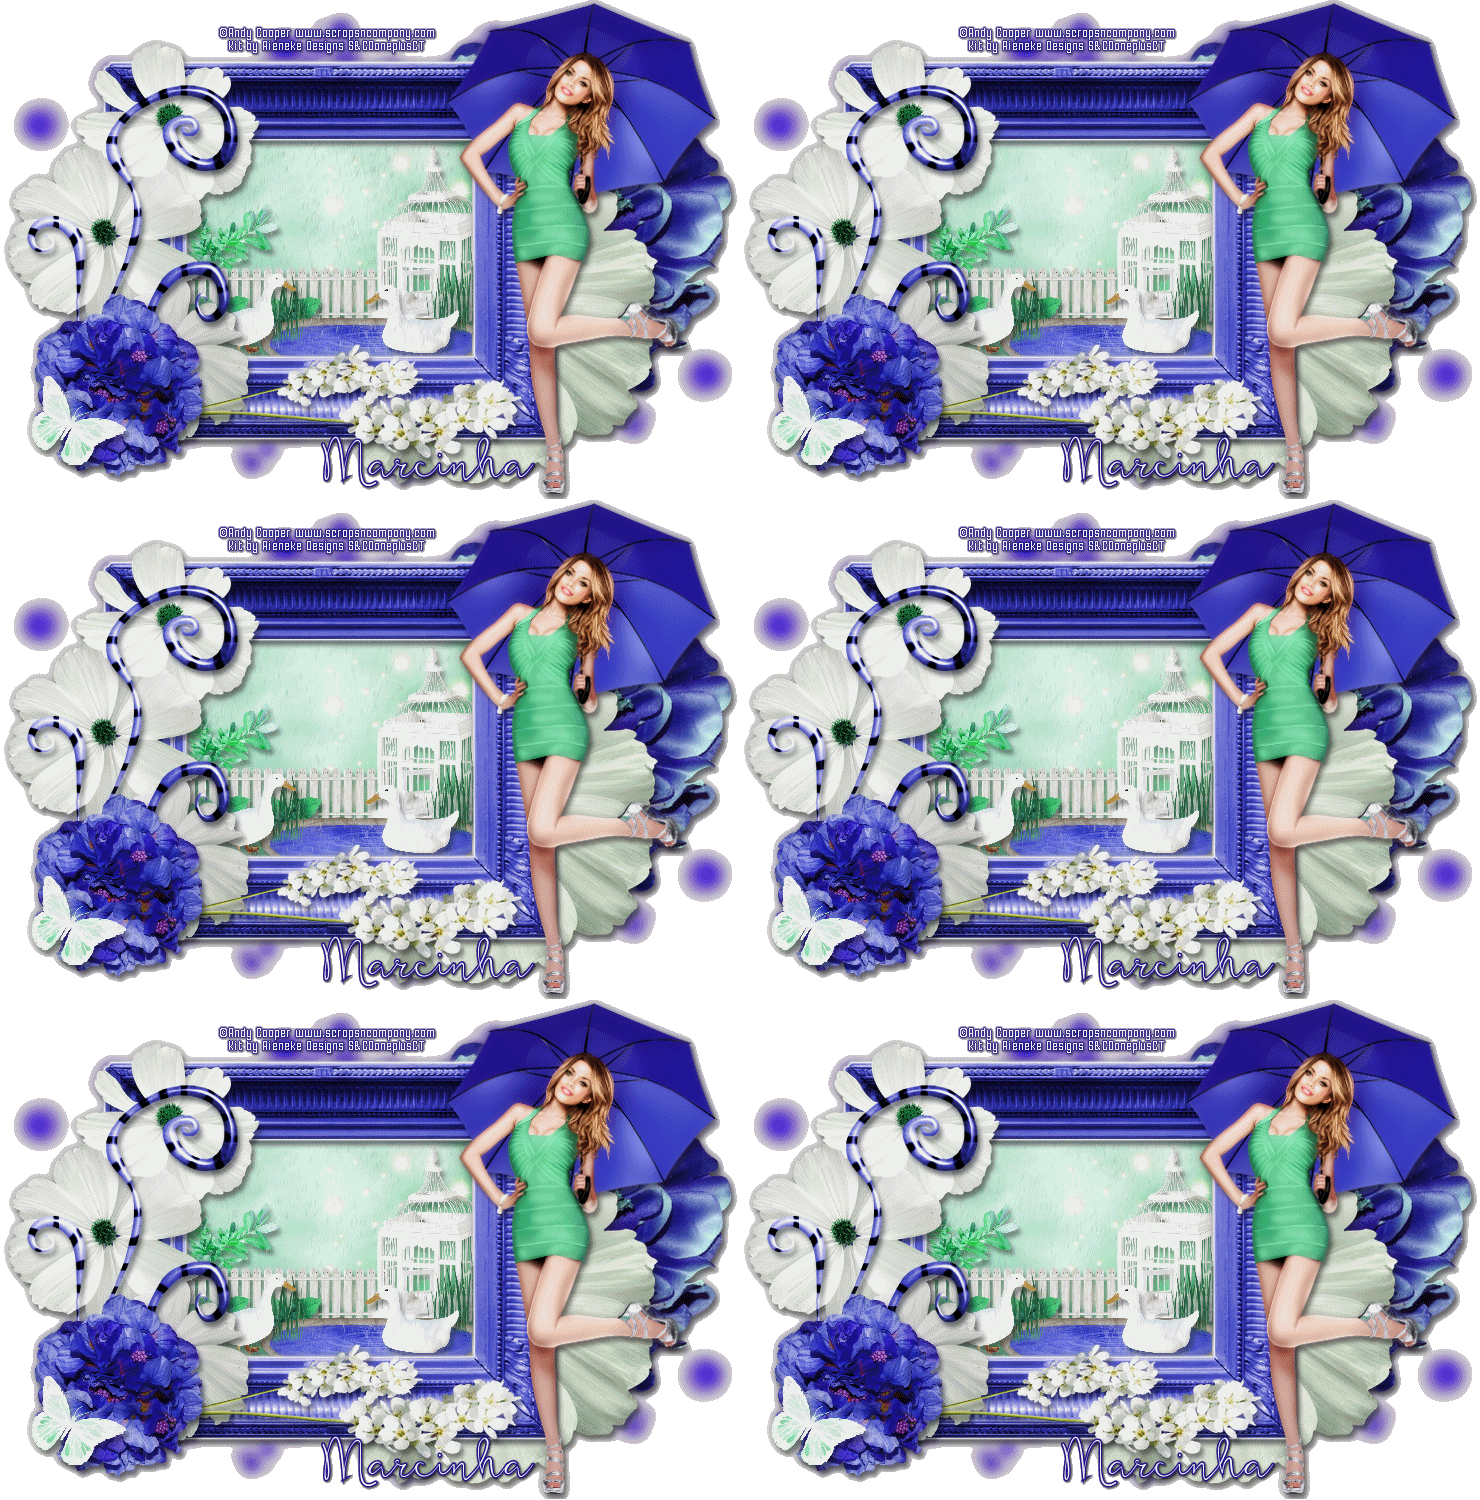
PURPLE RAIN TUTORIAL
Tutorial written by Marcia Salgado on April 27th, 2016
for those who have a working knowledge of PSP.
I'm using PSP9 to create my tuts.
Any resemblance to any other tutorial is coincidental.
Do not copy and paste this tutorial anywhere on the net.
If you want to translate please ask first.
****************************************
Material:
Tube: "Purple Umbrella" by Andy Cooper, you can purchase it here
do not use without the proper #license.
PTU Kit "PurpleUmbrella" by Rieneke Designs, you can purchase it here
Material: Rain made by me, mar2016_300x250-rain, here
Plugin: Eye Candy 6 (Optional)
Font: featherly
****************************************
--> Remember to save often and use my tag as reference if necessary. Use a Drop Shadow of your preference on layers before use MERGE.
1. Create a new image 750x500.
2. Open RD-PurpleUmbrella-element (14). Resize 75%. Copy and paste as new layer. Add a thin white border or use Eye Candy 6 > Gradient Glow with the following settings:
3. Select inside the frame. Expand > 10. Add a new layer and move it below the frame layer. Open RD-PurpleUmbrella-paper (7). Copy and paste into selection. Duplicate. Click on original layer and low the layer opacity to 50, rename the original layer BACK and hide it for now. Click on copy layer. Selection invert.
4. Now we'll start to create the scenary inside the frame. Feel free to check my tag for placements or do it as you prefer. Open RD-PurpleUmbrella-element (31). Resize 25%. Copy and paste as new layer. Move it down and to the left. Delete. Keep selected.
5. Open RD-PurpleUmbrella-element (28). Resize 50%. Copy and paste as new layer. Move it down and to right. Delete. Keep selected.
6. Open RD-PurpleUmbrella-element (39). Resize 40%. Copy and paste as new layer. Move it down and to left. Delete. Keep selected.
7. Open RD-PurpleUmbrella-element (50). Resize 40%. Mirror. Copy and paste as new layer. Move it down and to right. Delete. Keep selected.
8. Open RD-PurpleUmbrella-element (43). Resize 15%. Copy and paste as new layer. Move it down and to left, place it in front of the fence. Duplicate and move it a little to right. Merge down. Delete. Keep selected.
9. Open RD-PurpleUmbrella-element (32). Resize 40%. Copy and paste as new layer. Move it down and to right. Delete. Keep selected.
10. Open RD-PurpleUmbrella-element (29). Resize 20%. Mirror. Copy and paste as new layer. Place it in the middle of the pond. Delete. Keep selected.
11. Open RD-PurpleUmbrella-element (26). Resize 20%. Mirror. Copy and paste as new layer. Place it at the pond's left border. Delete. Deselect.
12. Hide the bottom empty layer (Raster 1) and the frame layer and merge all visible layers. Rename this layer to SCENE.
13. Turn the frame and empty bottom layer (Raster 1) visible again. Click on Raster 1 layer. Open RD-PurpleUmbrella-element (10). Copy and paste as new layer. Move it up and to left. Duplicate. Mirror. Flip. Merge down.
14. Open RD-PurpleUmbrella-element (11). Resize 75%. Mirror. Copy and paste as new layer. Move it to right.
15. Open RD-PurpleUmbrella-element (13). Resize 75%. Copy and paste as new layer. Place it in front of the previous flower but leave it a little bit more to left. Turn the frame, SCENE and Raster 1 layers invisible. Turn BACK visible. Merge visible layers. Rename it BACK again. Turn all layer visible.
16. Click on frame layer (should be the first layer). Open RD-PurpleUmbrella-element (15). Resize 70%. Mirror. Copy and paste as new layer. Move it way to left. Place it over the frame border.
17. Open RD-PurpleUmbrella-element (37). Resize 80%. Copy and paste as new layer. Place it over the previous flowers.
18. Open RD-PurpleUmbrella-element (33). Resize 80%. Free Rotate: Right-90. Copy and paste as new layer. Move it down.
19. Open RD-PurpleUmbrella-element (17). Resize 35%. Copy and paste as new layer. Move it down and to left.
20. Open. RD-PurpleUmbrella-element (27). Resize 20%. Copy and paste as new layer. Place it over the purple flower.
21. Open your tube and resize it. Copy and paste as new layer. I mirrored mine and moved it to the right.
22. Hide layers BACK, SCENE and Raster 1. Merge visible layers and rename it TOP. Turn all layers visible again. Use Crop > Merged Opaque to get rid of any extra space. Now it's the time to resize it if wanted (all layers). Add your copyright info and license#. Add your name. If you do not want to add the animation you can save it as PNG right now.
ADDING ANIMATION
1. PSP -> Click on SCENE layer. Copy.
2. AS -> Paste as new animation. Duplicate it to have 8 frames in total. Select all. Activate Propagate Paste. Open mar2016_300x250-rain MNG. Select all. Copy. Back to SCENE frames. Paste to selected frames. Position it and click to fix the rain.
3. PSP -> Turn off TOP and SCENE layers. Copy merged.
4. AS -> Paste as new animation. Duplicate it to have 8 frames in total. Select all. Activate the scene animation. Select all. Copy. Activate the tag BACK and Paste into selected frames using the empty background rectangle to place the animation on your tag.
5. PSP -> Turn on the TOP layer and off BACK layer. Copy merged.
6. AS -> Paste as new animation. Copy. Activate your tag. Paste into selected frames. Position the frame over the scenery background. Save as GIF.


