PASSIONAL TUTORIAL
Tutorial written by Marcia Salgado on January 4th, 2016
for those who have a working knowledge of PSP.
Using PSP version 9, but it can be done in any other.
Any resemblance to any other tutorial is coincidental.
Do not copy and paste this tutorial anywhere on the net.
If you want to translate please ask first.
****************************************
Material:
Tube: "Cherry Red" by Enamorte, you can purchase it here,
do not use without the proper #license.
PTU Kit "Love Bites" by Hungry Hill,
you can purchase it here
Mask: Dee's mask, DD_NFM_2015_1, from her blog here
Just click on image to enlarge it and save.

Plugin: MuRa's Neister
Font: Aphrodite Pro (and last n -> Aphrodite Swash)
****************************************
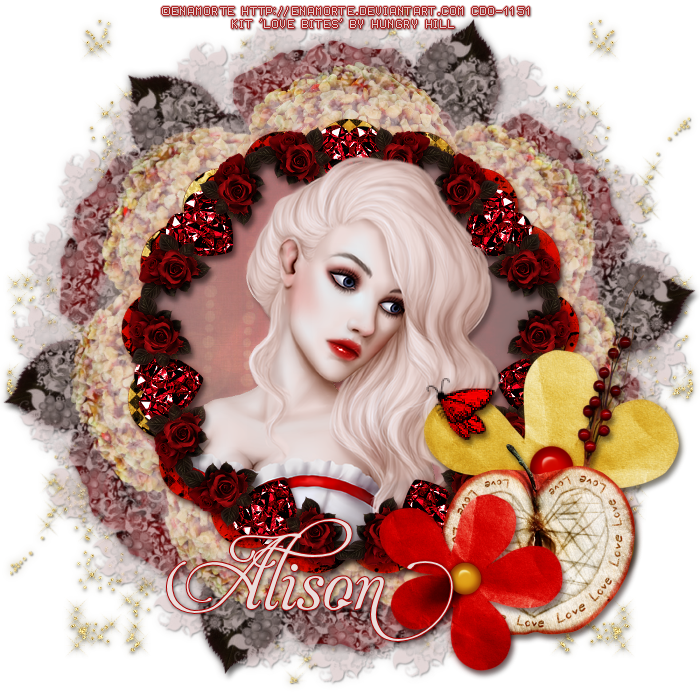
--> Remember to save often and use my tag as reference if necessary. Use a drop shadow of your preference on layers.
1. Create a new image 700x700.
2. Open glitter-1. Resize 70%. Copy and paste as new layer. Move it up and to right. Duplicate. Mirror. Flip. Merge down. Open glitter-2. Copy and paste as new layer. Move it way left. Duplicate. Mirror. Merge down.
3. Open roses, Resize 60%. Copy and paste as new layer. Use MuRa's Meister > Copies > Encircle with settings below:

4. Add a new layer. Fill with #e3d0d0. Apply Dee's mask. Merge group. Low the opacity layer to 70.
5. Open candy-apple. Resize 60%. Select and erase the lollipop stick. Flip. Copy and paste as new layer. Use MuRa's Meister > Copies > Encircle with the follow settings:

6. Open frame-6, Resize 75%. Copy and paste as new layer.
7. Open frame-2. Resize 70.Copy and paste as new layer.
8. Select Inside the frame. Add a new layer and move it below frame layer. Open paper-8. Copy and paste into selection. Keep selected. Add a new layer. Fill it with color #e3d0d0. Low the opacity layer to 70. Keep selected.
9. Open your tube closeup. Resize if needed. Copy and paste as new layer. Place it as you wish. Duplicate and turn it invisible for now. Back on tube's original layer. Invert selection and delete. Deselect. Turn your tube copy visible again and move this layer above frame's layer. Create a selection around the top of the tube head (the part is over the frame). Invert selection. Delete. Select all. Clip to canvas. Crop to selection.
10. Open paper-posey-1. Resize 40%. Copy and paste as new layer. Move it down and to right. Place it over the frame border below the middle.
11. Open berries-2. Resize 50%. Mirror. Copy and paste as new layer. Move it down and way to right.
12. Open apple-3. Resize 30%. Copy and paste as new layer. Move it down and to right.
13. Open paper-posey-2. Resize 30%. Copy and paste as new layer. Move it down and to right.
14. My tube came with a butterfly layer. If yours don't have one you can use one from the kit. After paste it as new layer used resize 120%. Apply sharpen.
--> Resize it if wanted. Add your copyright info and license#. Add your name and save as PNG.
------------------------------------------------------------------
I made a 3 piece set, here is what I created: