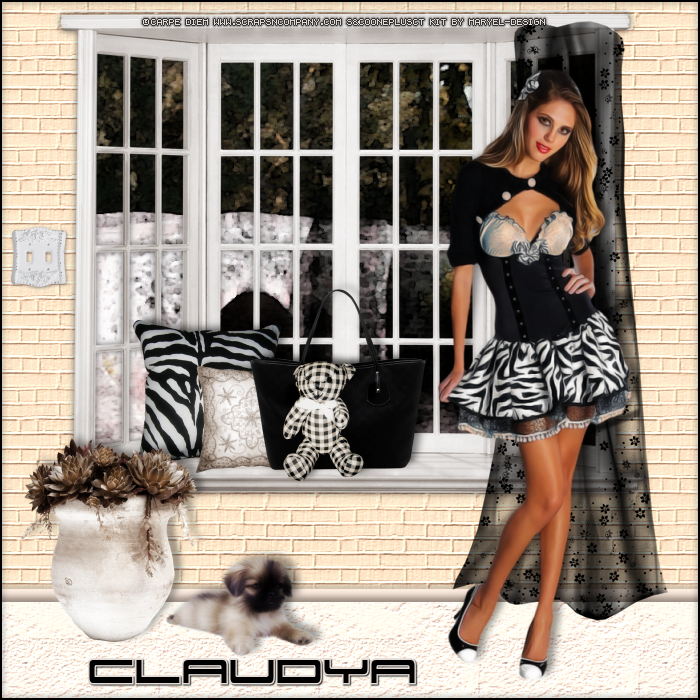
BAY WINDOW TUTORIAL
Tutorial written by Marcia Salgado on August 23th, 2015
for those who have a working knowledge of PSP.
Any resemblance to any other tutorial is coincidental.
Do not copy and paste this tutorial anywhere on the net.
If you want to translate please ask first.
****************************************
Material:
Tube: "Caramel"by Carpe Diem, you can purchase it here
do not use without the proper #license.
Font: 911 Porscha
****************************************
--> Remember to save often and use my tag as reference if necessary. Use a suitable shadow on layers.
1. Create a new image 700x700. Add a new layer. Fill it with #E4C1A9. Apply the texture Brick Wall with settings bellow:
2. Add a new layer. Create a Custom Selection: Left:0, Top:600, Right:700, Bottom:700. Fill it with #E5DBD5. Use a texture you like.
3. Add anew layer. Create a new Custom Selection: Left:0, Top:590, Right:700, Bottom:602. Fill it with #D0BFB4. Inner Bevel with settings bellow. Stretch a little on both sides to get rid to the inner bevel endings.
4. Open 'element' 69. Copy and paste as new layer. Move it up. Select outside the window. Add a new layer. Move it below the window layer.
5. Invert the selection. Contract > 5. Open Paper 7. Copy and paste into selection.
6. Open 'element' 64. Resize 30%. Copy and paste as new layer. Move it to left and down. Place it over the window base.
7. Open 'element' 63. Resize 20%. Copy and paste as new layer. Place it in frent of previous cushion.
8. Open 'element' 61. Resize 35%. Copy and paste as new layer. Place it on the right side of cushions.
9. Open 'element' 19. Resize 20%. Copy and paste as new layer. Place it in front of the black bag.
10. Open 'element' 54. Resize 25%. Copy and paste as new layer. Move it down left.
11. Open 'element' 73. Copy and paste as new layer. Move it to right.
12. Open 'element' 8. Resize 10%. Copy and paste as new layer. Move it up ald way left.
13. Open 'element' 80. Resize 40%. Copy and paste as new layer. Move it left down.
14. Open your tube. Resize if needed. Copy and paste as new layer. Move it to right.
15. Add a new layer. Select all. Fill with black. Contract > 2. Delete.
--> Resize if wanted. Add your copyright info and license#. Add your name and save as PNG.


