
EVILISCIOUS TUTORIAL WITH ANIMATION
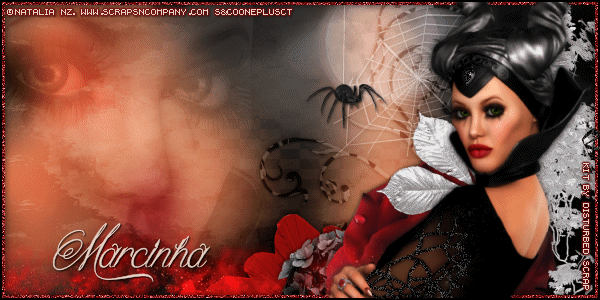
Tutorial written by Marcia Salgado on June 4th, 2015
for those who have a working knowledge of PSP.
Any resemblance to any other tutorial is coincidental.
Do not copy and paste this tutorial anywhere on the net.
If you want to translate please ask first.
****************************************
Material:
Tube: "Malefi" by Natalia NZ, you can purchase it here
do not use without the proper #license.
PTU Kit "Malevolent" by Disturbed Scraps,
you can purchase it here
Plugin: MuRa's Meister > Copies
Animation: by Disturbed Scraps - DS - Animations Mix 2, here
Font: Queen of the Moon
****************************************
--> Remember to save often and use my tag as reference if necessary. Used the Drop Shadow: 1-1-50-5 in most layers.
1. Create a new image 600x300. Open your tube and paste as new layer, apply MuRa's Meister > Copies > Wall Paper(rotate > Default. Gaussian Blur: 25.
2. Add a new layer. Select all. Open DS - Malevolent Paper 10. Copy and paste into selection. Blend Mode: Soft Light.
3. Open your tube close up. Copy and paste as new layer. Move it way left. Blend Mode: Luminance (Legacy). Low the opacity layer to 20. Duplicate and change the blend mode to Soft Light.
4. Open DS - Malevolent Element (89). Copy and paste as new layer. Move it to top right. Low the layer opacity to 50.
5. Open DS - Malevolent Element (82). Resize 50%. Free Rotate: Left-90. Copy and paste as new layer. Move it to right. Blend Mode: Soft Light.
6. Open DS - Malevolent Element (10). Resize 50%. Mirror. Copy and paste as new layer. Move it way down.
7. Open DS - Malevolent Element (6). Resize 30%. Copy and paste as new layer. Move it way down and place over first flower.
8. Open DS - Malevolent Element (47). Resize 60%. Mirror. Copy and paste as new layer. Move it down an right.
9. Open DS - Malevolent Element (46). Resize 40%. Free Rotate: Left-90. Copy and paste as new layer. Move it to left.
10. Open DS - Malevolent Element (43). Resize 50%. Copy and paste as new layer. Move it way to right.
11. Open DS - Malevolent Element (88). Resize 30%. Manual Color Correction #333333 to white. Copy and paste as new layer. Move it to right at top. Draw a stright white line in front of the web (on its left side) not too long, from top to half of the web is good enough. Merge Down. Blend Mode: Soft Light.
12. Open DS - Malevolent Element (61). Resize 20%. Mirror. Copy and paste as new layer. Place it on the end of the drawn white line you made before. Rename it: 4
13. Add a new layer. Select all. Fill with #7d0b0c. Contract > 5. Delete. Deselect. Add Noise: Gaussian-85-Monochrome. Rename it: 3
14. Open tour tube. Resize if needed. Copy and paste as new layer. Move it to right. Add a suitable shadow. Arrange the elements layers to better fit your tube. Rename it: 2
15. Add a new layer. Select all. Fill with black. Contract > 2. Delete. Deselect. Rename it: 1
--> Add your copyright info and license#. Add your name.
ADDING ANIMATION
--> Will tell how to add the animation on your tag, the other animations are not included on this tutorial.
1. Animation Shop -> Open the animation you chose to use. I'm using Animation 015 by Disturbed Scraps. After open the animation see how many frames it has. In this case is 24 frames. Select all.
2. PSP -> Turn layers: 1, 2, 3 and 4, the copyright and the name layer invisible. Use Copy Merged.
3. Animation Shop -> Paste as new animation. Duplicate it 23 times so the tag background you created has 24 frames, the same as the animation.
4. Animation Shop -> Edit > Propagate Paste. Click on the animation you will use. Be sure you selected all frames. Copy. Click on the tag background. Select all. Paste Into Selected Frame. Arrange it where you want it added and click to fix it on image.
5. PSP -> Turn layers: 1, 2, 3 and 4, the copyright and the name layer visible and all the other layers invisible. Copy merged.
6. Animation Shop -> Paste as new animation. Copy. Click on the background tag image. Be sure all layers are selected. Paste into selected frame. Position it and click. I changed my Frame Animation speed to 15. Save as GIF.