Tutorial written by Joanne Salgado on February 18th, 2015
for those who have a working knowledge of PSP.
Any resemblance to any other tutorial is coincidental.
Do not copy and paste this tutorial anywhere on the net.
If you want to translate please ask first.
Tube: Lily by Lightartist_XXX - you can purchase
here
Kit Lucky Day by Mellie Beans - you can purchase
here and
here
Font: KG Love Somebody
Pugins:
penta.com/Jeans
Don't forget to save often.
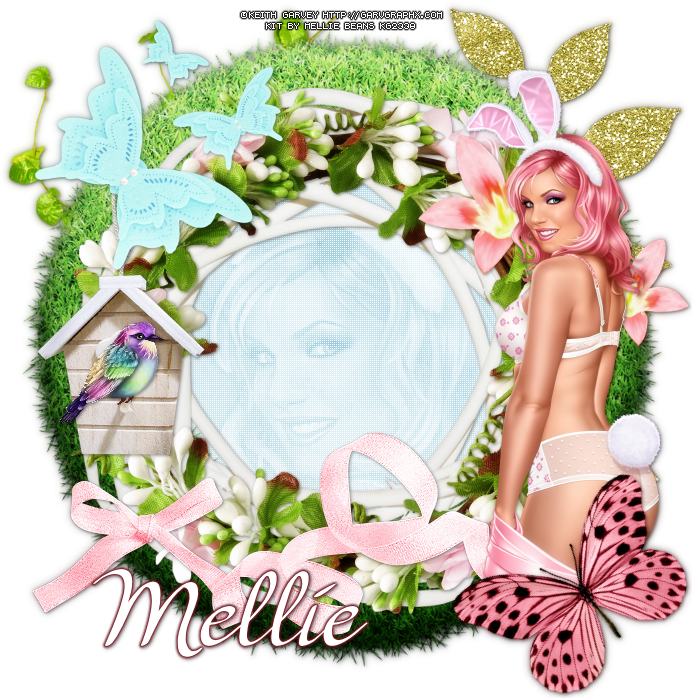
At any point if you have doubts check my tag.
1. Open the template. Duplicate. Close Original. Delete layers: font info, raster 5, pinch glass, pinch gradient, pinch backing, pinch white, proof, green lines, black squares, yellow rectangle, yellow half circle,green right, light green right, green left, light green left, raster 1.
2. Open element 'SparkleGround' copy and paste as new layer. Arrange it to the bottom left. Layers/Arrange/Send to bottom. Duplicate. Mirror.
3. Open element 'Scatter' copy and paste as new layer. Arrange it to the top right of the frame (just a part will appear).
4. Select layer 'ORANGE OVAL'. Manual Color Correction with source: #e28f00 and target: #0d5614. Effects/Texture Effects/Weave with 1-5-1-black-black-fill gaps checked.
5. Open paper 'paper 5' with flood fill (match mode: RGB Value) change to pattern (scale:60) colorize layers: left green circle and right green circle. Plugins/penta.com/jeans with amount: 62 and border width: 4 (on both we colorized).
6. Open paper 'paper 9' with flood fill (match mode: RGB Value) change to pattern (scale:60) colorize layers: left light green circle and right light green circle.
7. Open paper 'paper 1' with flood fill (match mode: RGB Value) change to pattern (scale:60) colorize layer orange shamrock.
8. Select layer 'green center square'. Manual Color Correction with source: #51642a and target: #0d5614. Add Noise: uniform/40/monochrome checked.
9. Open paper 'paper 12' with flood fill (match mode: RGB Value) change to pattern (scale:60) colorize layer gradient center square.
10. Open element 'Grasses 2' copy and paste as new layer. Resize 80%. Arrange it to the left of the center square.
11. Open element 'PotO'Gold' copy and paste as new layer. Resize 60%. Arrange it to the left.
12. Open element 'Shoe' copy and paste as new layer. Resize 40%. Arrange it to the bottom left of the pot of gold.
13. Open element 'Grasses' copy and paste as new layer. Resize 60%. Arrange it to the bottom right.
14. Open element 'Butterfly' copy and paste as new layer. Resize 50%. Mirror. Arrange it to the right.
15. Open element 'Shrooms' copy and paste as new layer. Resize 30%. Arrange it to the bottom right near the grasses we added.
16. Open your tube. Resize as you like. Arrange it to the empty middle.
17. Add shadow as you like. I used: 1-1-65-2 black.
18. Add copyright.
19. Add name. I used: KG Love Somebody / size: 60.
Save as PNG.