Showing posts with label Disturbed Scraps Animation. Show all posts

June 7, 2016

STORE COLLAB DARK ROSES

PINKELETON 3 PIECES TUTORIAL

Tutorial written by Marcia Salgado on June 7th, 2016
for those who have a working knowledge of PSP.
I'm using PSP9 to create my tuts.
Any resemblance to any other tutorial is coincidental.
Do not copy and paste this tutorial anywhere on the net.
If you want to translate please ask first. 

****************************************
Material:

PTU Tube, Animation and Kit from STORE COLLAB DARK ROSES.
Tube used "Dark Roses" by Danny Lee, 
Kit Used "Skull N Roses" and Animation "DS - Animation Pack 12" by Disturbed Scraps.
do not use without the proper #license.
free with a purchase, you cand find it HERE 
Mask: Melissaz Creations mask, MC_Mask19, HERE 
Font: Allegretto Script

****************************************

--> Remember to save often and use my tag as reference if necessary. Use a Drop Shadow of your preference on layers. 

BIG TAG


1. Create a new image 650x650.

2. Add a new layer. Select all. Open DS - SNR Papers 12. Copy and paste into selection. Deselect. Apply Melissa's mask. Merge group.

3. Open DS - SNR Element (75). Copy and paste as new layer. Move it up.

4. Open DS - SNR Element (7). Resize 70%. Copy and paste as new layer. Move it down and to right.

5. Open DS - SNR Element (1). Resize 60%. Copy and paste as new layer. Move it down and to right. Place it over the previous leaves, a little up.

6. Open DS - SNR Element (6). Free Rotate: Right-30. Copy and paste as new layer.Move it down and to left. Keep it far from the border.

7. Open DS - SNR Element (71). Resize 75%. Copy and paste as new layer. Move it a little to right. The rose below must be showing a little on the left.

8. Select inside the frame. Expand > 10. Add a new layer and move it below the frame layer. Open DS - SNR Papers 10. Copy and paste into selection. Keep selected.

9. Add a new layer. Open DS - SNR Papers 13. Copy and paste into selection. Keep selected. Blend Mode: Overlay.

10. Add a new layer. Open DS - SNR Element (14). Copy and paste into selection. Deselect.

11. Click on first layer. Open DS - SNR Element (11). Copy and paste as new layer. Move it up and to left. Place it over the frame top border.

12. Open DS - SNR Element (3). Resize 55%. Flip. Copy and paste as new layer. Move it down and to left. Leave it over the frame border.

13. Open DS - SNR Element (57). Resize 50%. Free Rotate: Left-90. Copy and paste as new layer. Move it down and to left. 

14. Open DS - SNR Element (13). Resize 55%. Copy and paste as new layer. Move it down and to left. Place it over the left side of the previous element.

15. Open DS - SNR Element (66). Resize 65%. Copy and paste as new layer. Move it down and to left.

16. Open DS - SNR Element (33). Resize 45%. Free Rotate: Left-30. Copy and paste as new layer. Move it down and to left.

17. Open DS - SNR Element (43). Copy and paste as new layer. Place it over the right side, at the bottom, of the stone heart used before.

18. Open DS - SNR Element (44). Resize 60%. Mirror. Copy and paste as new layer. Move it up and to right.

19. Open DS - SNR Element (54). Resize 55%. Copy and paste as new layer. Move it up and to right. Place it over the chain of the previous element.

20. Open your tube. Resize. Copy and paste as new layer. Move it to left.


--> Add your copyright info and license#. Add your name and save as PNG.


FORUM STYLE TAG
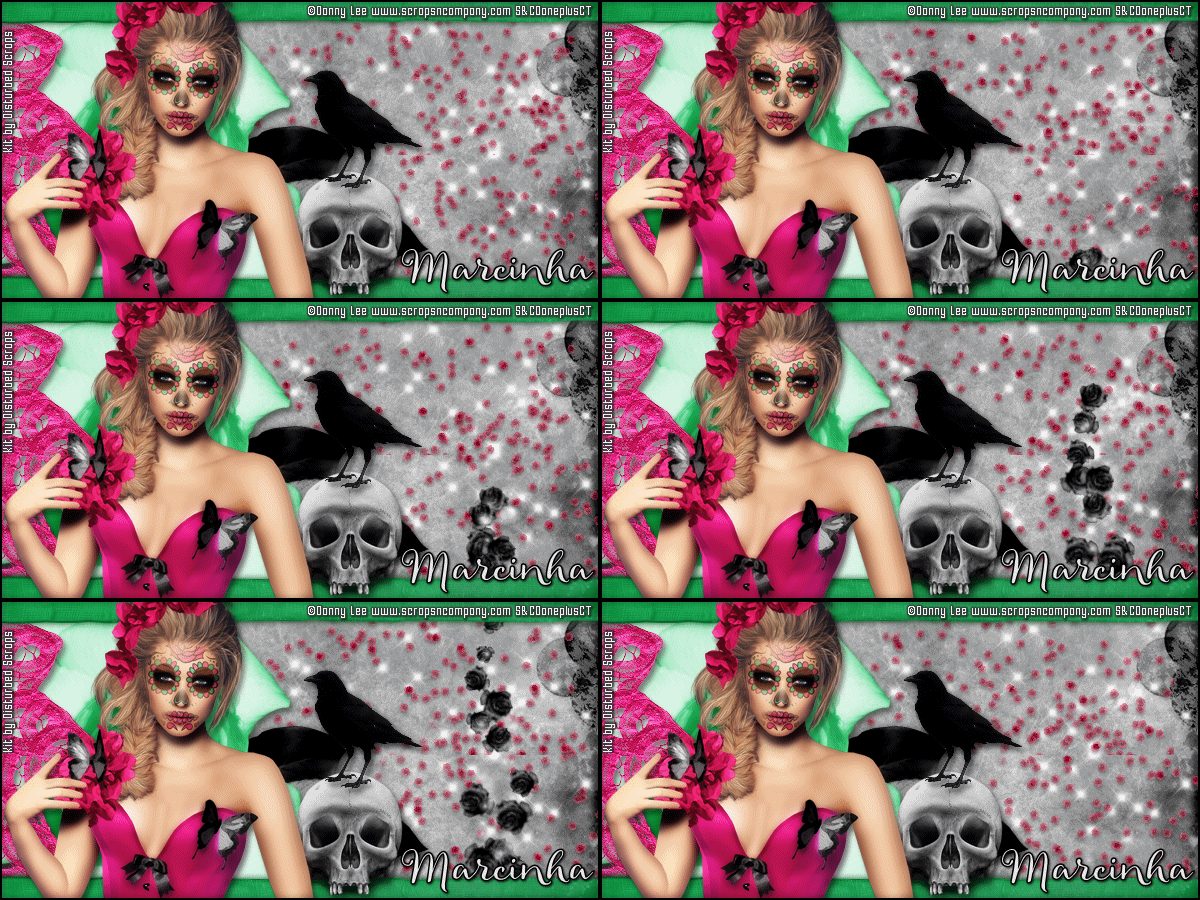


1. Create a new image 600x300

2. Open DS - SNR Papers 10. Resize 80%. Copy and paste as new layer. Adjust in a position you like.

3. Open DS - SNR Element (75). Copy and paste as new layer. Duplicate. Mirror. 

4. Turn Raster 1 (the bottom layer) invisible and merge visible. Rename it BACK.

5. Open DS - SNR Element (7). Resize 75%. Copy and paste as new layer. Move it to left.

6. Open DS - SNR Element (13). Copy and paste as new layer. Move it way to left.

7. Open DS - SNR Element (57). Resize 45%. Free Rotate: Left-90. Copy and paste s new layer. Move it way to left. Showing only the right border (the hearts).

8. Open DS - SNR Element (59). Copy and paste as new layer. Move it way up. Showing only half of the element. Duplicate. Flip. Merge down.

9. Open DS - SNR Element (43). Copy and paste as new layer. Move it down and a little to right.

10. Open DS - SNR Element (62). Resize 30%. Mirror. Copy and paste as new layer. Place it on top of the skull.

11. Open your tube. Copy and paste as new layer. Move it to left.

12. Add a new layer. Select all. Fill it with Black. Contract > 2. Delete.

13. Add your copyright info and license#. Add your name. 

TIP -> If you do not want to add animation to your tag just save it as PNG now.

14. Turn BACK layer invisible. Merge all visible layers. Rename it TOP. Turn Raster 1 (bottom layer) visible. 

ANIMATING

1. PSP -> With TOP and Raster 1 layers visible. Copy Merged.

2. AS -> Paste as new animation. Reserve. Leave Propagate Paste active.

3. PSP -> Turn TOP layer invisible and BACK layer visible. Copy Merged.

4. AS -> Paste as new animation. Duplicate it to have 24 frames in total. Select all. Reserve.

5. AS -> Open 12-2 by Disturbed Scraps. Select all. Resize 40%. Copy and paste into selected frames. Place it on right and down. Do it again but place it up and a little to left.

6. AS -> Open 12-1 by Disturbed Scraps. Select all. Copy and paste into selected frames. Place it on left. A little far from the edge.

7. AS -> Activate the TOP and copy and paste into selected frames. Save as GIF.


AVATAR


1. Create a new image 150x150.

2. Add a new layer. Select all. Open DS - SNR Papers 10. Copy and paste into selection.

3. Open DS - SNR Element (1). Resize 30%. Mirror. Copy and paste as new layer. Move it down and to left.

4. Open DS - SNR Element (6). Resize 25%. Mirror. Copy and paste as new layer. Move ir very little up and a little to right.

5. Duplicate. Mirror. Free Rotate: Left-45. Mirror again. Move it down. 

6. Open DS - SNR Element (43). Resize 70%. Copy and paste as new layer. Move it down and to right.

7. Add a new layer. Select all. Fill it with Black. Contract > 2. Delete.

8. Add your copyright info. If you decided to add the tube do not forgot your license#. Add your initial and save as PNG.


May 15, 2016

STORE COLLAB FAIRY TALE

MAGIC MAIDEN 3 PIECE TUTORIAL

Tutorial written by Marcia Salgado on May 15th, 2016
for those who have a working knowledge of PSP.
I'm using PSP9 to create my tuts.
Any resemblance to any other tutorial is coincidental.
Do not copy and paste this tutorial anywhere on the net.
If you want to translate please ask first. 

****************************************
Material:

PTU Tube, Animation and Kit from STORE COLLAB FAIRY TALE.
Tube used "Collab Fairy Tale" by Lysisange, 
Kit used "Fairy Tale Collab" by Rieneke Designs, and
Animation used " Animation Pack 11" by Disturbed Scraps.
free with a purchase, you cand find it here 
Plugin: MuRa's Meister
Font: Zilvia Script

****************************************

--> Remember to save often and use my tag as reference if necessary. Use a Drop Shadow of your preference on layers. 

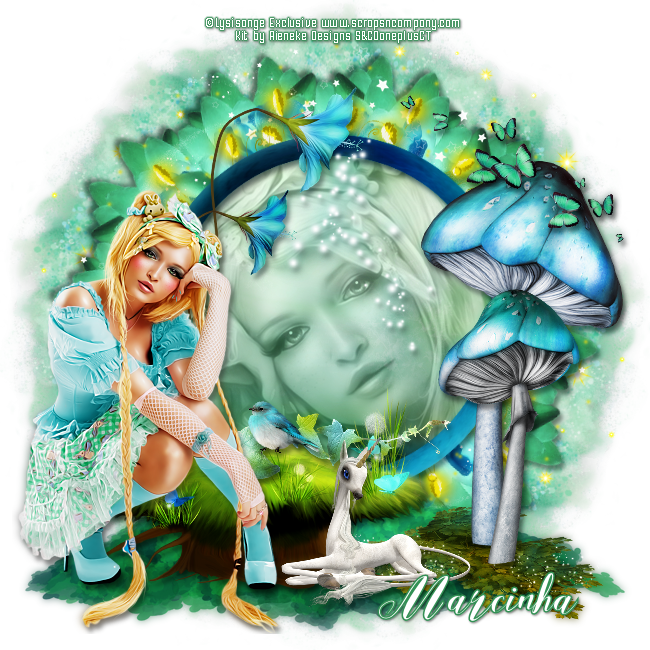
TAG


1. Create a new image 650x650.

2. Open RD-FairytaleCollab-element (40). Select the tree stem and delete. Deselect. Copy and paste as new layer. Apply MuRa's Meister > Copies > Encircle as shown below:


3. Open RD-FairytaleCollab-element (34). Copy and paste as new layer. Move it to left and a little down. Duplicate. Mirror. Flip. Merge down.

4. Open RD-FairytaleCollab-element (26). Resize 35%. Free Rotate: Left-10. Duplicate. Mirror. Move it to right but keep the flowers overlaping. Merge down. Copy and paste as new layer.

5. Open RD-FairytaleCollab-element (36). Resize 50%. Copy and paste as new layer. Merge down. Apply MuRa's Meister > Copies > Encircle with settings below:


6. Open RD-FairytaleCollab-element (23). Resize 80%. Copy and paste as new layer. Move it up and to right. Duplicate. Mirror. Flip. Merge down.

7. Open RD-FairytaleCollab-element (8). Resize 50%. Copy and paste as new layer. Apply MuRa's Meister > Copies > Encircle with same settings above.

8. Open RD-FairytaleCollab-paper (1). Use Custom selection like I show here:


9. Copy and paste as new image. Canvas size with following settings:


10. Apply Distort Effects > Polar Coordinates with settings I show here:


11. Resize 85%. Copy and paste as new layer.

12. Select inside the frame you created. Expand > 5. Add a new layer and move it below the frame layer. Open RD-FairytaleCollab-paper (4). Copy and paste into selection.

13. Open RD-FairytaleCollab-element (12). Resize 60%. Copy and paste as new layer. Move it up and to left. Leave it over the frame border. Use the upper part of the flower to cover the frame joint on top.

14. Open RD-FairytaleCollab-element (1). Copy and paste as new layer. Move it down.

15. Open RD-FairytaleCollab-element (13). Resize 50%. Copy and paste as new layer. Move it down and to right.

16. Open RD-FairytaleCollab-element (21). Resize 70%. Copy and paste as new layer. Move it down and to right.

17. Open RD-FairytaleCollab-element (20). Resize 50%. Copy and paste as new layer. Move it down and to right. Place it over the first mushroom a little down.

18. Open RD-FairytaleCollab-element (11). Resize 40%. Copy and paste as new layer. Move it up and to right.

19. Open RD-FairytaleCollab-element (5). Resize 65%. Copy and paste as new layer. Move it down and to left.

20. Open RD-FairytaleCollab-element (24). Resize 40%. Copy and paste as new layer. Place it above the tree trunk on its right side.

21. Open RD-FairytaleCollab-element (32). Resize 40%. Copy and paste as new layer. Move it down and leave it on trunk right side.

22. Open RD-FairytaleCollab-element (39). Resize 15%. Copy and paste as new layer. Place it over the foliage you added before.

23. Open your tube. Resize. Mirror. copy and paste as new layer. Move it to left.

24. Use Crop > Merged Opaque to get rid of all extra space.


--> Add your copyright info and license#. Add your name and save as PNG.


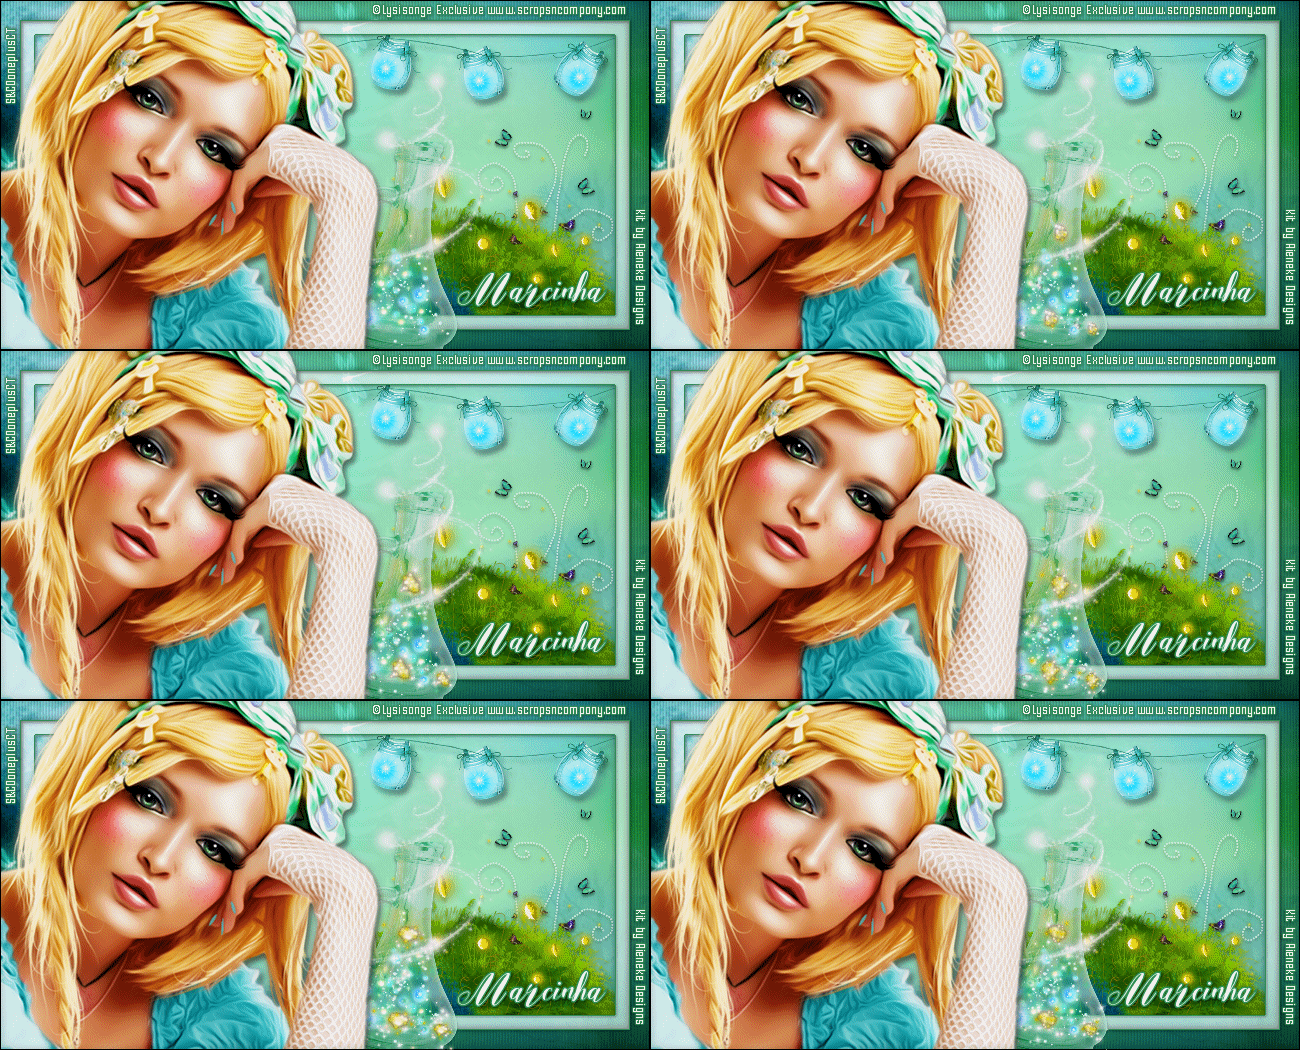
FORUM STYLE TAG (WITH ANIMATION)


1. Create a new image 650x350.

2. Open RD-FairytaleCollab-paper (3). Resize 75%. Move it down until you're satisfied with the background.

3. Select all. Clip to canvas. Crop to selection.

4. Select all. Contract > 20. Invert selection. Promote selection to layer. Blend Mode: Multiply. Blinds as shown below:


5. Add a new layer. Select all. Contract > 20. Fill it with white. Contract > 15. Delete. Low the layer opacity to 50.

6. Open RD-FairytaleCollab-element (10). Resize 40%. Move it down and to right. Place this layer below the white border layer. Do not let it touch on white border.

7. Open RD-FairytaleCollab-element (9). Resize 75%. Copy and paste as new layer. Move it down and to right. To get a clean border. After use the drop shadow use select all. Contract > 35. Invert selection and delete. Deselect.

8. Open RD-FairytaleCollab-element (8). Resize 40%. Copy and paste as new layer. Move it down and to right.

9. Open RD-FairytaleCollab-element (33). Resize 50%. Copy and paste as new layer. Move it up and to right. Place it as is hanging from white border. Duplicate and move it to left. Join them by the string. Merge down.

10. Click on white border layer. Should be the first one. Select the white border. Add a new layer. Fill the selection with color #339155. Contract > 1. Delete. 

11. pen your tube. Copy and paste as new layer. Move it to left. We will use it to help in the next element placement. 

12. Open RD-FairytaleCollab-element (29). Resize 40%. Copy and paste as new layer. Move it down and to right. Send it below the tube layer. Place it next the tube. Trn the tube layer invisible. After add all drop shadows merge all visible layers. Rename it BACK.

13. Turn the tube visible again. Click on BACK layer. Open RD-FairytaleCollab-element (19). Resize 40%. Free Rotate: Right-13. Copy and paste as new layer. Place it over the bottle.

14. Click on your tube layer. Select all. Add a nre layer and fill it with black. Contract > 1. Delete. Add your copyright info and license#. Add your name.

15. Turn BACK layer invisible. Merge all visible layers. Rename it TOP. Turn all layers visible.


--> ANIMATION

1. PSP -> Click on BACK layer. Copy.

2. AS -> Paste as new animation. Duplicate it until you get 21 frames. Click on first layer. Select all. Activate the Propagate Paste.

3. AS -> Open 11-1 by Disturbed Scraps. Select all. Resize 30%. Copy.

4. AS -> Activate the tag background. Paste into selected frames. Place it inside the bottle. Repeat the process two times more.

5. AS -> Open 11-4 by Disturbed Scraps. Select all. Resize 40%. Copy.

6. AS -> Activate the tag background. Paste into selected frames. Place it inside the bottle. Repeat the process three or four times more.

7. PSP -> Click on TOP layer. Copy.

8. AS -> Paste as new animation. Copy. Activate the tag background. Paste into selected frames. Save as GIF.


AVATAR


1. Create a nre image 150x150.

2. Open RD-FairytaleCollab-paper (3). Resize 432%. Copy and paste as new layer. Move it down and to right until you're satisfied with the background.

3. Select all. Clip to canvas. Crop to selection.

4. Select all. Contract > 8. Invert selection. Promote selection to layer. Blend Mode: Multiply. Blinds as shown below:


5. Open RD-FairytaleCollab-element (1). Resize 25%. Copy and paste as new layer. Move it down.

6. Open RD-FairytaleCollab-element (12). Resize 25%. Mirror. Copy and paste as new layer. Move it a little to left.

7. Open RD-FairytaleCollab-element (22). Resize 15%. Copy and paste as new layer. Move it down and to left.

8. Open your tube. Resize. Copy and paste as new layer. Move it down and to right.
Add a new layer. Select all. Fill with black. Contract > 1. Delete.


--> Add your copyright info and license#. Add your initials and save as PNG.


June 6, 2015

Malefi with Malevolent

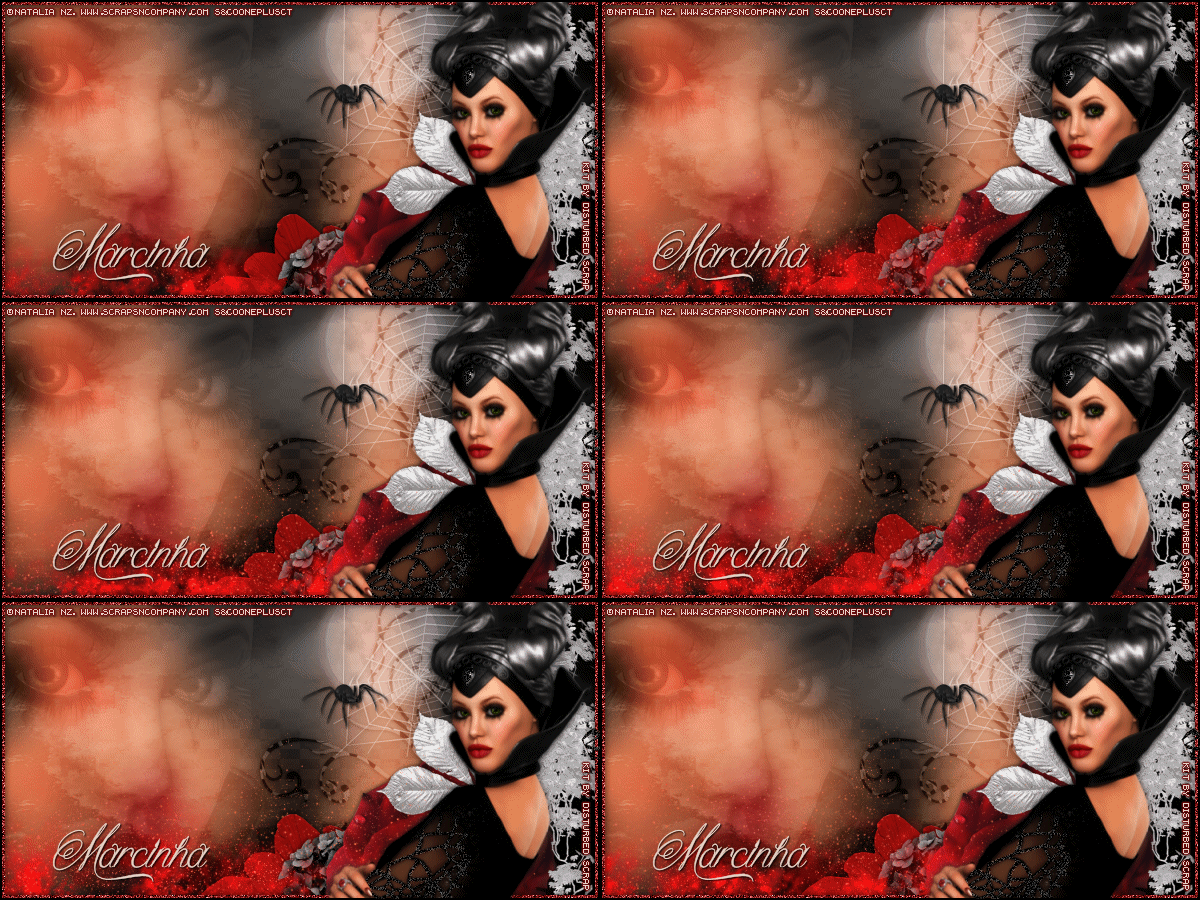
EVILISCIOUS TUTORIAL WITH ANIMATION


Tutorial written by Marcia Salgado on June 4th, 2015
for those who have a working knowledge of PSP.
Any resemblance to any other tutorial is coincidental.
Do not copy and paste this tutorial anywhere on the net.
If you want to translate please ask first. 

****************************************
Material:

Tube: "Malefi" by Natalia NZ, you can purchase it here
do not use without the proper #license.
PTU Kit "Malevolent" by Disturbed Scraps,
you can purchase it here
Plugin: MuRa's Meister > Copies
Animation: by Disturbed Scraps - DS - Animations Mix 2, here
Font: Queen of the Moon

****************************************

--> Remember to save often and use my tag as reference if necessary. Used the Drop Shadow: 1-1-50-5 in most layers. 

1. Create a new image 600x300. Open your tube and paste as new layer, apply MuRa's Meister > Copies > Wall Paper(rotate > Default. Gaussian Blur: 25.

2. Add a new layer. Select all. Open DS - Malevolent Paper 10. Copy and paste into selection. Blend Mode: Soft Light.

3. Open your tube close up. Copy and paste as new layer. Move it way left. Blend Mode: Luminance (Legacy). Low the opacity layer to 20. Duplicate and change the blend mode to Soft Light.

4. Open DS - Malevolent Element (89). Copy and paste as new layer. Move it to top right. Low the layer opacity to 50. 

5. Open DS - Malevolent Element (82). Resize 50%. Free Rotate: Left-90. Copy and paste as new layer. Move it to right. Blend Mode: Soft Light.

6. Open DS - Malevolent Element (10). Resize 50%. Mirror. Copy and paste as new layer. Move it way down.

7. Open DS - Malevolent Element (6). Resize 30%. Copy and paste as new layer. Move it way down and place over first flower.

8. Open DS - Malevolent Element (47). Resize 60%. Mirror. Copy and paste as new layer. Move it down an right. 

9. Open DS - Malevolent Element (46). Resize 40%. Free Rotate: Left-90. Copy and paste as new layer. Move it to left.

10. Open DS - Malevolent Element (43). Resize 50%. Copy and paste as new layer. Move it way to right.

11. Open DS - Malevolent Element (88). Resize 30%. Manual Color Correction #333333 to white. Copy and paste as new layer. Move it to right at top. Draw a stright white line in front of the web (on its left side) not too long, from top to half of the web is good enough. Merge Down. Blend Mode: Soft Light. 

12. Open DS - Malevolent Element (61). Resize 20%. Mirror. Copy and paste as new layer. Place it on the end of the drawn white line you made before. Rename it: 4

13. Add a new layer. Select all. Fill with #7d0b0c. Contract > 5. Delete. Deselect. Add Noise: Gaussian-85-Monochrome. Rename it: 3

14. Open tour tube. Resize if needed. Copy and paste as new layer. Move it to right. Add a suitable shadow. Arrange the elements layers to better fit your tube. Rename it: 2

15. Add a new layer. Select all. Fill with black. Contract > 2. Delete. Deselect. Rename it: 1

--> Add your copyright info and license#. Add your name. 

ADDING ANIMATION

--> Will tell how to add the animation on your tag, the other animations are not included on this tutorial.

1. Animation Shop -> Open the animation you chose to use. I'm using Animation 015 by Disturbed Scraps. After open the animation see how many frames it has. In this case is 24 frames. Select all. 

2. PSP -> Turn layers: 1, 2, 3 and 4, the copyright and the name layer invisible. Use Copy Merged. 

3. Animation Shop -> Paste as new animation. Duplicate it 23 times so the tag background you created has 24 frames, the same as the animation.

4. Animation Shop -> Edit > Propagate Paste. Click on the animation you will use. Be sure you selected all frames. Copy. Click on the tag background. Select all. Paste Into Selected Frame. Arrange it where you want it added and click to fix it on image.

5. PSP -> Turn layers: 1, 2, 3 and 4, the copyright and the name layer visible and all the other layers invisible. Copy merged.

6. Animation Shop -> Paste as new animation. Copy. Click on the background tag image. Be sure all layers are selected. Paste into selected frame. Position it and click. I changed my Frame Animation speed to 15. Save as GIF.