Showing posts with label Kate Miller. Show all posts

December 30, 2015

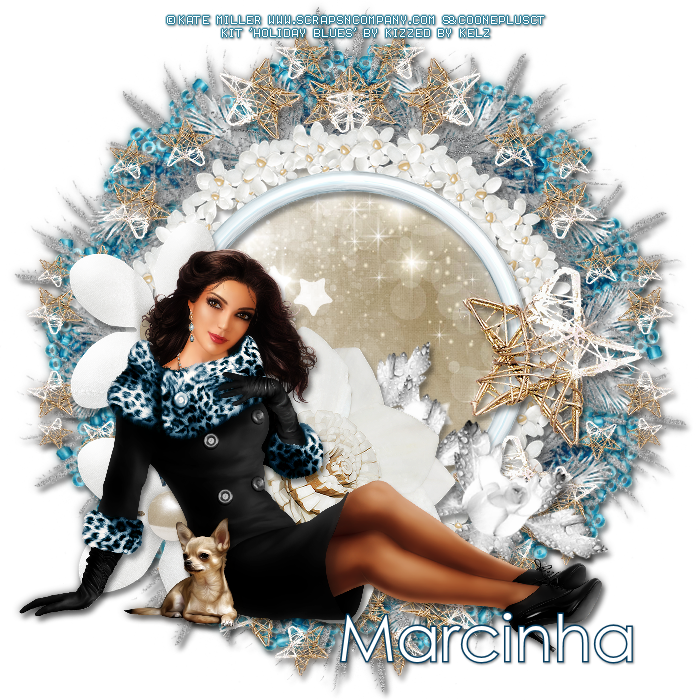
Elegance with Holiday Blues

STARLET TUTORIAL


Tutorial written by Marcia Salgado on December 30th, 2015
for those who have a working knowledge of PSP.
Any resemblance to any other tutorial is coincidental.
Do not copy and paste this tutorial anywhere on the net.
If you want to translate please ask first. 

****************************************
Material:

Tube: "Elegance" by Kate Miller, you can purchase it here
do not use without the proper #license.
PTU Kit "Holiday Blues" by Kizzed By Kelz Kits, you can purchase it here
Font: Century Gothic

****************************************

--> Remember to save often and use my tag as reference if necessary. Use a Drop Shadow of your preference on layers.

1. Create a new image 700x700.

2. Open KBK_HolidayBlues (60). Resize 45%. Copy and paste as new layer.. Apply MuRa's Meister > Copies > Encircle with following settings:


3. Open KBK_HolidayBlues (72). Resize 110%. Copy and paste as new layer.

4. Open KBK_HolidayBlues (122). Resize 50%. Copy and paste as new layer. Apply MuRa's Meister > Copies > Encircle with the settings below:


5. Open KBK_HolidayBlues (68). Resize 65%. Copy and paste as new layer. Move it down and to right. Place it in the bottom right corner. Duplicate. Mirror. Merge down. Duplicate. Flip. Ajust a little down if you think is needed. Merge down. 

6. Open KBK_HolidayBlues (52). Resize 80%. Copy and paste as new layer. Duplicate. Fre Rotate: Right-90. Merge down. Select inside the frame. Expand > 5.

7. Add a new layer. Move this layer below frame layer. Open KBK_HolidayBlues (21). Copy and paste into selection. Keep selected.

8. Add a new layer. Open KBK_HolidayBlues (25). Copy and paste into selection. Deselect. Blend Mode: Overlay.

9. Click on first layer. Open KBK_HolidayBlues (100). Resize 60%. Copy and paste as new layer.

10. Open KBK_HolidayBlues (67). Resize 65%. Copy and paste as new layer. Move it down and to right.

11. Open KBK_HolidayBlues (71). Resize 75%. Free Rotate: Right-12. Copy and paste as new layer. Move it down and a little to right.

11. OPen KBK_HolidayBlues (53). Resize 45%. Copy and paste as new layer. Move it to left. Place it over the white frame border. Duplicate. Move it down and a little to right. Keep it over the frame border.

12. Open KBK_HolidayBlues (56). Resize 50%. Copy and paste as new layer.Move it down and a very little to right.

13. Open your tube, resize if needed. Copy and paste as new layer. Move it to left. Rearrange all elements to better fit your tube.

14. My tube have a laid dog and I used it in front of the sitted lady. If you are not using the same tube but want a dog on the tag just use the element KBK_HolidayBlues (9) and resize it as you want.

--> Add your copyright info and license#. Add your name and save as PNG.


September 26, 2015

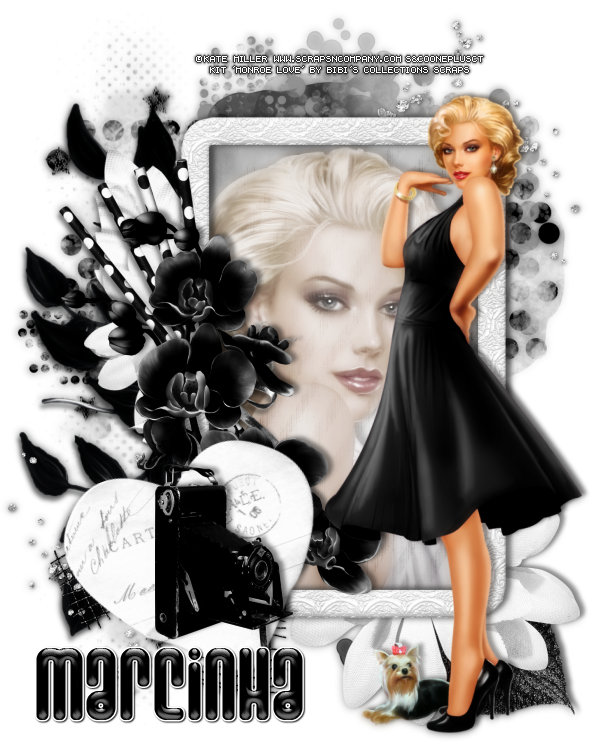
Monroe Love - S&Co. CT Tutorial

DIVA TUTORIAL


Tutorial written by Marcia Salgado on September 10th, 2015
for those who have a working knowledge of PSP.
Any resemblance to any other tutorial is coincidental.
Do not copy and paste this tutorial anywhere on the net.
If you want to translate please ask first. 

****************************************
Material:

Tube: "Monroe Love" by Kate Miller Exclusive, you can purchase it here
do not use without the proper #license.
PTU Kit "Monroe Love" by Bibi's Collection, you can purchase it here 
Font: Ashbury

****************************************

--> Remember to save often and use my tag as reference if necessary. Use a Drop Shadow of your preference on layers. 

1. Open a new image 600x750.

2. Open BIBI-MONROE LOVE ELEMS (68). Resize 60%. Copy and paste as new layer. Move a little up.

3. Open BIBI-MONROE LOVE ELEMS (72). Resize 65%. Copy and paste as new layer. Move it a little to right.

4. Open BIBI-MONROE LOVE ELEMS (78). Copy and paste as new layer. Move it down and to left. Duplicate. Flip. Merge down.

5. Open BIBI-MONROE LOVE ELEMS (82). Resize 70%. Mirror. Copy and paste as new layer, Move it to left. Move this layer below frame layer.

6. Open BIBI-MONROE LOVE ELEMS (75). Resize 40%. Copy and paste as new layer. Move it down and left. Duplicate. Mirror. Flip. Merge down.

7. Open BIBI-MONROE LOVE ELEMS (91). Resize 60%. Copy and paste as new layer. Move it to left.

8. Open BIBI-MONROE LOVE ELEMS (47). Resize 70%. Mirror. Flip. Copy and paste as new layer. Move it down and to right.

9. Open BIBI-MONROE LOVE ELEMS (67). Resize 50%. Copy and paste as new layer. Move it down and to right. Plafe it over the black leaf. Duplicate. Resize 70%. Move it up and to left and place it over the white leaf.

10. Click on the first layer and select inside the frame. Add a new layer and move it below frame layer. Open BIBI-MONROE LOVE PAPERS (8). Copy and paste into selection. Keep selected. Add a new layer. Open BIBI-MONROE LOVE PAPERS (3). Copy and paste into selection. Blend Mode: Soft Light. Open your tube close up, copy and paste as new layer. Place it as you wish. Invert selection. Delete. Deselect. Blend Mode: Luminance Legacy. Lower the opacity layer to 56. Duplicate and change the blend mode to soft light (I increase the opacity to 100). Select all. Clip to canvas. Image > Crop to selection.

11. Click on frame layer. Open BIBI-MONROE LOVE ELEMS (69). Mirror. Resize 60%. Copy and paste as new layer. Move it a little up and to left.

12. Ope BIBI-MONROE LOVE ELEMS (61). Resize 40%. Copy and paste as new layer. Move it a little down and to left.

13. Open BIBI-MONROE LOVE ELEMS (65). Resize 40%. Flip. Copy and paste as new layer. Move it down and to left. Place over the frame border.

14. Open BIBI-MONROE LOVE ELEMS (112). Resize 40%. Free Rotate: Left-20. Copy and paste as new layer. Move it down and to the left.

15. Open BIBI-MONROE LOVE ELEMS (97). Resize 30%. Copy and paste as new layer. Move it down and to the left. Place it over the white heart.

16. Open your tube. Resize if needed. I have to use mirror on mine. Copy and paste as new layer. Move it to right.  Re-arrange the elements to better fit your tube.

--> Resize all layer if wanted. Add your copyright info and license#. Add your name and save as PNG.


August 28, 2015

Margo ~ by Joanne Salgado


Tutorial written by Joanne Salgado on August 28th, 2015
for those who have a working knowledge of PSP.
Any resemblance to any other tutorial is coincidental.
Do not copy and paste this tutorial anywhere on the net.
If you want to translate please ask first. 

Tube: Margo by Kate Miller - you can purchase here
Kit Classy Lady by Disturbed Scraps - you can purchase here
Font: Scriptina

Don't forget to save often.
At any point if you have doubts check my tag.

1. Open a new image 650x600

2. Open element 'DS - CL Element (80)' copy and paste as new layer. Resize 50%. Free Rotate right-12.

3. Open your tube. Copy and paste as new layer. Resize as you prefer. Arrange it inside the frame and clean so it looks like its coming from inside the frame.

4. Open paper 'DS - CL Paper 6' copy and paste as new layer. Resize 50%. Free Rotate right-12. Move this layer below all layers.

5. Open paper 'DS - CL Paper 13' copy and paste as new layer. Resize 50%. Free Rotate right-12. Change blend mode to overlay - hue and saturation 0 on both.

6. Open element 'DS - CL Element (57)' copy and paste as new layer. Resize 50%. Move this layer above all layers, arrange it to the bottom left of the frame.

7. Open element 'DS - CL Element (77)' copy and paste as new layer. Resize 60%. Move this layer below all layers. Arrange it to the bottom right. Duplicate. Mirror/Flip.

8. Open element 'DS - CL Element (71)' copy and paste as new layer. Resize 60%. Arrange it to the top right. Duplicate. Mirror/Flip.

9. Open element 'DS - CL Element (35)' copy and paste as new layer. Arrange it to the top right.

10. Open element 'DS - CL Element (30)' copy and paste as new layer. Arrange it to the top left.

11. Open element 'DS - CL Element (53)' copy and paste as new layer. Mirror. Arrange it to the left.

12. Open element 'DS - CL Element (36)' copy and paste as new layer. Resize 80%. Arrange it to the right.

13. Open element 'DS - CL Element (33)' copy and paste as new layer. Arrange it to the right.

14. Open element 'DS - CL Element (31)' copy and paste as new layer. Arrange it to the left.

15. Open element 'DS - CL Element (85)' copy and paste as new layer. Resize 85%. Arrange it to the left. Duplicate. Arrange it to the right.

16. Open element 'DS - CL Element (84)' copy and paste as new layer. Move this layer above all layers. Resize 85%. Arrange it to bottom.

17. Add shadow. I used: 1-1-65-2 black.

18. Add copyright.

19. Add name.

Save as PNG

August 12, 2015

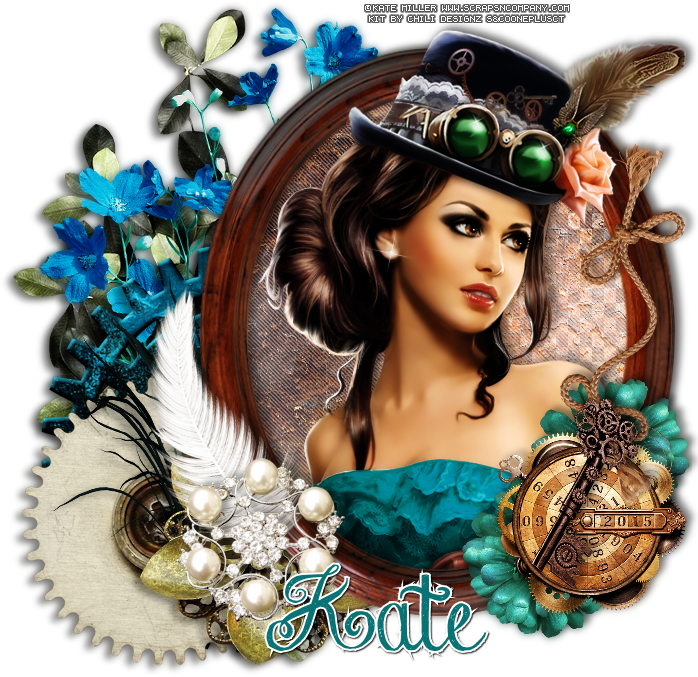
Purple Blue Steampunk with Steampunkd

STEAMED TUTORIAL


Tutorial written by Marcia Salgado on August 12th, 2015
for those who have a working knowledge of PSP.
Any resemblance to any other tutorial is coincidental.
Do not copy and paste this tutorial anywhere on the net.
If you want to translate please ask first. 

****************************************
Material:

Tube: "Purple Blue Steampunk" by Kate Miller, you can purchase it here
do not use without the proper #license.
PTU Kit "Steampunkd" by Chili Designz, you can purchase it here
Plugin: Penta.com
Font: Chalk-Hand-Lettering

****************************************

--> Remember to save often and use my tag as reference if necessary. Use a suitable Drop Shadow on layers.

1. Create a new image 700x700.

2. Open CHILI_DESIGNZ_Steampunkd_frame3. Free Rotate: Right-90. Copy and paste as new layer. Move it to right.

3. Open CHILI_DESIGNZ_Steampunkd_leaves2. Resize 70%. Free Rotate: Right-90. Copy and paste as new layer. Move this layer below frame layer and move the element to left.

4. Open CHILI_DESIGNZ_Steampunkd_flowers. Resize 70%. Copy and paste as new layer. Move it to left and up.

5. Open CHILI_DESIGNZ_Steampunkd_cog6. Copy and paste s new layer. Move it to left and down.

6. Open CHILI_DESIGNZ_Steampunkd_cog14. Copy and paste as new layer. Move it to bottom left corner.

7. Open CHILI_DESIGNZ_Steampunkd_grass. Resize 60%. Copy and paste as new layer. Move it down left.

8. Open CHILI_DESIGNZ_Steampunkd_flower3. Resize 65%. Copy and paste as new layer. Move it to left and place it over the blue grass base.

9. Click on frame layer, should be the first one. Select inside the frame. Expand > 3. Add a new layer and move it below frame layer. Open CHILI_DESIGNZ_Steampunkd_paper13. Copy and paste into selection. Keep selected and add a new layer. Open CHILI_DESIGNZ_Steampunkd_paper8. Paste into selection. Blend Mode: Screen. Apply Penta.com > Jeans > Default. Keep selected.

10. Open your tube. I'm using the blue version of the tube and no hat. Copy merged. Paste as new layer. Position it inside the frame. Invert selection. Delete. Select all. Selections > Clip to Canvas. Image > Crop to selection.

11. Open CHILI_DESIGNZ_Steampunkd_flower. Resize 50%. Copy and paste as new layer. Place it over the frame's right border at bottom. Duplicate it and move it over the border up.

12. Open CHILI_DESIGNZ_Steampunkd_deco2. Resize 40%. Copy and paste as new layer. Place it over the flowers.

13. Click on frame layer again. Open CHILI_DESIGNZ_Steampunkd_string. Resize 60%. Copy and paste as new layer. Place it over frame's right border.

14. Open CHILI_DESIGNZ_Steampunkd_key2. Resize 50%. Copy and paste as new layer. Place it over the string's bottom knot.

15. My tube has a hat layer. Copy the hat. Paste as new layer. Place it over the tube's head.

16. Open CHILI_DESIGNZ_Steampunkd_feather2. Resize 70%. Free Rotate: Right-100. Copy and paste as new layer. Place it over the frame left border at bottom. 

17. Open CHILI_DESIGNZ_Steampunkd_jewelry5. Copy and paste as new layer. Move it to left at bottom. Place it over the feather.

--> Resize if wanted. Add your copyright info and license#. Add your name and save as PNG.


August 8, 2015

Steampunk ~ by Joanne Salgado


Tutorial written by Joanne Salgado on August 08th, 2015
for those who have a working knowledge of PSP.
Any resemblance to any other tutorial is coincidental.
Do not copy and paste this tutorial anywhere on the net.
If you want to translate please ask first. 

Tube: Steampunk by Kate Miller - you can purchase here
Kit Steam Pretty by Bibi's Collection - you can purchase here
Font: Adine Kimberg

Don't forget to save often.
At any point if you have doubts check my tag.

1. Open a new image 

2. Open element 'BIBI-STEAM PRETTY ELEMS (92)' copy and paste as new layer. Resize 90%.

3. Open element 'BIBI-STEAM PRETTY ELEMS (49)' copy and paste as new layer. Resize 40%. Mirror. Arrange it to the top right.

4. Open element 'BIBI-STEAM PRETTY ELEMS (118)' copy and paste as new layer. Resize 70%. Move this layer below all layers. Arrange it to the bottom left.

5. Open element 'BIBI-STEAM PRETTY ELEMS (119)' copy and paste as new layer. Resize 70%. Arrange it to the bottom right.

6. Open element 'BIBI-STEAM PRETTY ELEMS (91)' copy and paste as new layer. Resize 50%. Mirror. Arrange it to the top right.

7. Open element 'BIBI-STEAM PRETTY ELEMS (121)' copy and paste as new layer. Resize 50%. Arrange it to the bottom right. Behind the frames.

8. Open element 'BIBI-STEAM PRETTY ELEMS (59)' copy and paste as new layer. Resize 50%. Free Rotate left-15. Arrange it to the left.

9. Open element 'BIBI-STEAM PRETTY ELEMS (15)' copy and paste as new layer. Resize 70%. Arrange it to the left.

10. Open element 'BIBI-STEAM PRETTY ELEMS (39)' copy and paste as new layer. Resize 50%. Arrange it to the right.

11. Open your tube. Copy and paste as new layer. Resize if needed. Arrange it inside one of the frames. Duplicate. Mirror. Arrange it inside the other frame. Clean the outside parts.

12. Open element 'BIBI-STEAM PRETTY ELEMS (79)' copy and paste as new layer. Resize 40%. Free Rotate right-15. Move this layer above the bird layer. Arrange it to the middle between the frames.

13. Open element 'BIBI-STEAM PRETTY ELEMS (42)' copy and paste as new layer. Resize 50%. Arrange it to the bottom a little above the brown butterfly.

14. Add shadow. I used: 1-1-65-2 #1b0a01

15. Add copyright.

16. Add name.

Save as PNG

July 28, 2015

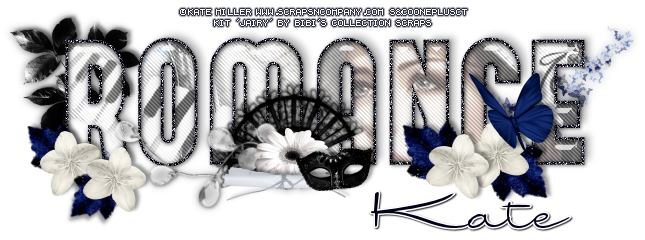
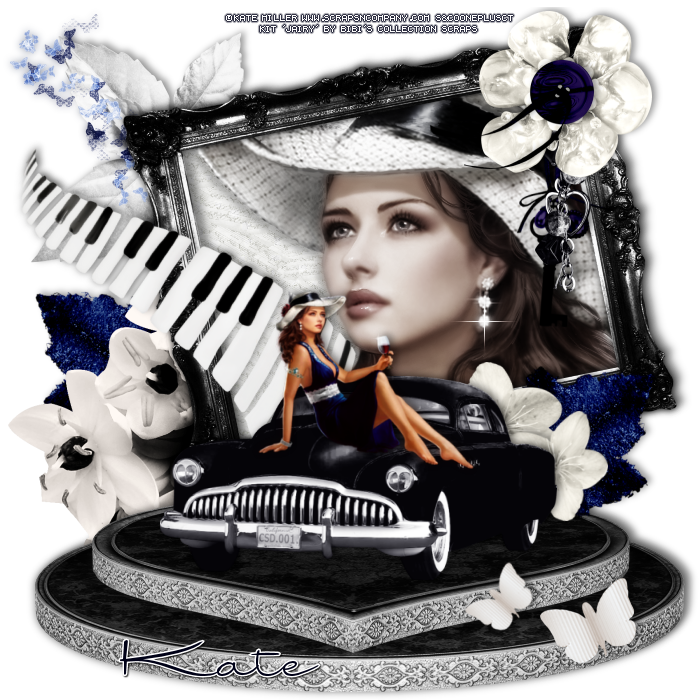
Jairy Romance Collab


== NEW PTU TAG S&CO. CT ==
KATE MILLER AND BIBI'S COLLECTION COLLAB

Featuring "Jairy", a Kate Miller tube and
 "Jairy", Bibi's Collection kit at Scraps N Company - S&Co.

Bibi's Collection kit has 10 papers and 103 elements so you can play with it. Very versatile and can be used with any other tubes and artists you have.

Kate Miller's tube AND Bibi's Collection kit can be found  at:

-> Scraps N Company - S&Co., here