Showing posts with label Felice Original CT. Show all posts

March 25, 2015

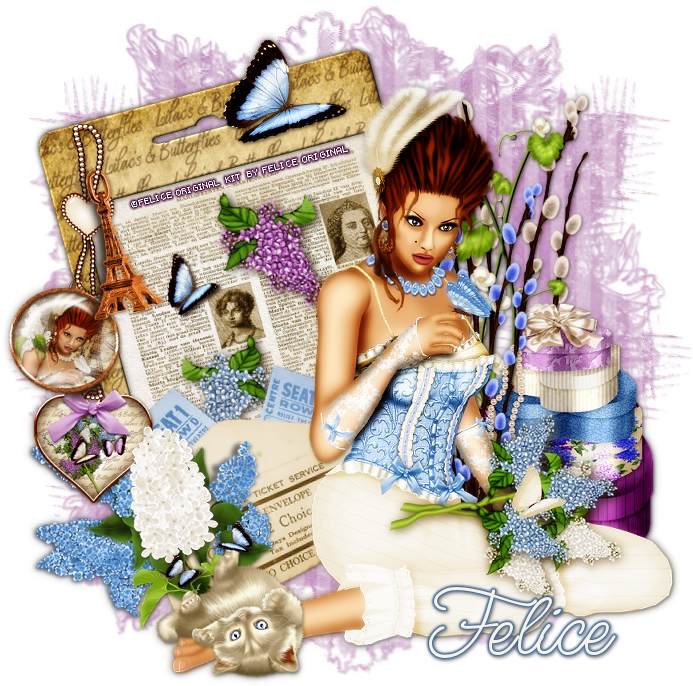
Lilacs & Butterflies

LILACS TUTORIAL


Tutorial written by Marcia Salgado on March 25th, 2015
for those who have a working knowledge of PSP.
Any resemblance to any other tutorial is coincidental.
Do not copy and paste this tutorial anywhere on the net.
If you want to translate please ask first. 

****************************************
Material:

Tube: Felice Original, "Lila Tube" you can purchase it at Exquisite Scraps, here
do not use without the proper copyright
PTU Kit "Lilacs & Butterflies" by Felice Original,
you can purchase it at Exquisite Scraps, here 
Mask: Dee's mask, DD_2014FM2, here
Font: MsMadi

****************************************

--> Remember to save often and use my tag as reference if necessary. Used the Drop Shadow: 1-1-50-5 in most layers. 

1. Create a new image of 700x700. Open FOFrameLableSingleWA. Resize 80%. Copy and paste as new layer. Select inside the frame. Add a new layer. Open paper FOL&B22. Copy. PASte into selection. Move this layer below frame layer. Click on frame later. Drop Shadow: 0-0-55-10-Black. Merge Visible. Free Rotate: Left-15. Move it to left. 

2. Add a new layer. Select all. Open the paper FOL&B17. Copy. Paste into selection. Apply Dee's mask. Merge group. Move this layer down.

3. Click on first layer. Open FOPussywillow3. Resize 77%. Copy and paste as new layer. Move it to right side of the frame. Open FOFlowerBranch3. Copy and paste as new layer. Move it to the right side and place it in front of first branch. Open FOBoxesStack. Resize 50%. Copy and paste as new layer. Move it to right side of the tag, a little down. 

4. Open FOTickets2. Resize 56%. Copy and paste as new layer. Move it bottom left of the frame. Open FOLilacs2. Resize 50%. Copy and paste as new layer. Move it to bottom left end of the frame. Open FOKeyChain. Resize 68%. Open FOLilacBranch3. Resize 38%. Mirror. Copy amd paste as new layer. Move it to bottom left side of the frame. Open FOPussywillow. Resize 61%. Copy and paste as new layer. Move it to right side. Place it in fron of the other branches.

5. Open your tube. Resize if needed. Copy and paste as new layer. Move it to the right side of the tag. Apply a suitable shadow. 

6. Open FOKittie. Resize 30%. Copy and paste as new layer. Move it bottom left, I placed mine over my tube feet.Open FOButterflyBlue2. Resize 26%. Copy and paste as new layer. Move it over the top right of the frame.

--> Resize the tag if wanted. Add your copyright info. Add your name and save as PNG.


March 20, 2015

Rita Dear


== NEW CT FELICE ORIGINAL PTU TAG ==

Featuring "Rita Dear" Kit by Felice Original at Exquisite Scraps

It has 14 papers and 60 elements and is a girly girl kit. The kit is made in 300 dpi and the papers measure 800x800 pixels

Kit can be found at following store:

-> Exquisite Scraps, here


March 13, 2015

Happy B-day to Me ~ by Joanne Salgado


Tutorial written by Joanne Salgado on February 18th, 2015
for those who have a working knowledge of PSP.
Any resemblance to any other tutorial is coincidental.
Do not copy and paste this tutorial anywhere on the net.
If you want to translate please ask first. 

Kit Happy Bday To Me by Felice Original - you can purchase here and here
WordArt here
Mask by Dee here (first one)
Font: Agency FB

Don't forget to save often.
At any point if you have doubts check my tag.

1. Open a new image 600x600

2. Open element 'FOPolaroidFrame4' copy and paste as new layer. Rezise 40%. Free Rotate left-15. 

3. Open element 'FORecord1' copy and paste as new layer. Resize 40%. Move this layer bellow the frame layer. Arrange it to the right (just a part should appear outside the frame).

4. Open element 'FORecord2' copy and paste as new layer. Resize 40%. Arrange it to the left.

5. Open element 'FOShoppinBag' copy and paste as new layer. Resize 30%. Mirror. Arrange it to the bottom left of the frame.

6. Open element 'FOGift1' copy and paste as new layer. Resize 30%. Arrange it to the bottom right of the frame.

7. Open paper 'FODenim' copy and paste as new layer. Select the frame layer. With magic wand select inside the frame, expand 3, invert selection. Select the paper layer and hit delete on your keyboard. Selection None.

8. Open your tube. I used element 'FOCookieBday2'. Resize as you prefer. Move this layer above the frame layer. Arrange it inside the frame. With eraser tool or freehand tool clean the parts that should not appear from the tube.

9. Open element 'FOBalloons' copy and paste as new layer. Resize 30%. Free Rotate left-15. Arrange it to the left of the frame.

10. Open element 'FOCellphonePresent' copy and paste as new layer. Resize 30%. Arrange it to the bottom left of the frame.

11. Open element 'FOPartyhat' copy and paste as new layer. Resize 20%. Free Rotate right-15. Arrange it to the bottom of the frame.

12. Open element 'FORosePresent' copy and paste as new layer. Resize 30%. Arrange it to the bottom right of the frame.

13. Open element 'FOPartyCake' copy and paste as new layer. Resize 50%. Arrange it to the bottom right of the frame.

14. Add the wordart I provided to the top left of the frame.

15. Open paper 'FOWhiteSwirly' copy and paste as new layer. Layers/Arrange/Send to bottom. Resize 70%. Open your mask, I used: 'DD_PatrioticMask_1'. Apply your mask, merge group.

16. Add shadow as you like. I used 1-1-65-2 black.

17. Add copyright.

18. Add name. I used Agency FB / size 72.

Save as PNG

March 1, 2015

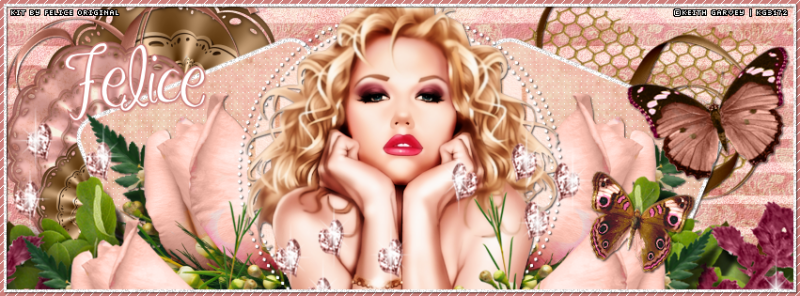
Damask Rose ~ by Joanne Salgado


Tutorial written by Joanne Salgado on February 18th, 2015
Any resemblance to any other tutorial is coincidental.
Do not copy and paste this tutorial anywhere on the net.
If you want to translate please ask first. 

Tube: Keith Garvey - you can purchase here 
Kit Damask Rose by Felice Original - you can purchase here 
Template by Allison here 
Font: MA Sexy

Plugins:
AP[Lines] - SilverLining

Don't forget to save often.

1. Open template. Duplicate. Close original. Delete layers 10, 9, 8 and 1.

2. Open paper 'FO_damask'. Copy and paste as new image. Move the layer above the 'background layer'. Resize 70%. Rename BG. Delete background layer.

3. Select the stripes layer. Adjust/Color Balance/Manual Color Correction - Source #ff4040 and target #cc7e7a. Adjust/Add-Remove Noise/Add Noise (uniform/50/monochrome checked). Change blend mode to screen.

4. Open element 'FO_flower-thingy-brown' copy and paste as new layer. Resize 20%. Arrange it to the upper left (if you have any doubts please check my tag)

5. Open element 'FO_ribboncurl-pink' copy and paste as new layer. Resize 50%. Image/Mirror. Image/Flip. Arrange it to the upper left. Add shadow 1-1-65-2 black.

6. Open element 'FO_flower-thingy' copy and paste as new layer. Resize 10%. Arrange to the left showing the upper part of brown flower.

7. Open element 'FO_flower-thingy-brown' again. copy and paste as new layer. Resize 10%. Arrange to the left a little bellow the pink flower.

8. Open element 'FO_wire-heart' copy and paste as new layer. Resize 20%. Image/Rotate/Free Rotate (right/15). Arrange it to the right.

9. Open element 'FO_ribboncurl-brown' copy and paste as new layer. Resize 50%. Image/Mirror. Arrange it to the right.

10. Select the layer "copy of raster 7" Adjust/Color Balance/Manual Color Correction - Source #808080 and target #ffffff. Adjust/Add-Remove Noise/Add Noise (uniform/50/monochrome checked). Add shadow 1-1-65-2 black.

11. Open paper 'FO_vintage-grunge'. With the flood fill change it to pattern. Select the paper - angle 0 scale 50. Colorize layer "raster 3". Effects/Texture Effects/Weave (1/5/1/white/white/fill gaps checked).

12. Select the layer "raster 7" and repeat step 10.

13. Select the layer "copy of raster 3" and repeat step 11.

14. Open element 'FO_rose-bouqet' copy and paste as new layer. Resize 30%. Arrange it to the left above the shape. Image/Mirror. Add shadow 1-1-65-2 black on both layers.

15. Open paper 'FO_stripe' With the flood fill change it to pattern. Select the paper - angle 0 scale 50. Colorize layer "raster 2". Duplicate. On duplicated layer change the blend mode to screen.

16. Open element 'FO_butterfly2' copy and paste as new layer. Resize 25%. Image/Rotate/Free Rotate (left-15). Arrange it to the right at the corner of the shape. Add shadow 1-1-65-2 black.

17. Select layer "raster 5". Adjust/Color Balance/Manual Color Correction - Source #c00000 and target #ffffff. Add same shadow as before.

18. Select layer "raster 6". Adjust/Color Balance/Manual Color Correction - Source #c00000 and target #ffffff. Add same shadow as before.

19. Open your tube. I used Keith Garvey. Arrange it in the middle of the template as you prefer. Add same shadow as before.

20. Open element 'FO_cluster' copy and paste as new layer. Arrange it down so it only shows the upper part of it. (see my tag).

21. Open element 'FO_butterfly' copy and paste as new layer. Resize 15%. Image/Rotate/Free Rotate (right-20).

22. Select "border" layer. Adjust/Color Balance/Manual Color Correction - Source #c00000 and target #cc7e7a. Effects/Plugins/AP [Lines]/Lines - SilverLining (breaks/change the three color to 255).

23. With the magic wand tool select inside the border. Add a new layer. Flood fill with white. Selections/Modify/Contract-2 hit delete on your keyboard. Selections/Select None. Adjust/Add-Remove Noise/Add Noise (uniform/50/monochrome checked). Add same border as before.

Add your copyright.
Add your name - I used 'MA Sexy' 48 with border #cc7e7a and shadow 1-1-65-2 #cc7e7a.

Save.

February 19, 2015

Bloody Roses - Show off


 *Click on image to see the original size*


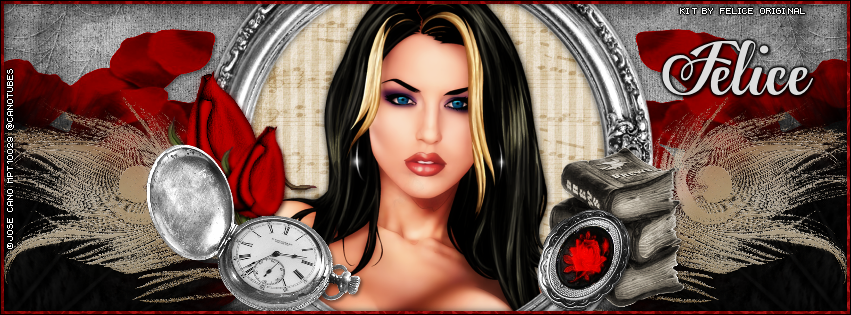
== NEW CT FELICE ORIGINAL PTU FB COVER TUTORIAL ==

Featuring "BloodyRoses" Kit by Felice Original at Exquisite Scraps and PicsForDesign

This kit matches with Felice's tube with the same name Bloody Roses, also available at the store.
It has 12 papers and 105 elements and is perfect for those classy halloween tags.
The kit is made in 300 dpi and the papers measure 800x800 pixels

Kit can be found in two stores:

-> Exquisite Scraps, here

-> PicsForDesign, here


Bloody Roses FB

BLOODY ROSES FB TIMELINE

 *Click on image to see the original size*

Tutorial written by Marcia Salgado on January 20th, 2015
for those who have a working knowledge of PSP.
Any resemblance to any other tutorial is coincidental.
Do not copy and paste this tutorial anywhere on the net.
If you want to translate please ask first. 

Copyrighted.com Registered & Protected 
G137-SKY8-JTD2-EURN


****************************************
Material:

Tube: Jose Cano, you can purchase it here
do not use without the proper #license.
I'm using my MPT license.
PTU Kit 'Bloody Roses' by Felice Original, you can purchase it  here or here
Font: Egregio Script Demo

****************************************

PROFILE COVER

1. Open a new image 851x315. Open the paper FOBlRo9. Go to your material palette and change the foreground color to pattern, look for the paper we open now and use the settings: Angle= 0 Scale= 50. Add a new layer and fill it with the pattern.

2. Open FOCobweb2. Resize 40%. Copy and paste as new layer. Move it to right side. Leave only half of web showing. Diplicate and mirror. Merge down. Drop Shadow: H-V= 1 Opacity= 85 Blur= 2 Color= Black. Change Blend Mode to Soft Light.

2. Open FOFeatherFan. Copy and paste it as new layer. Move it to the bottom right of the image. Only 1/4 of the fan showing. See my image as reference. Duplicate and mirror. Merge down.

3. Open FORosePetals1. Resize it 50%. Copy and paste as new layer and move under the left side fan. Duplicate and mirror. Merge down. Drop Shadow: H-V= 2 Opacity= 50 Blur= 5 Color: Black.

4. Open FOFrameCirclePic. Resize 80%. Copy and paste as new layer.

5. With the magic wand click inside the circle frame. Selections > Modify > Expand > 5. Add a new layer and move it below frame layer. Open paper FOBlRo7 and use it as pattern with the same settings of step 1. Fill the selection. Add a new layer, open paper FOBlRo10 and use it as patter as before and fill the layer. Change the blend mode to Soft Light. Keep selected.

6. Add your tube close up, place it where you want it. Slection > Invert. Delete. Section > Select None. Add same drop shadow on tube and frame: H-V= 0 Opacity= 70 Blur= 10 Color= Black.

7. Open FOPeacockFeather. Resize 25%. Copy and paste as new layer and place it to the left size of the frame. Move the layer below the circle frame layer. Duplicate and mirror. Merge down.

8. Click on the frame layer. Open FOPocketWatch. Resize 45%. Copy and paste as new layer. Move it to left side of the frame. Drop Shadow: H-V= 1 Opacity= 85 Blur= 2 Color= Black.

9. OPen FORoseBud. Resize 40%. Mirror. Copy and paste as new layer. Move it under the pocket watch and place it behind it, move it upward a little. Duplicate. Resize 80%. Image > Rotate > Free Rotate > Right-25. Arrange it over the first rose. See my image as reference. Merge down. Drop Shadow: H-V= 1 Opacity= 85 Blur= 2 Color= Black.

10. Open FOSpellBooks. Resize 40%. Copy and paste as new layer. Move it to the right side of the frame. Drop Shadow: H-V= 1 Opacity= 85 Blur= 2 Color= Black.

11. Open FOLocket. Resize 50%. Copy and paste as new layer. Erase the chain off. Place it over the books. Drop Shadow: H-V= 1 Opacity= 85 Blur= 2 Color= Black.

12. Add a new layer. Open paper FOBlRo4. Use it as pattern and fill the layer. Select all. Selections > Modify > Contract > 4. Delete. Drop Shadow: H-V= 0 Opacity= 70 Blur= 10 Color= Black. Add a new layer, fill it with black. Select all. Selections > Modify > Contract > 1. Delete.

--> Add your copyright and name.

PROFILE PICTURE

1. Open a new image 180x180. Open paper FOBlRo9, copy and paste as new layer.

2. Open FOFeatherFan. Image > Rotate > Free Rotate > 90. Resize 30%. Copy and paste as new layer and  move it to the left. Leave a piece of background showing.

3. Open FORosePetals1. Resize 40%. Copy and paste and move it to tthe left. 

4. Open your tube. Copy and paste as new layer. Resize it to fit the image. Drop Shadow: H-V= 0 Opacity= 70 Blur= 10 Color= Black.

5. Open paper FOBlRo4. Copy and paste as new layer. Select all. Selections > Modify > Contract > 4. Delete. Drop Shadow: H-V= 0 Opacity= 70 Blur= 10 Color= Black. Add a new layer, fill it with black. Select all. Selections > Modify > Contract > 1. Delete.

--> Add your copyright and inicial.


February 16, 2015

Romantic Memories 2


=== NEW CT FELICE ORIGINAL TAG 2 ==

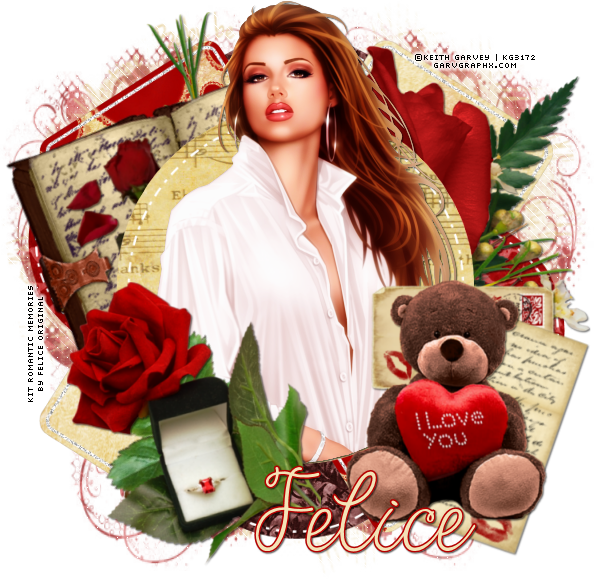
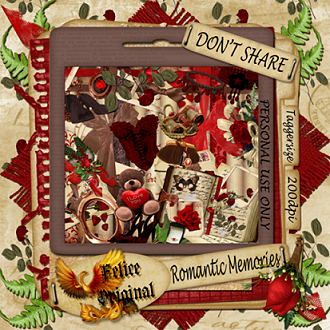
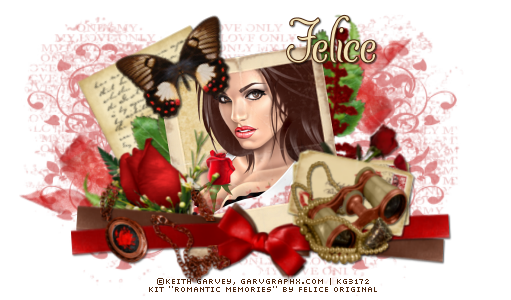
Featuring "Romantic Memories" by Felice Original at Exquisite Scraps

This fullzise kit is perfect for your romantic memories you want to preserve. It contains of 12 papers and 36 elements all at 200 dpi. There are Frames, Cluster frames, 1 Butterfly, Necklaces and Shoes, and lots more.

Kit can be found in:

-> Exquisite Scraps here


February 15, 2015

Romantic Memories


=== NEW CT FELICE ORIGINAL TAG ==

Featuring "Romantic Memories" by Felice Original at Exquisite Scraps

This fullzise kit is perfect for your romantic memories you want to preserve. It contains of 12 papers and 36 elements all at 200 dpi. There are Frames, Cluster frames, 1 Butterfly, Necklaces and Shoes, and lots more.

Kit can be found in:

-> Exquisite Scraps here


February 10, 2015

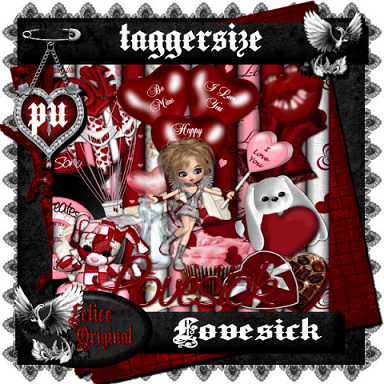
Lovesick ~ Cupid


=== NEW CT FELICE ORIGINAL TAG ==

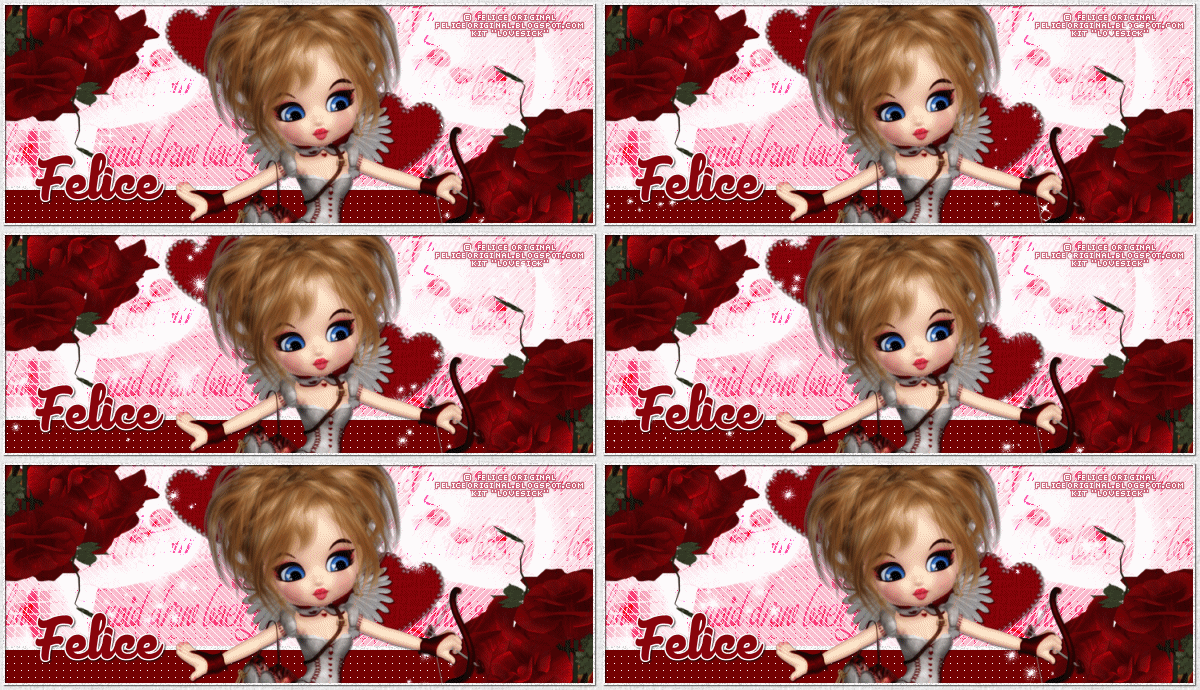
Featuring "Lovesick Kit" by Felice Original at Exquisite Scraps and PicsForDesign

This is a taggersize kit with a valentine theme.
It has 12 papers and 40 elements so you can play with it.
The papers measure 1000x1000 and the whole kit is created at 300 dpi.

Kit can be found in two stores:

-> Exquisite Scraps here

-> PicsForDesign here


Be 'My Valentine'


=== NEW CT FELICE ORIGINAL TAG ==

Featuring "My Valentine" Kit by Felice Original at Exquisite Scraps and PicsForDesign

This is a taggersize kit with a valentine theme.
It has 15 papers and 90 elements so you can play with it.
The papers measure 800x800 and the whole kit is created at 300 dpi.

Kit can be found in two stores:

-> Exquisite Scraps here

-> PicsForDesign here


Lovesick


=== NEW CT FELICE ORIGINAL TAG ==

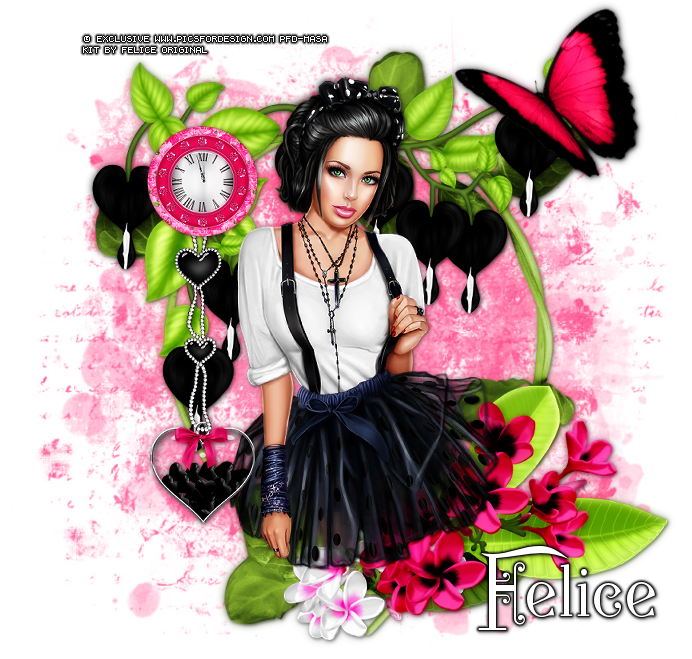
Featuring "Lovesick Kit" by Felice Original at Exquisite Scraps and PicsForDesign

This is a taggersize kit with a valentine theme.
It has 12 papers and 40 elements so you can play with it.
The papers measure 1000x1000 and the whole kit is created at 300 dpi.

Kit can be found in two stores:

-> Exquisite Scraps here

-> PicsForDesign here

February 9, 2015

My Valentine


=== NEW CT FELICE ORIGINAL TAG ==

Featuring "My Valentine Kit" by Felice Original at Exquisite Scraps and PicsForDesign

This is a taggersize kit with a valentine theme.
It has 15 papers and 90 elements so you can play with it.
The papers measure 800x800 and the whole kit is created at 300 dpi.

Kit can be found in two stores:

-> Exquisite Scraps here

-> PicsForDesign here