Showing posts with label Charles Bristow ©Exclusive. Show all posts

May 13, 2015

Zombie Pony ~ by Joanne Salgado


Tutorial written by Joanne Salgado on May 13th, 2015
for those who have a working knowledge of PSP.
Any resemblance to any other tutorial is coincidental.
Do not copy and paste this tutorial anywhere on the net.
If you want to translate please ask first. 

Tube: Zombie Pony by Charles Bristow - you can purchase here 
Kit Zombie Pony by Bibi's Collection - you can purchase here
Font: Zombie Holocaust

Don't forget to save often.
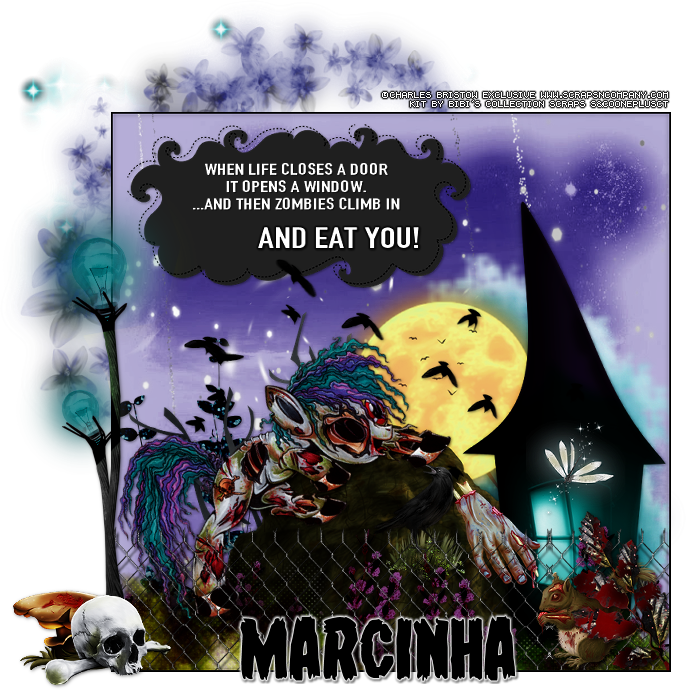
At any point if you have doubts check my tag.

1. Open a new image 600x500

2. Open element 'BIBI-ZOMBIEPONY ELEMS (116)' copy and paste as new layer. Resize 40%.

3. Open element 'BIBI-ZOMBIEPONY ELEMS (121)' copy and paste as new layer. Resize 50%. Move this layer below the arch layer. Arrange it to the right. Duplicate. Mirror.

4. Open element 'BIBI-ZOMBIEPONY ELEMS (45)' copy and paste as new layer. Resize 60%. Arrange it to bottom.

5. Open element 'BIBI-ZOMBIEPONY ELEMS (21)' copy and paste as new layer. Resize 40%.

6. Open element 'BIBI-ZOMBIEPONY ELEMS (77)' copy and paste as new layer. Resize 60%. Clean the parts that appears outside the arch. Change opacity to 60.

7. Open element 'BIBI-ZOMBIEPONY ELEMS (102)' copy and paste as new layer. Resize 70%. Mirror. Move this layer above the arch layer. Arrange it to the top left.

8. Open element 'BIBI-ZOMBIEPONY ELEMS (19)' copy and paste as new layer. Resize 78%. Arrange it to bottom.

9. Open element 'BIBI-ZOMBIEPONY ELEMS (24)' copy and paste as new layer. Resize 50%. Arrange it to the bottom left.

10. Open element 'BIBI-ZOMBIEPONY ELEMS (80)' copy and paste as new layer. Resize 60%.

11. Open your tube. Copy and paste as new layer. Resize as you prefer and arrange it to the right.

12. Open element 'BIBI-ZOMBIEPONY ELEMS (78)' copy and paste as new layer. Resize 30%. Free Rotate right-30. Arrange it to the left of the arch.

13. Open element 'BIBI-ZOMBIEPONY ELEMS (4)' copy and paste as new layer. Resize 20%. Arrange it to the bottom left.

14. Open element 'BIBI-ZOMBIEPONY ELEMS (123)' copy and paste as new layer. Resize 70%. Arrange it to the right. Duplicate. Arrange it to the left.

15. Add shadow. I used: 1-1-65-2 black.

16. Add copyright.

17. Add name. I used: Zombie Holocaust / size: 48

Save as PNG

March 14, 2015

Zombie Pony - Show Off


== PTU TAG S&CO. CT ==
CHARLES BRISTOW ©EXCLUSIVE AND BIBI's COLLECTION SCRAPS

Featuring "Zombie Pony", a Charles Bristow ©Exclusive tube 
and "Zombie Pony", Bibi's Collection Scraps at Scraps N Company - S&Co.

Bibi's Collection Scraps kit has 15 papers and 128 elements so you can play with it. 
Very versatile and can be used with any other tubes and artists you have.

Andy Cooper's tube can be found  at:
-> Scraps N Company - S&Co., here

Bibi's Collection Scraps kit can be found  at:
-> Scraps N Company - S&Co., here


Zombie Pony

ZOMBIE PONY TUTORIAL


Tutorial written by Marcia Salgado on March 14th, 2015
for those who have a working knowledge of PSP.
Any resemblance to any other tutorial is coincidental.
Do not copy and paste this tutorial anywhere on the net.
If you want to translate please ask first. 

****************************************
Material:

Tube: Charles Bristow ©Exclusive, you can purchase it at S&Co. here,
do not use without the proper #license.
PTU Kit "Zombie Pony" by Bibi's Collection Scraps, 
you can purchase it at S&Co. here
Plugin: Alien Slin Xenofex > Constelation
Font: Young Frankenstein

****************************************

--> Remember to save often and use my tag as reference if necessary. Used the Drop Shadow: 1-1-50-5 in most layers. 

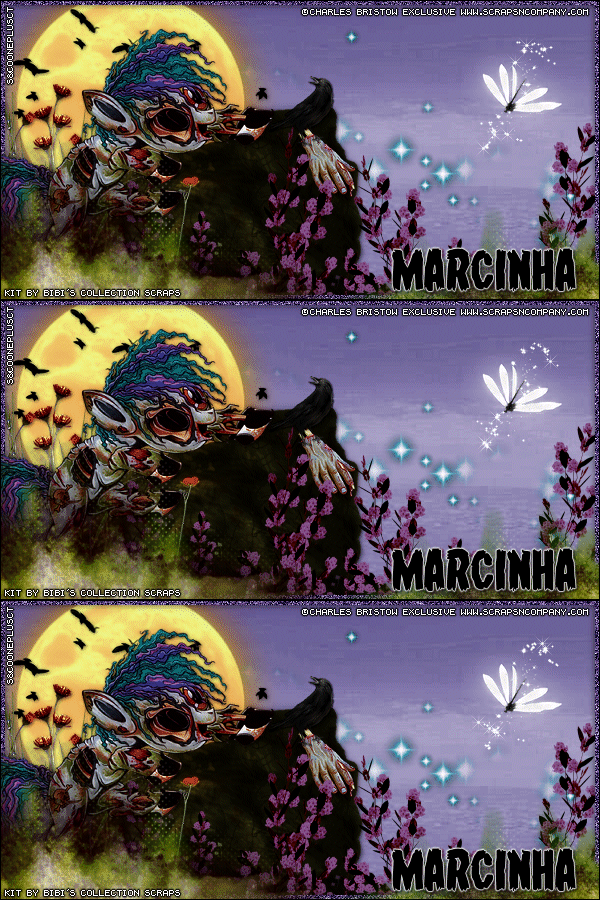
1. Create a new image 600x300. Open BIBI-ZOMBIEPONY PAPERS (2). Copy and paste as new layer. Open BIBI-ZOMBIEPONY ELEMS (48). Resize 51%. Copy and paste as new layer. Move it right and down. Open BIBI-ZOMBIEPONY ELEMS (83). Resize 80%. Mirror. Copy and paste as new layer. Move left and down. 

2. Open BIBI-ZOMBIEPONY ELEMS (102). Resize 50%. Copy and paste as new layer. Move it to left over the moon. Open BIBI-ZOMBIEPONY ELEMS (110). Resize 21%. Copy and paste as new layer. Move it way left. Duplicate. Move a little bit to right and down. Open BIBI-ZOMBIEPONY ELEMS (120). Resize 21%. Copy and paste as new layer. Move it a bit, place on the cliff edge. 

3. Open BIBI-ZOMBIEPONY ELEMS (58), Copy and paste as new layer. Move it down. Open BIBI-ZOMBIEPONY ELEMS (104). Resize 37%. Mirror. Copy and paste as new layer. With Freehand Selection Tool > Point to point, select the sparkles around the bug. Promote Selection to Layer. Deselect. Duplicate it twice, in a total of 3 layer. Rename them 1S, 2S and 3S. Click on 1S and apply Alien Skin Xenofex2 > Contelation, settings bellow. Do the same with @S and #S but remember to click on Random Seed. Let invisible layers 2S and 3S. 


4. Click on first layer. Open BIBI-ZOMBIEPONY ELEMS (108). Resize 21%. Copy and paste as new layer. Move it over the hand. Add a new layer, fill with color #4c356d. Select all. Contract > 5. Deselect. Duplicate twice, in a total of 3 layers. Rename them 1, 2 and 3. Click on layer 1, add noise: Gaussian-75-Monochrome. Drop Shadow: 0-1-70-10-Black. Repeat the process wuth layer 2 and 3. Do not use Edit > Repeat. Let layer 2 and 3 invisible.

5. The tube I'm using is a Zombie Pony, and exclusive creation of Charles Bristow, I resize it and use Free Rotate: Left-45 so it looks like climbing the cliff. Use a suitable shadow. Open BIBI-ZOMBIEPONY ELEMS (19). Copy and paste as new layer. Move it down. Add a new layer, fill it black. Select all. Contract > 1. Delete. Deselect. Drop Shadow: 0-1-70-10-Black.

--> Add your copyright info and proper #license. Add your name. Young Frankenstein, size 48.

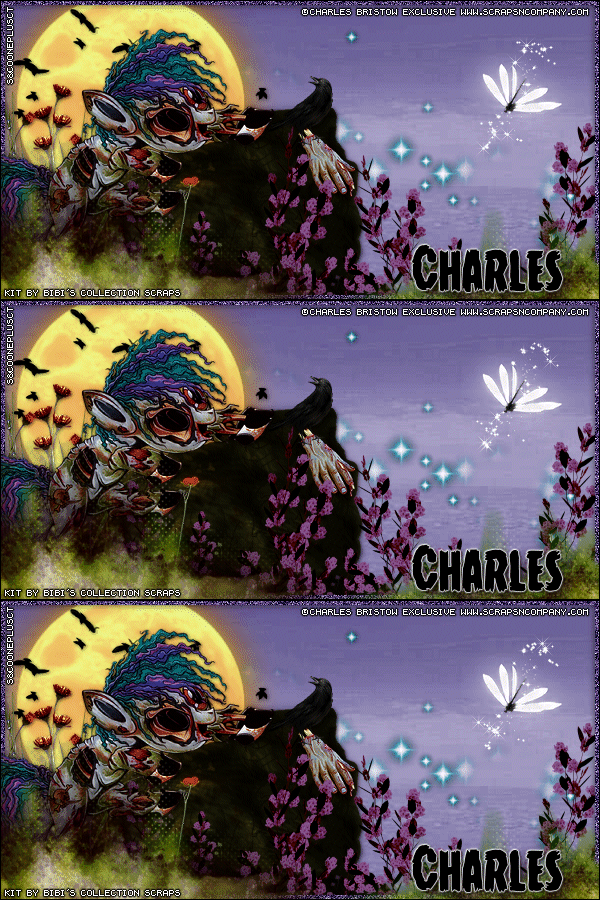
ANIMATION

1. In PSP. Copy Merged. In Animation Shop, paste as new animation.

2. Back in PSP, let invisible layers 1 and 1S and visible layer 2 and 2S. Copy Merged. In Animation Shop, paste after current frame.

3. Back in PSP, let invisible layers 2 and 2S and visible layers 3 and 3S. Copy Merged. In Animation Shop, paste after current frame. Select all frames. Animation > Frame Properties > 18. Save.